|
When I first joined Digital Photography, I had no idea what to expect. I had been taking pictures for years but had never understood what any of the buttons meant. Little did I know that digital photography wasn't just taking standard photos and it definitely did not end at the camera. This reflection includes all the skills learned and improvements made during the duration of this class.
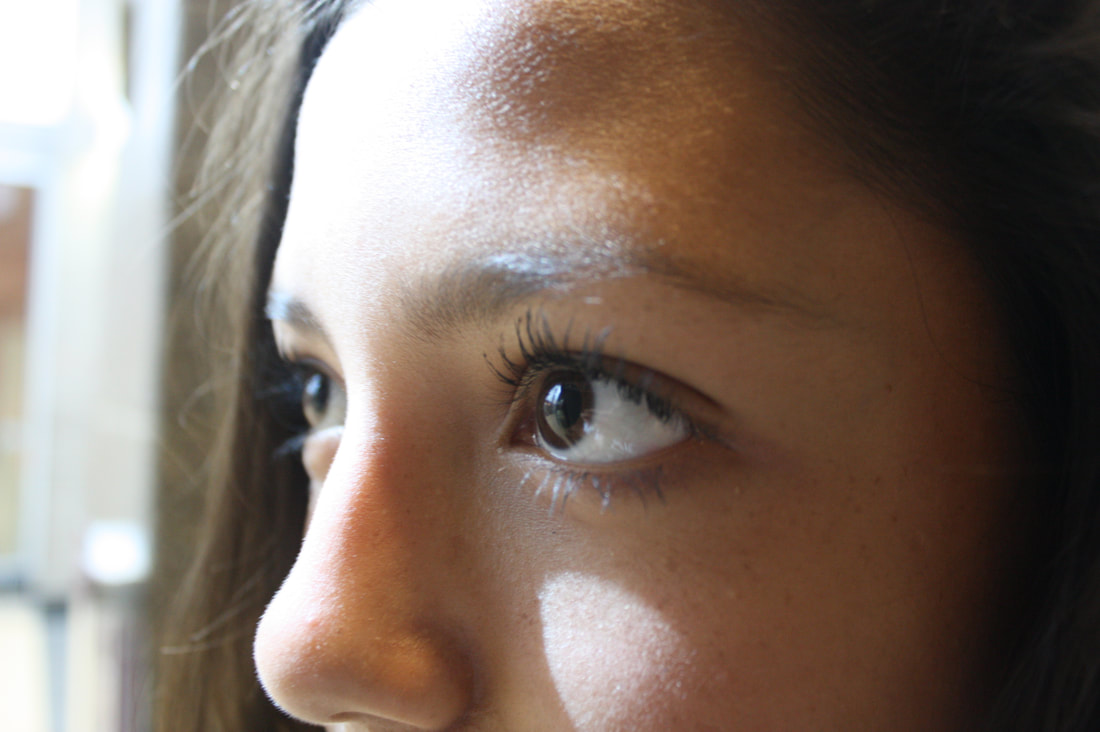
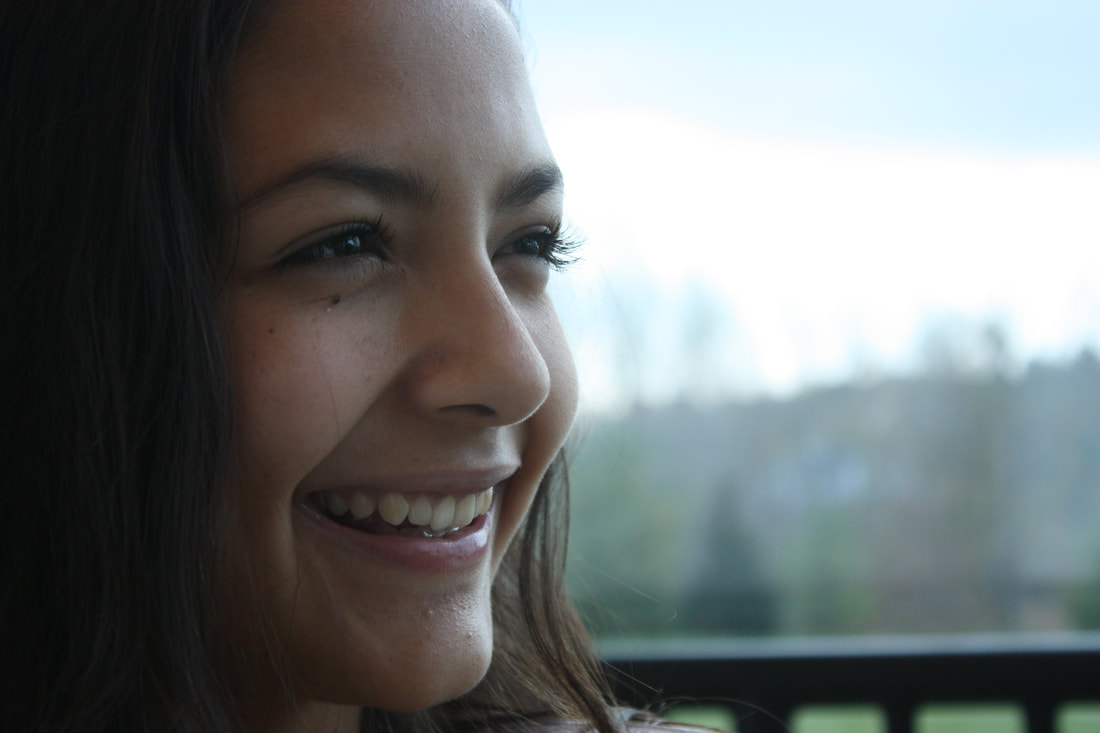
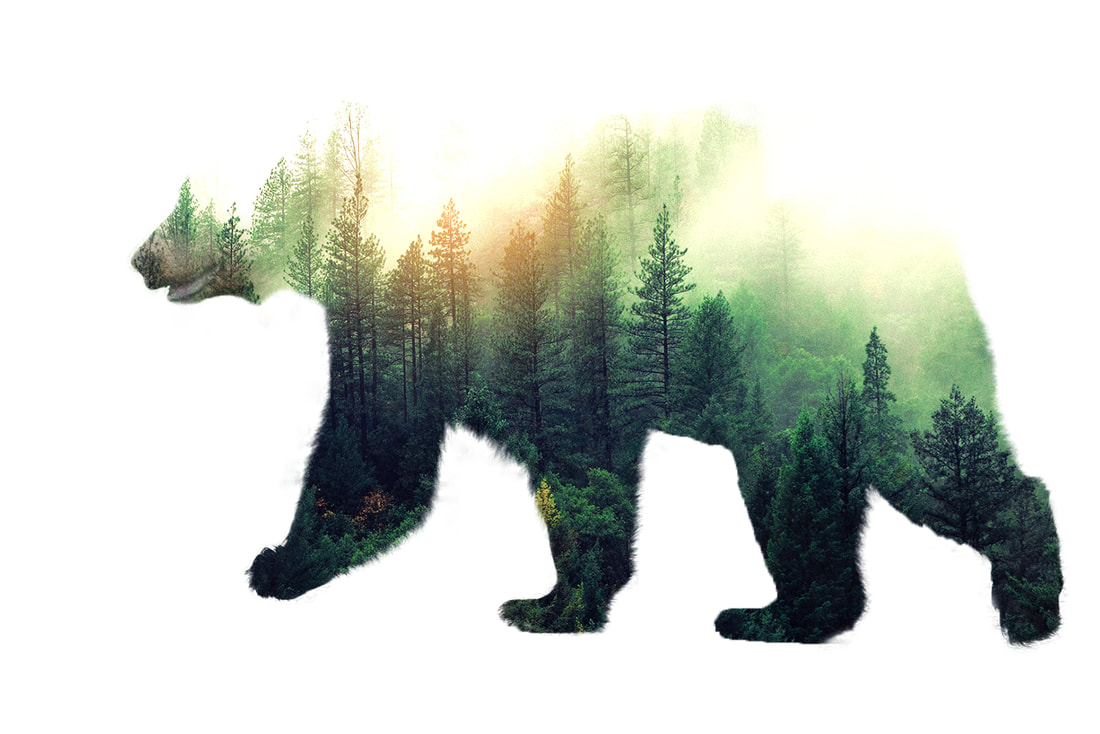
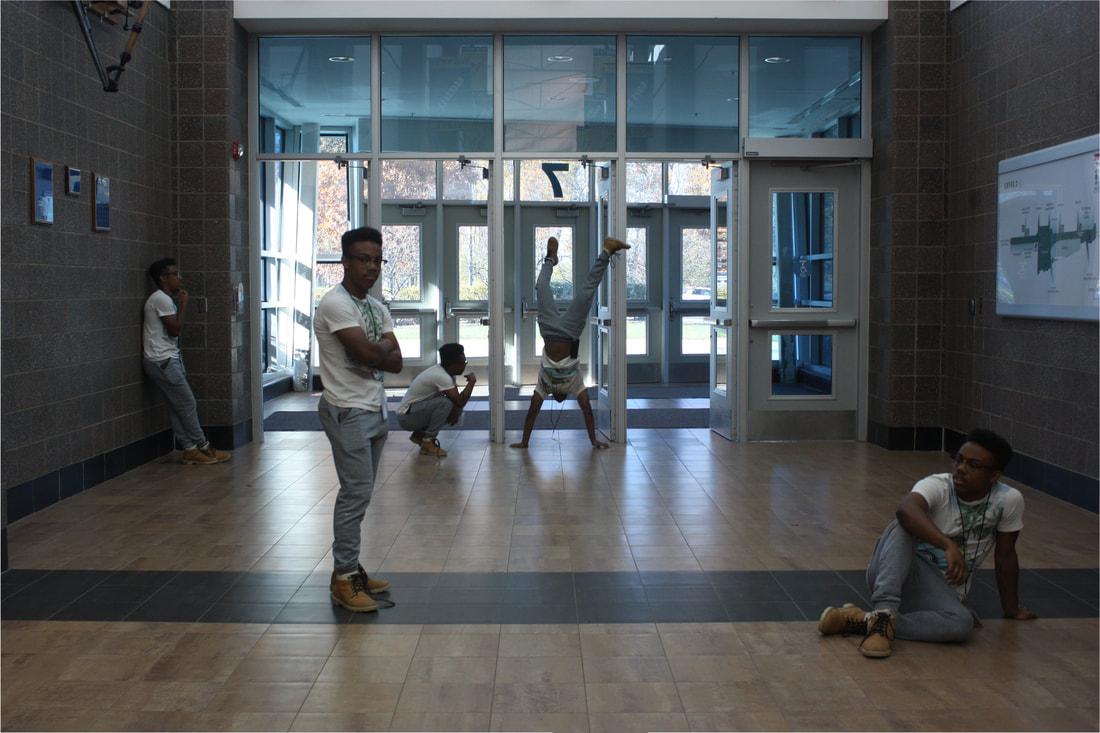
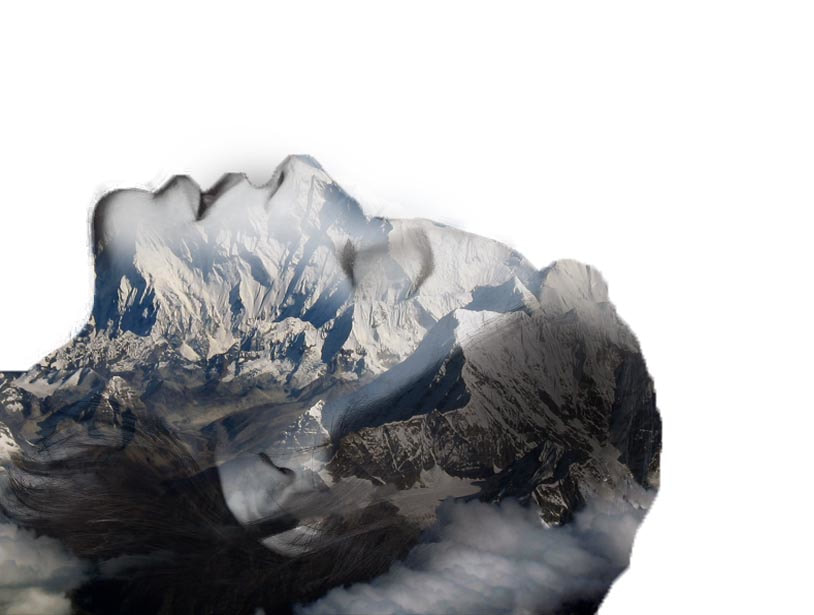
For one of our first photoshop assignments, shown in the first photo, I had NO idea what any of the buttons meant or what I was doing. And then, we learned about clone stamp, which, to this day, is one of the coolest things I have learned in this class. I did so much experimenting with this button and made many creations. Throughout the trimester, I also learned about layers. My work in this field can be seen in the second two photos, where I stacked multiple images of the same person in different poses to create the illusion that there were multiple in one picture and also putting a forest into a bear. These creations were made during our final photoshop assignment and I think they really display how much I have learned technology-wise throughout the class.
Overall, I have learned so much in this class, whether it be on the camera or on the computer; way more than I anticipated. I had a great time and can’t wait for part 2!
0 Comments
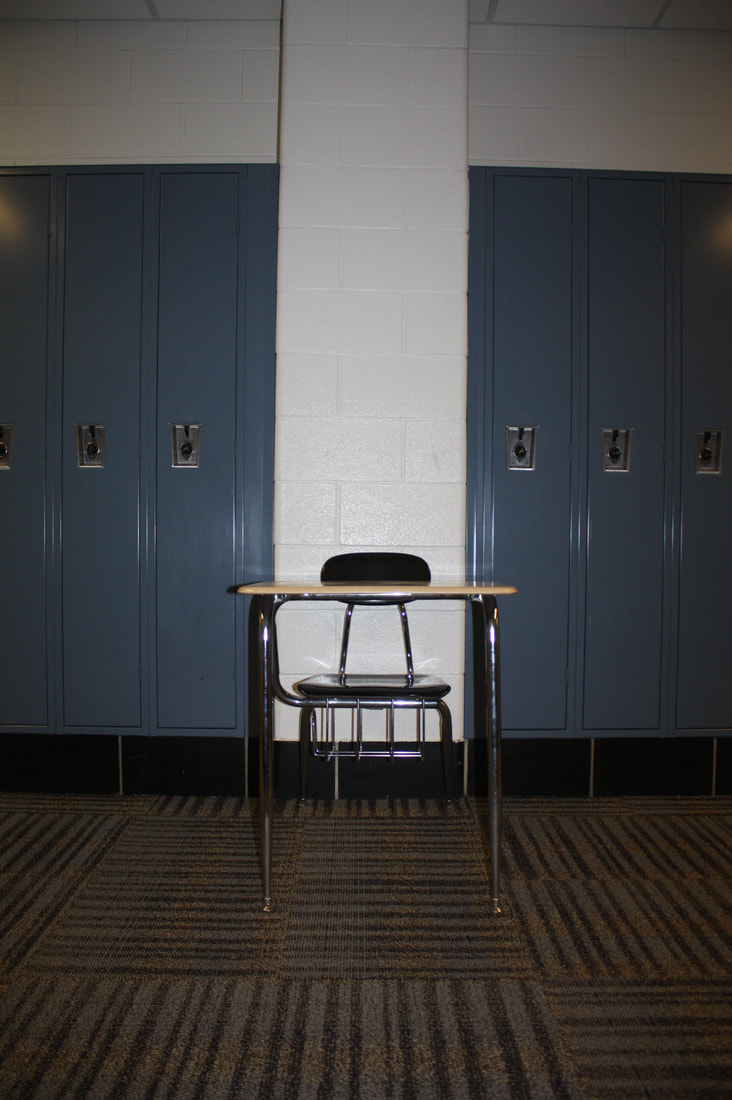
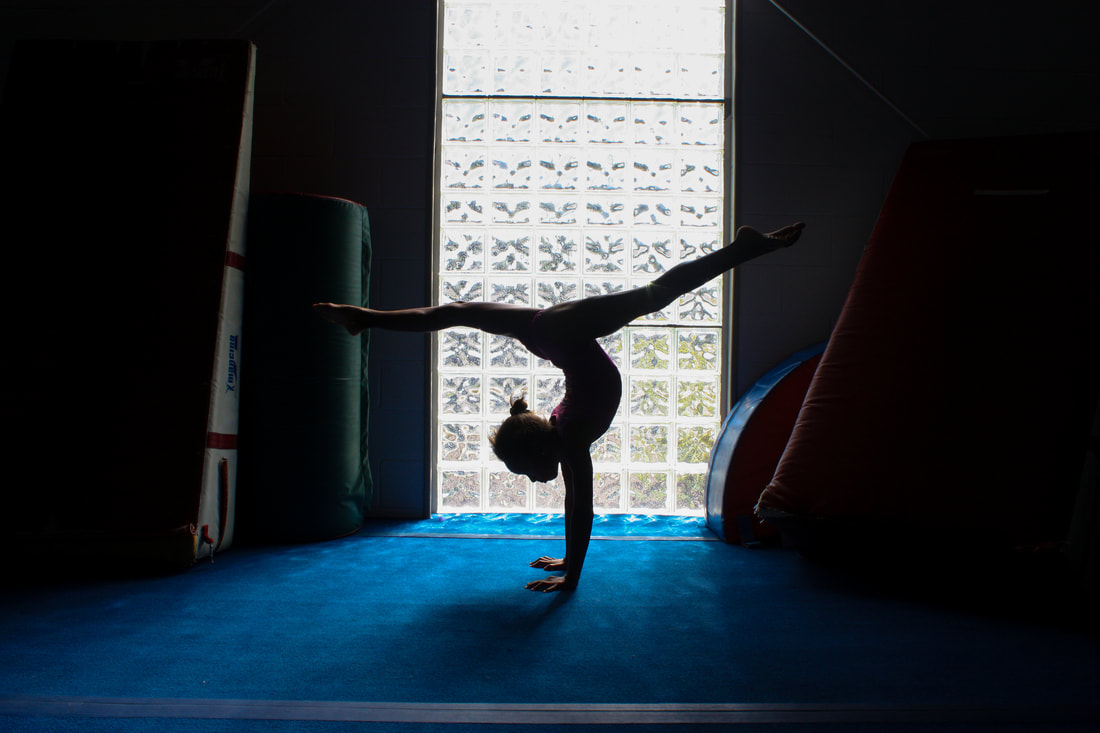
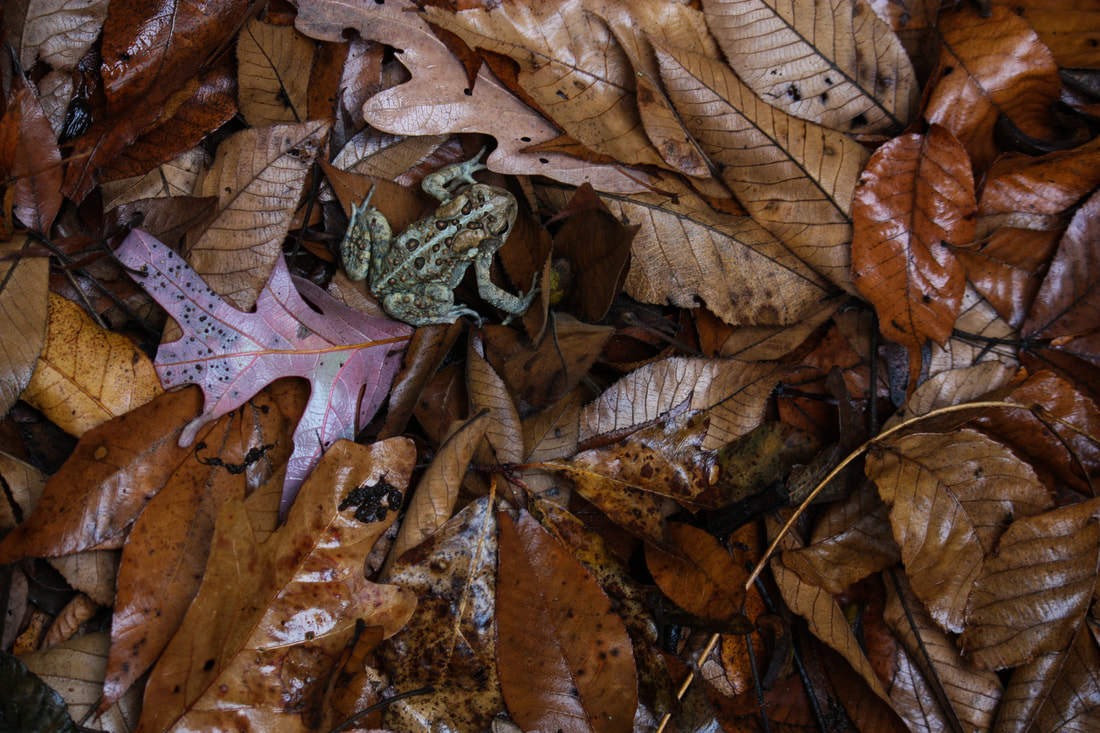
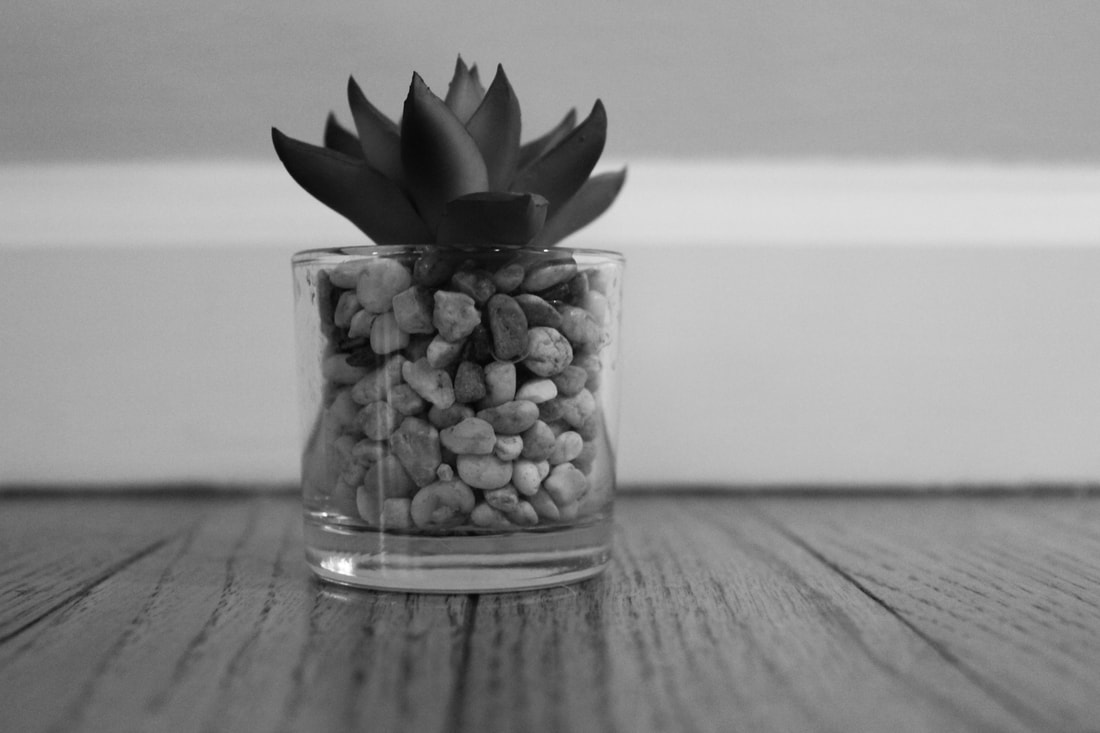
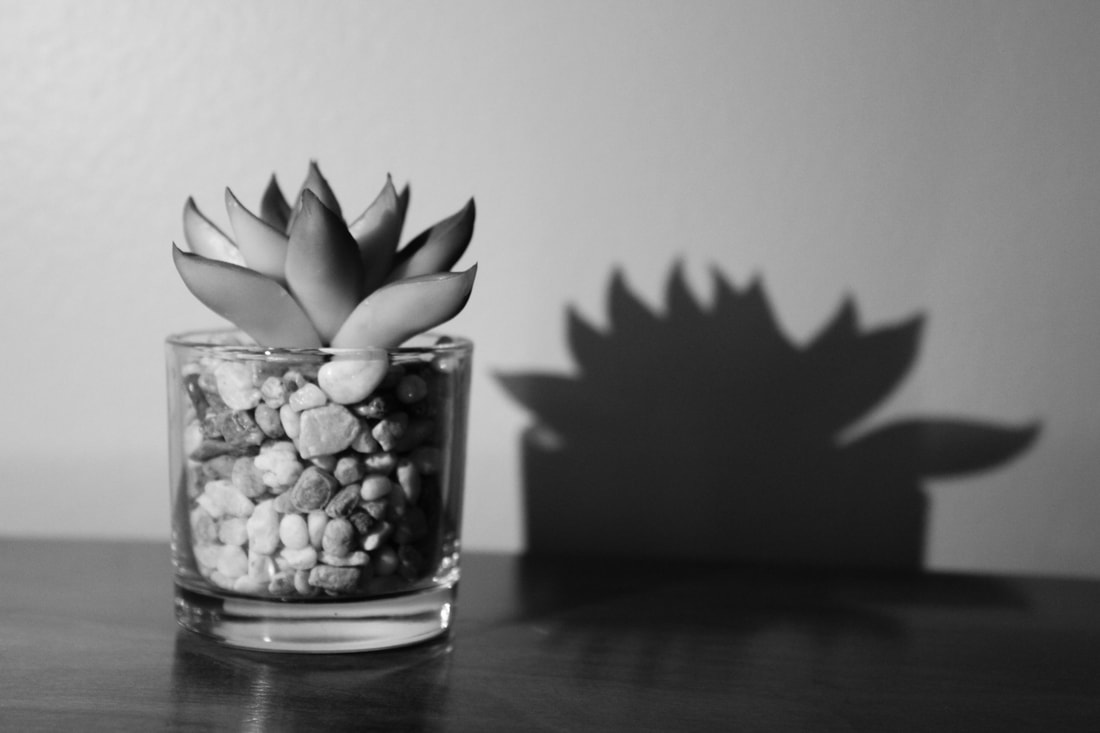
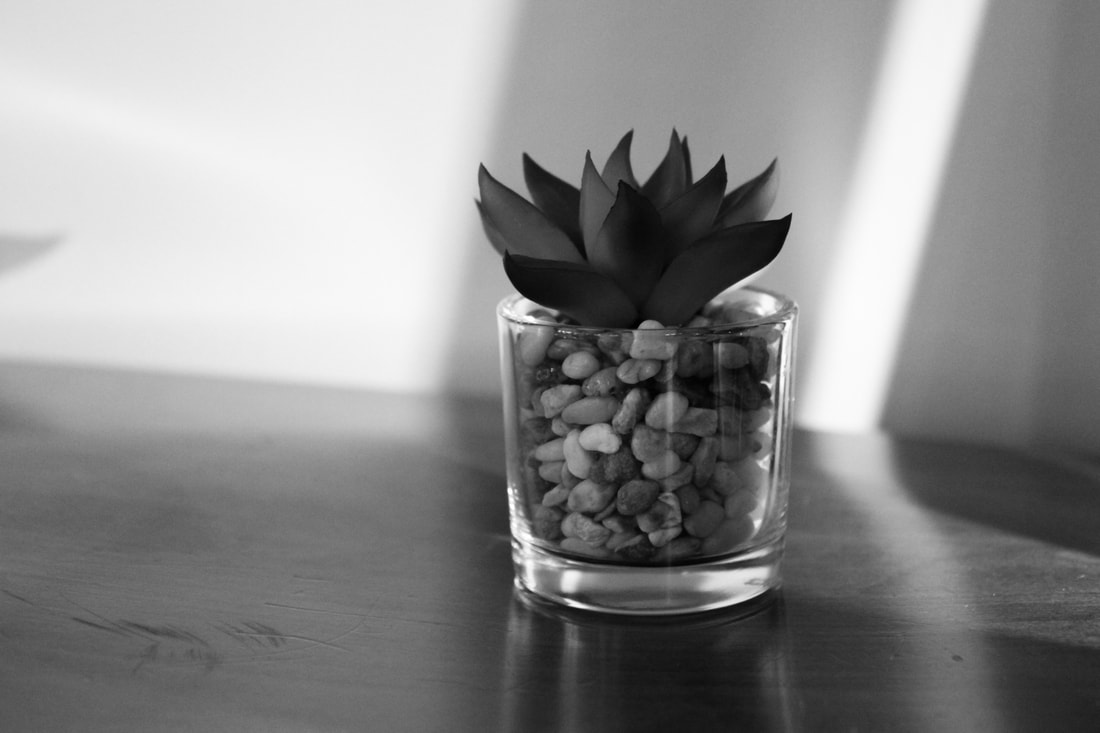
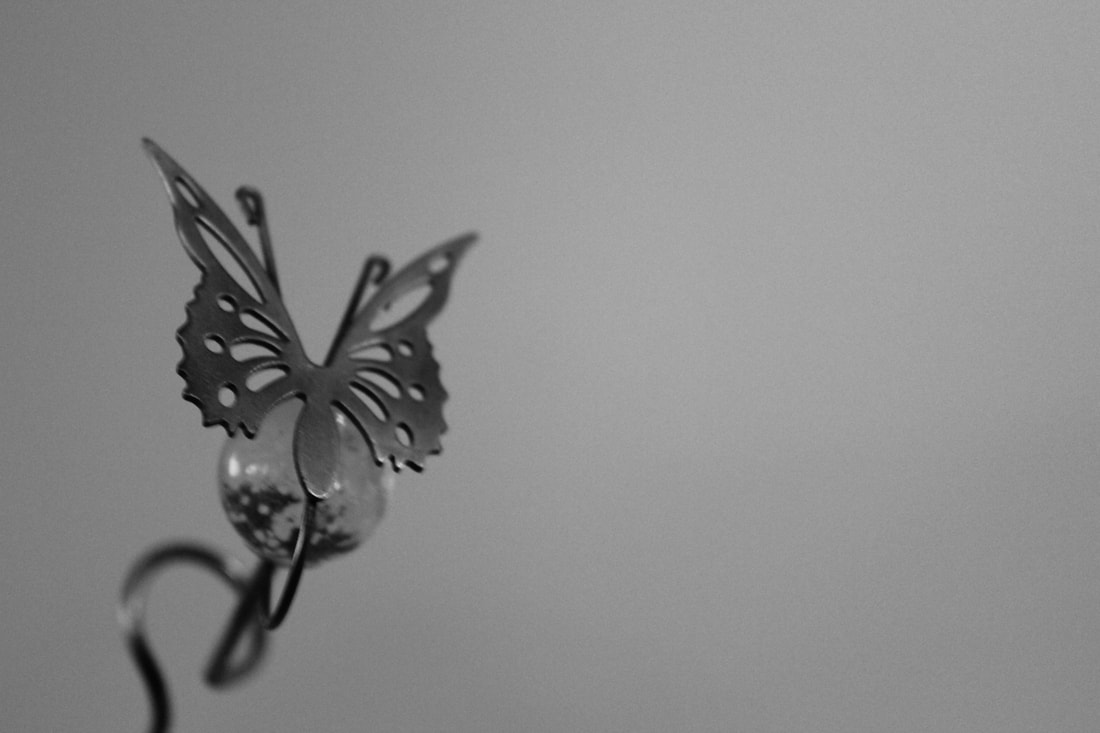
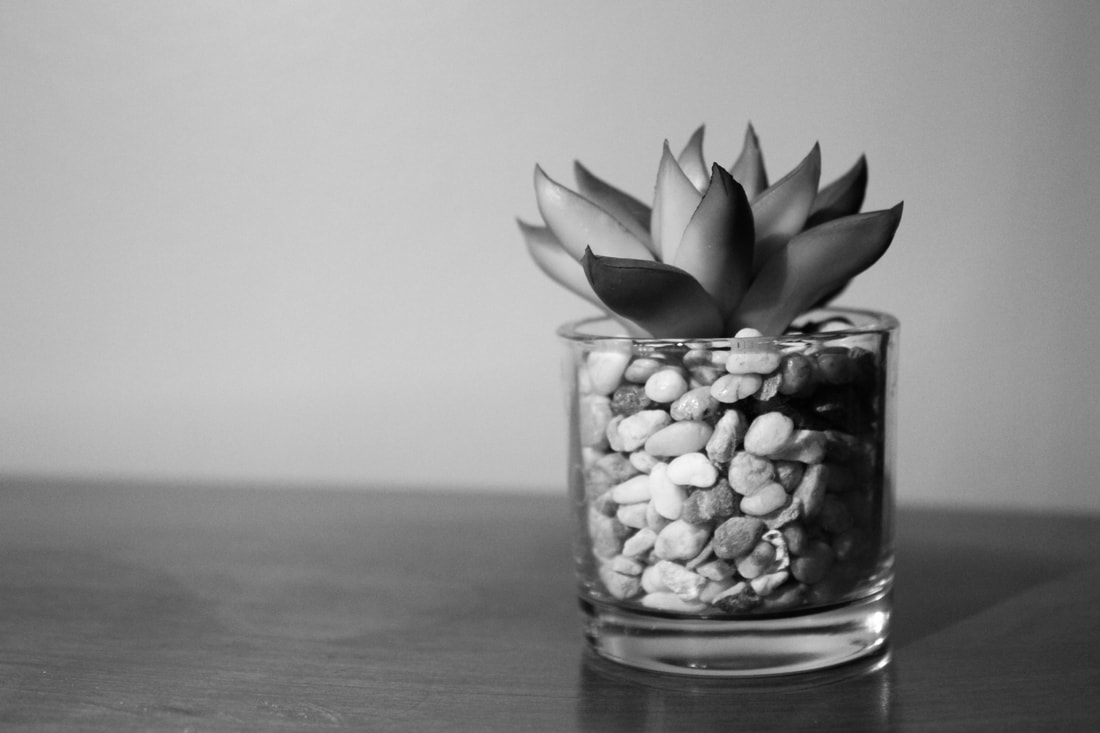
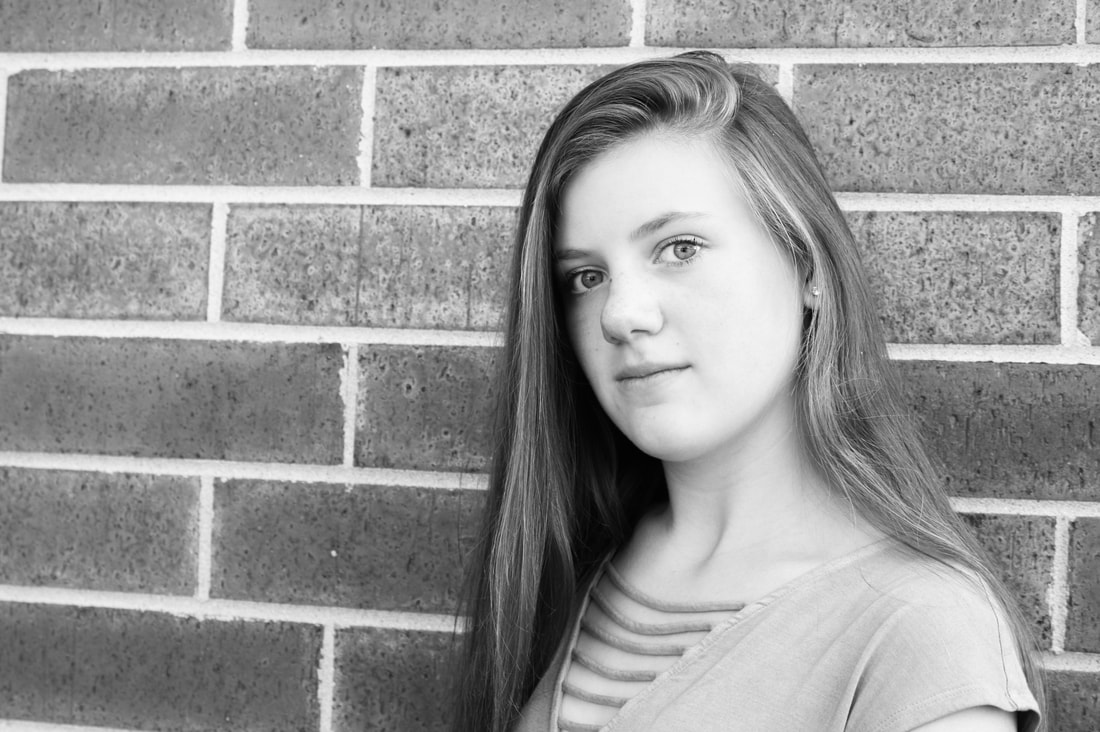
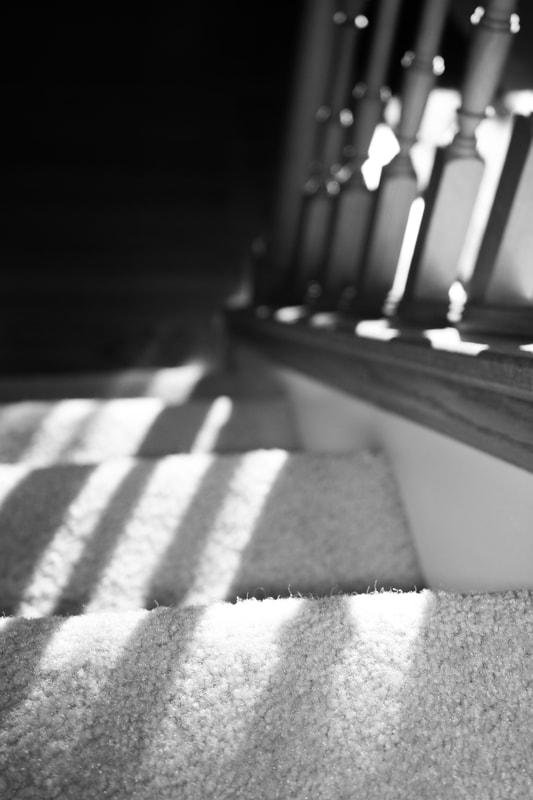
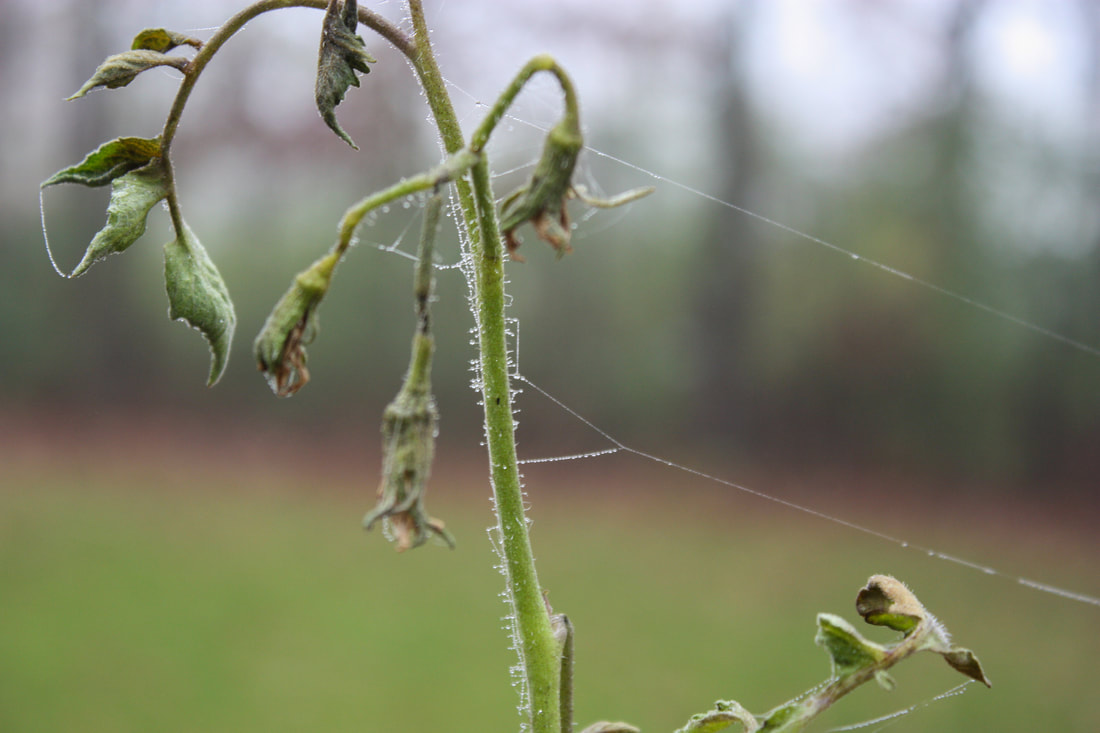
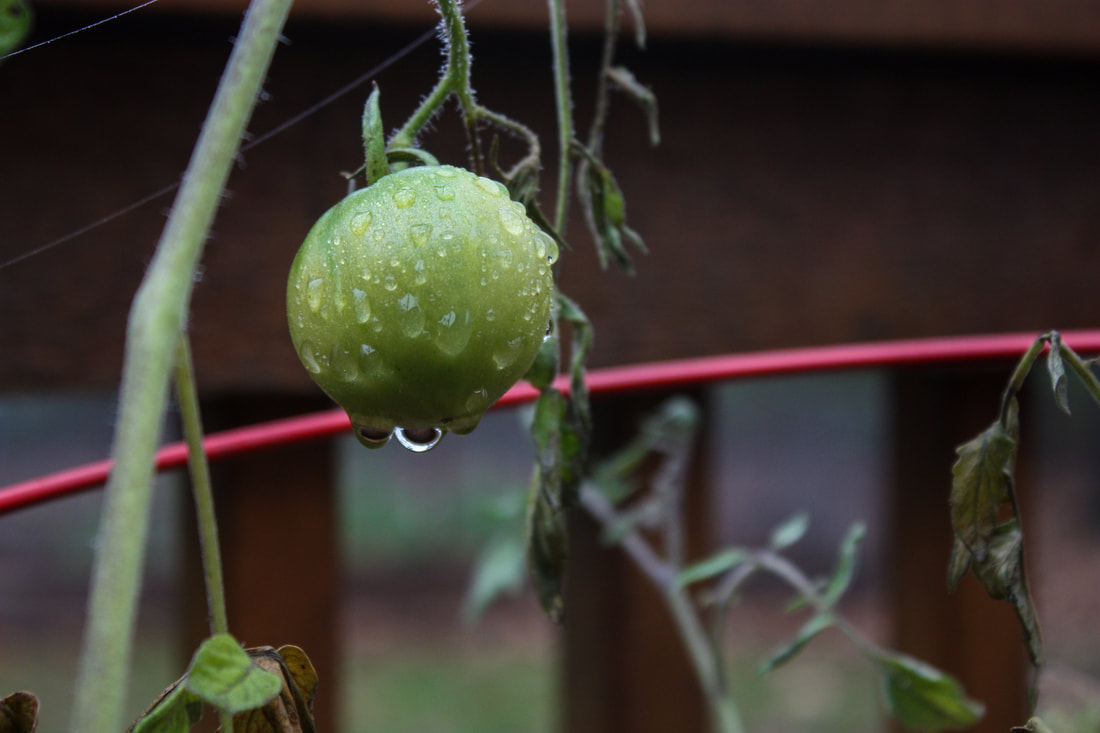
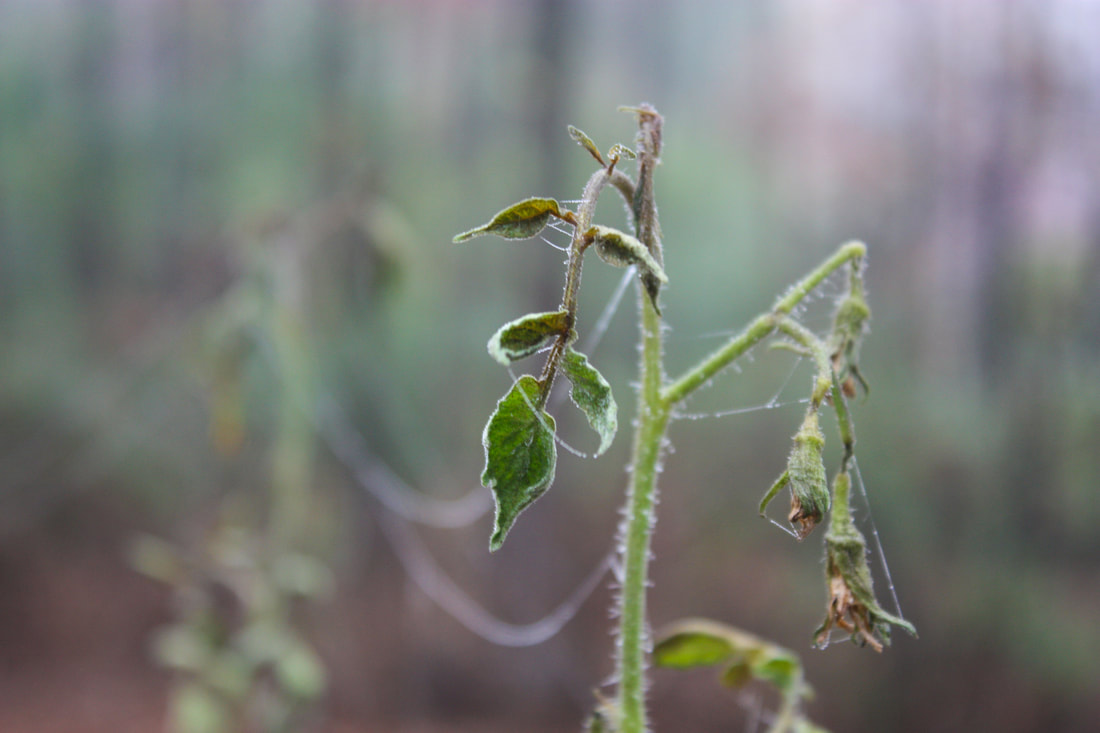
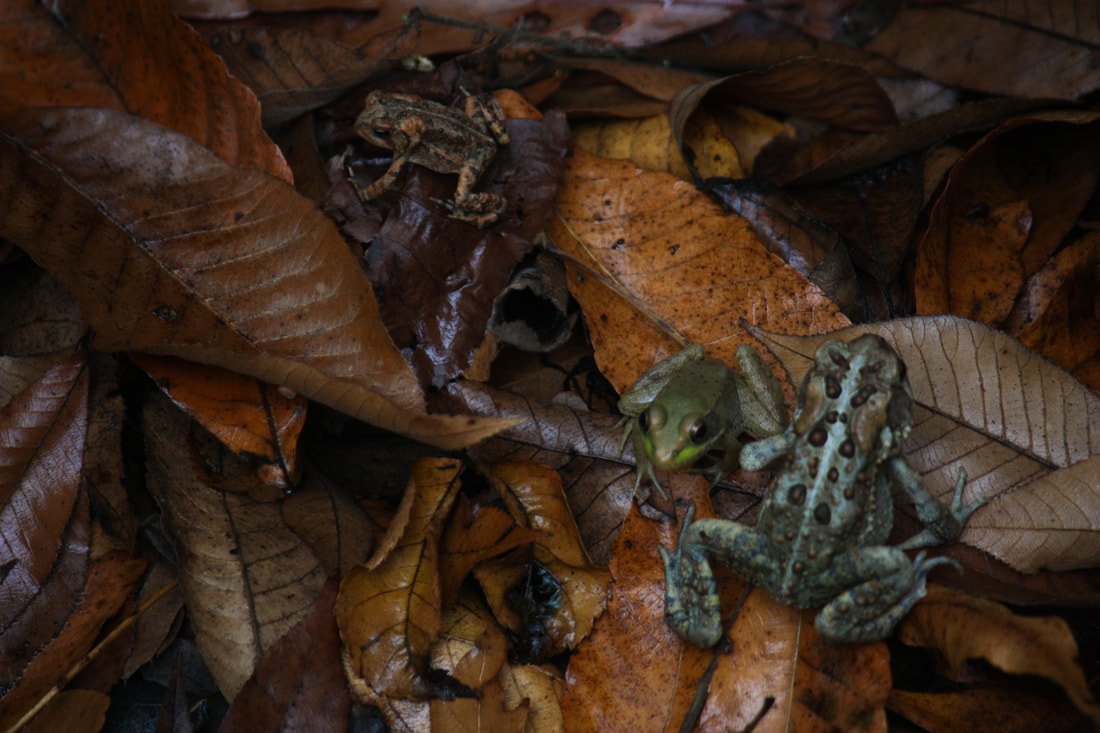
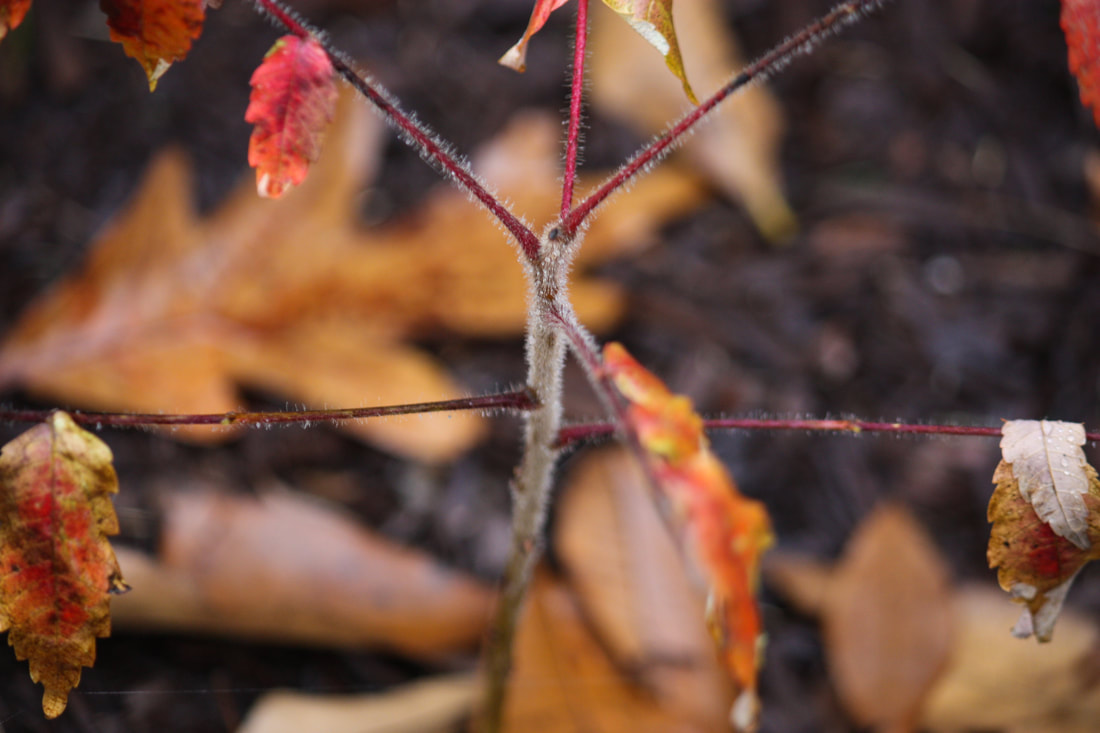
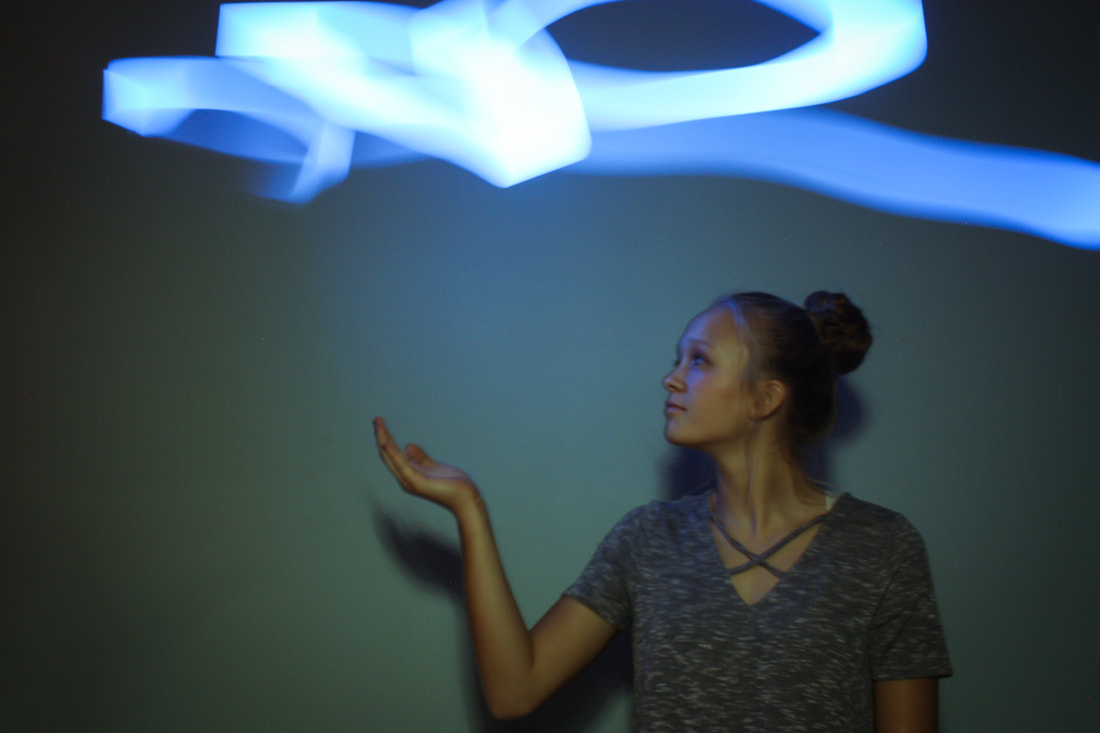
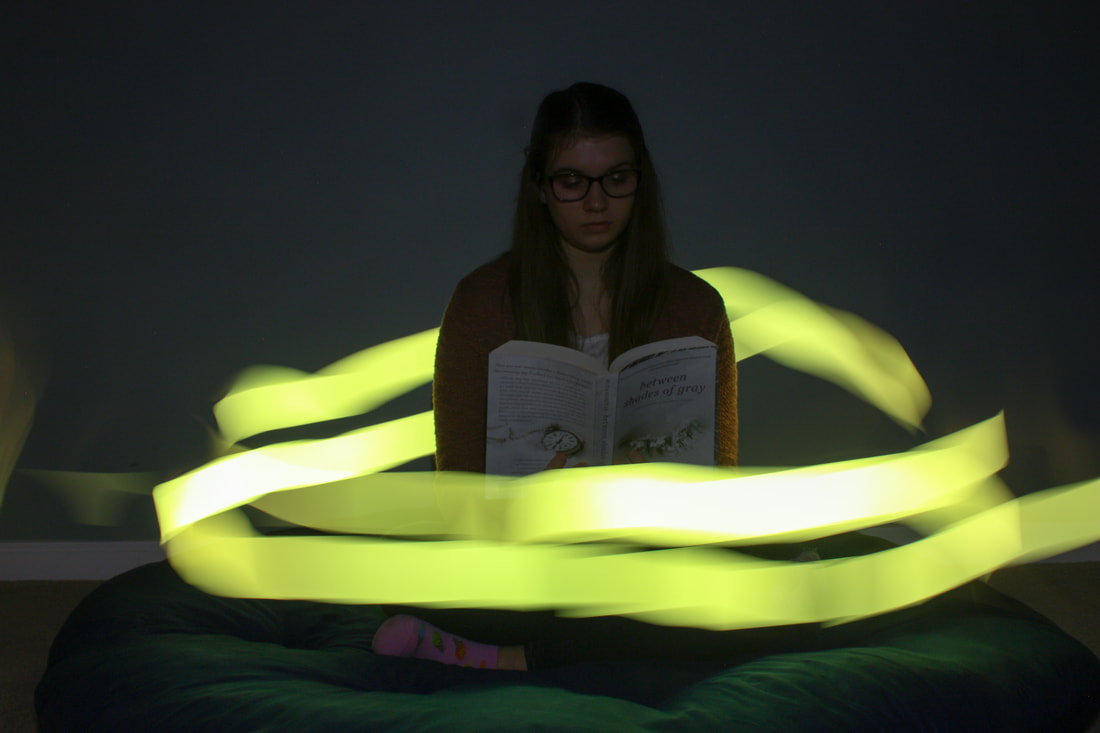
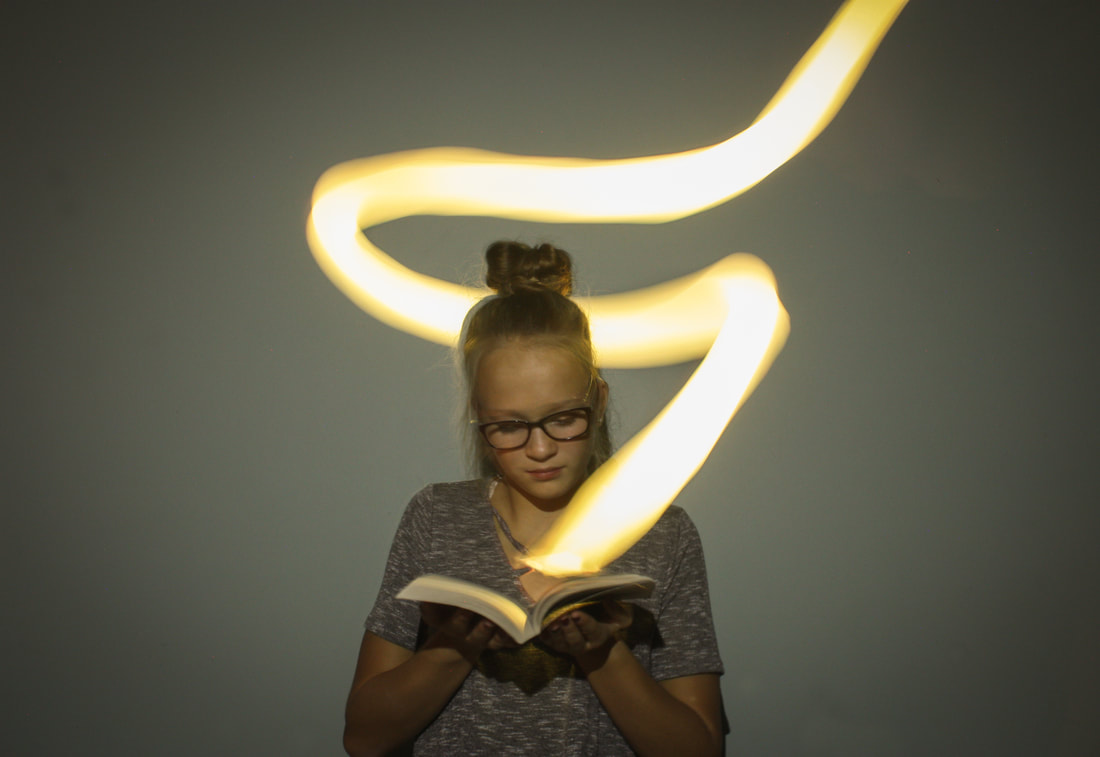
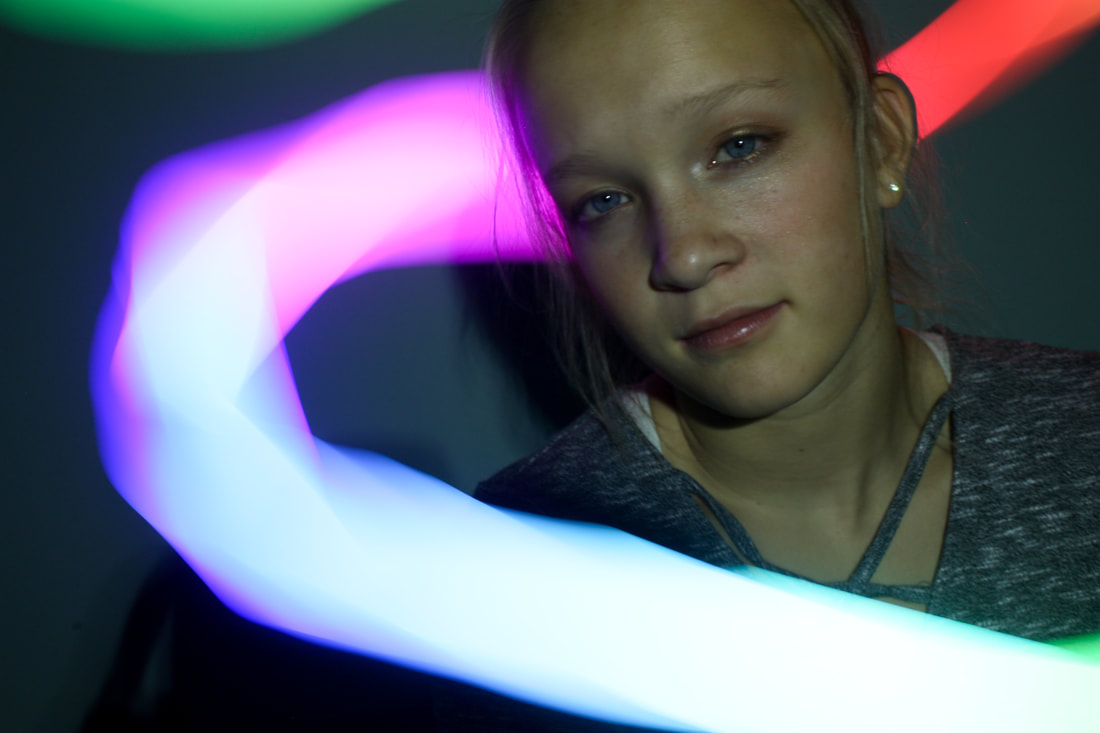
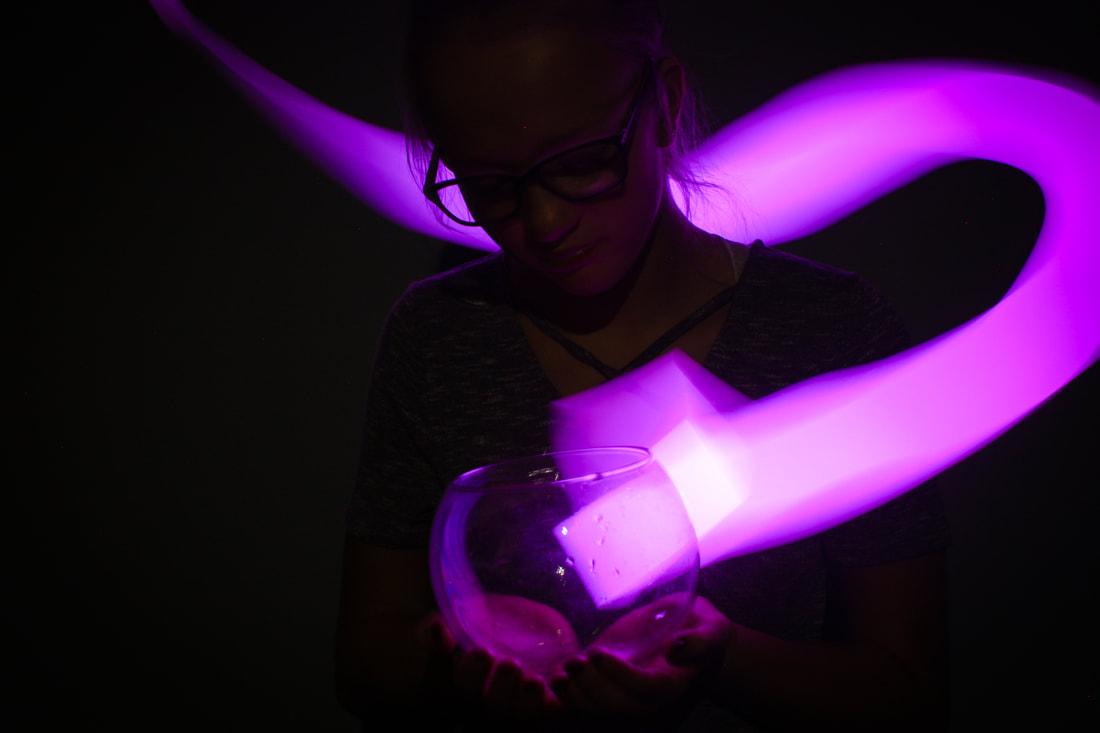
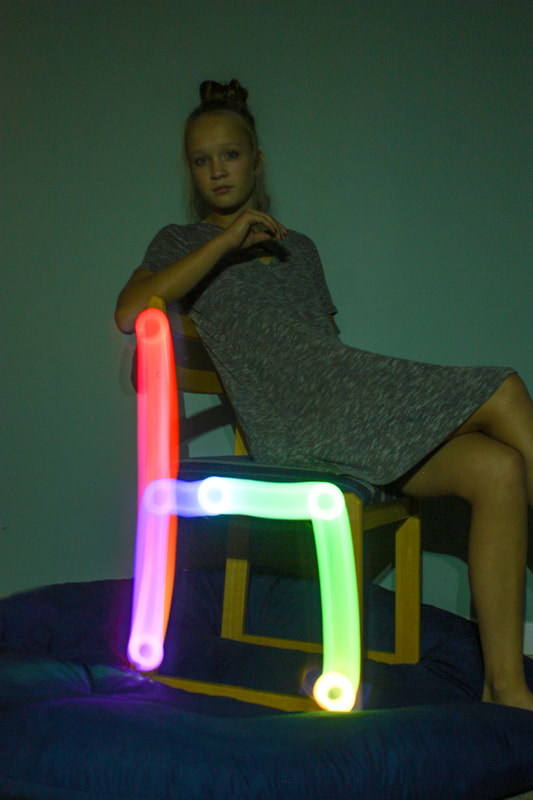
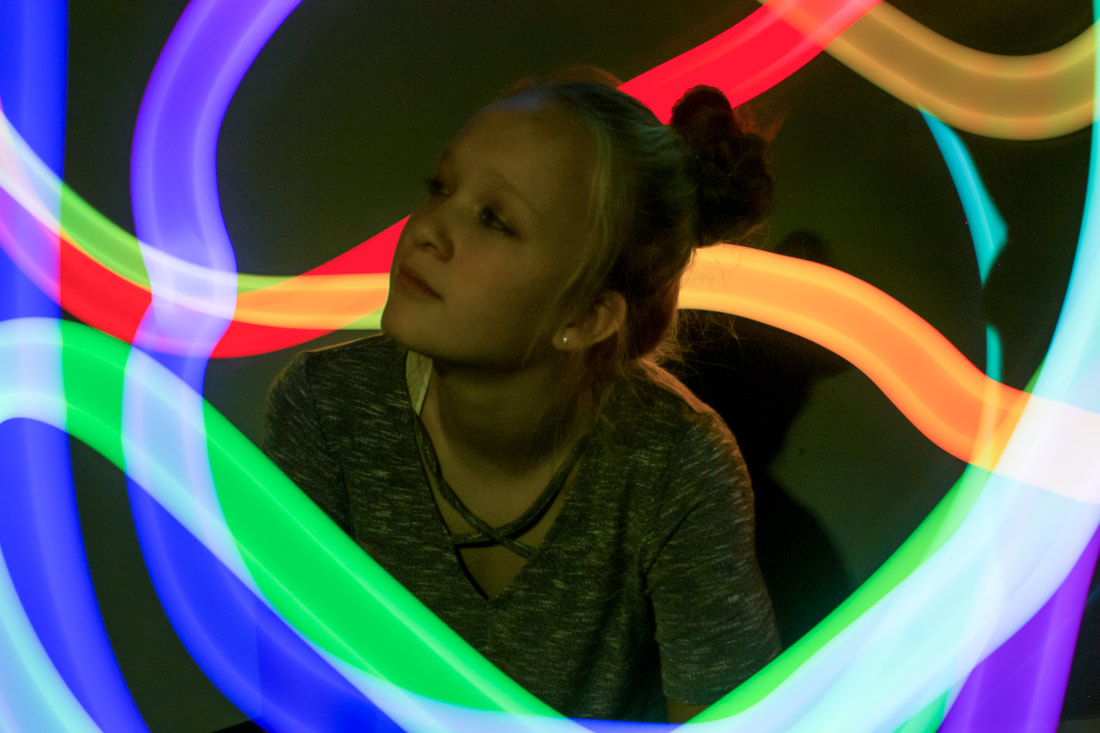
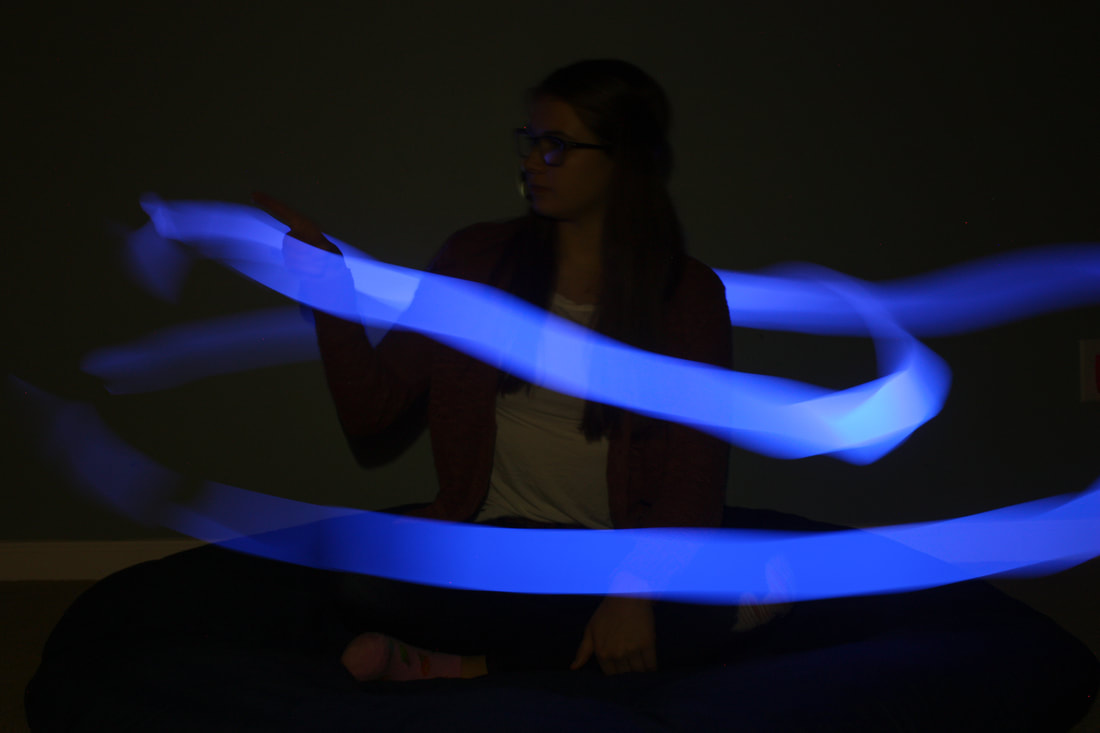
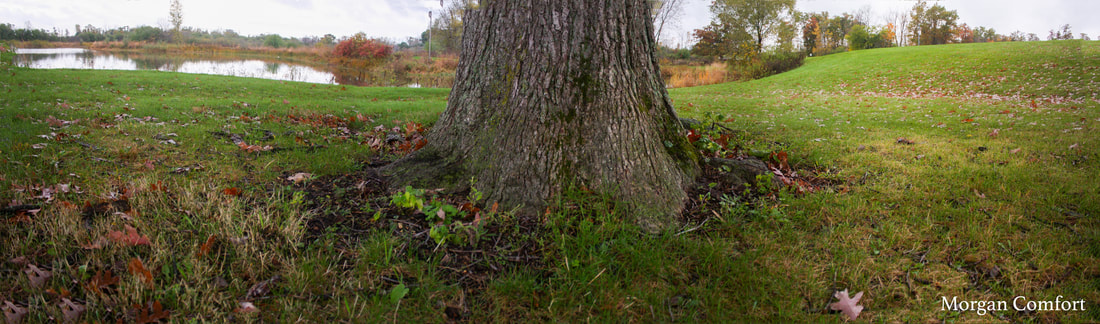
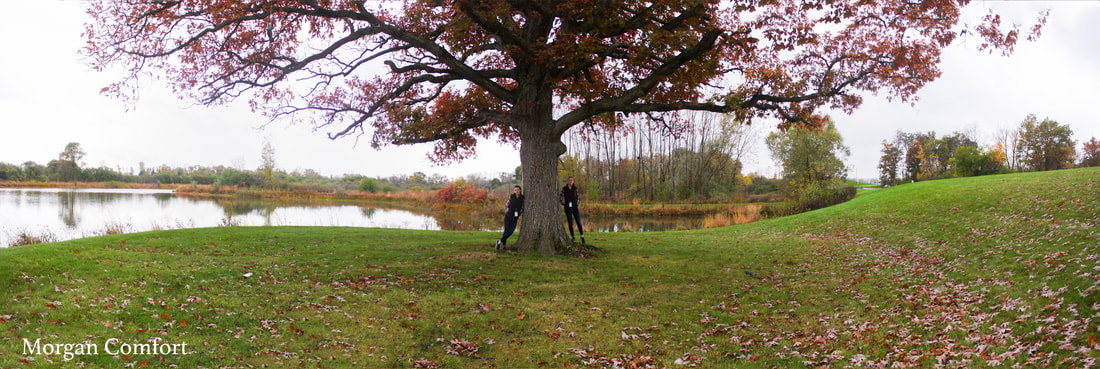
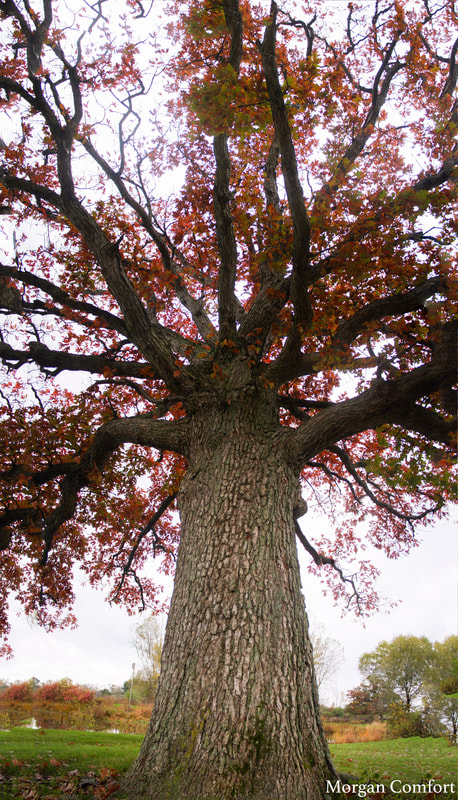
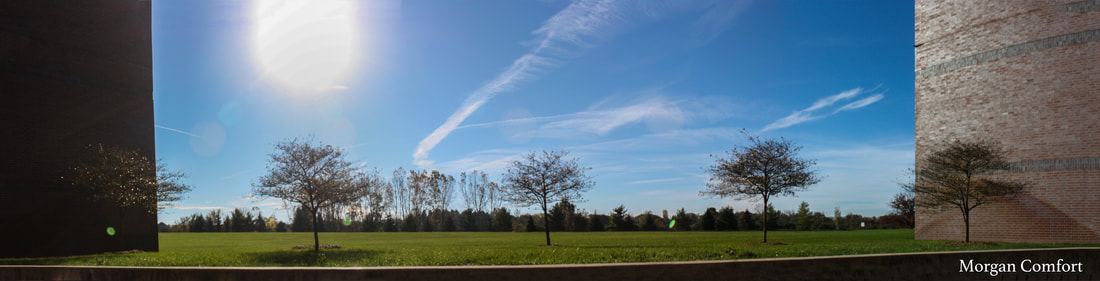
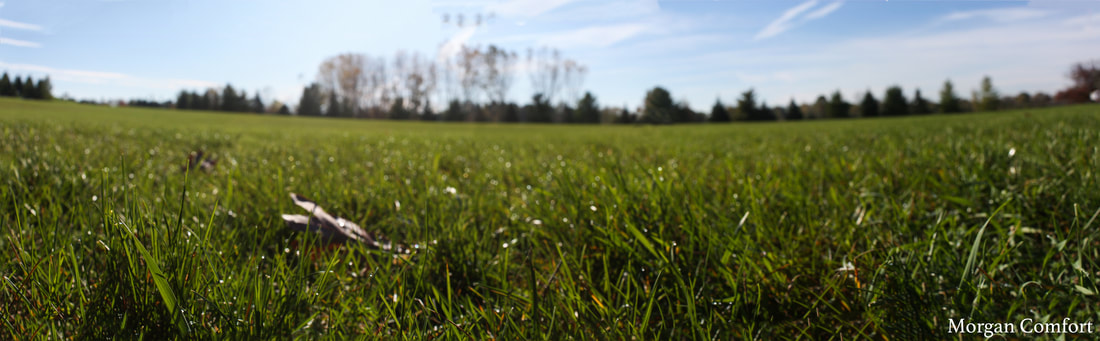
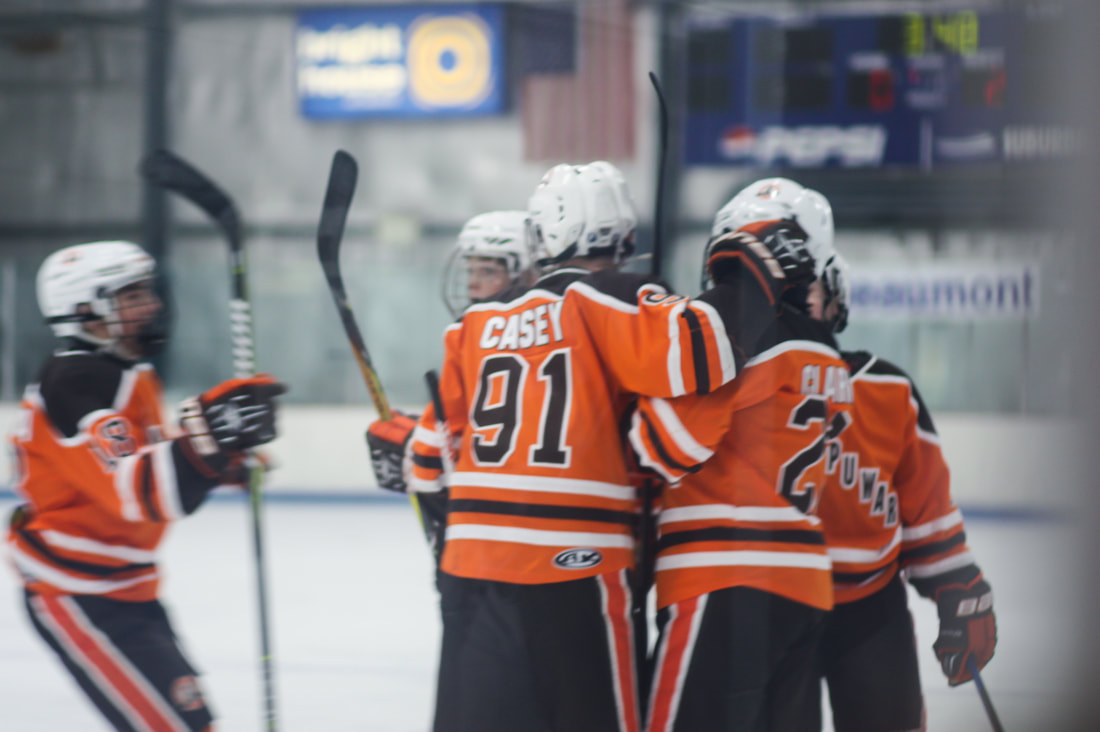
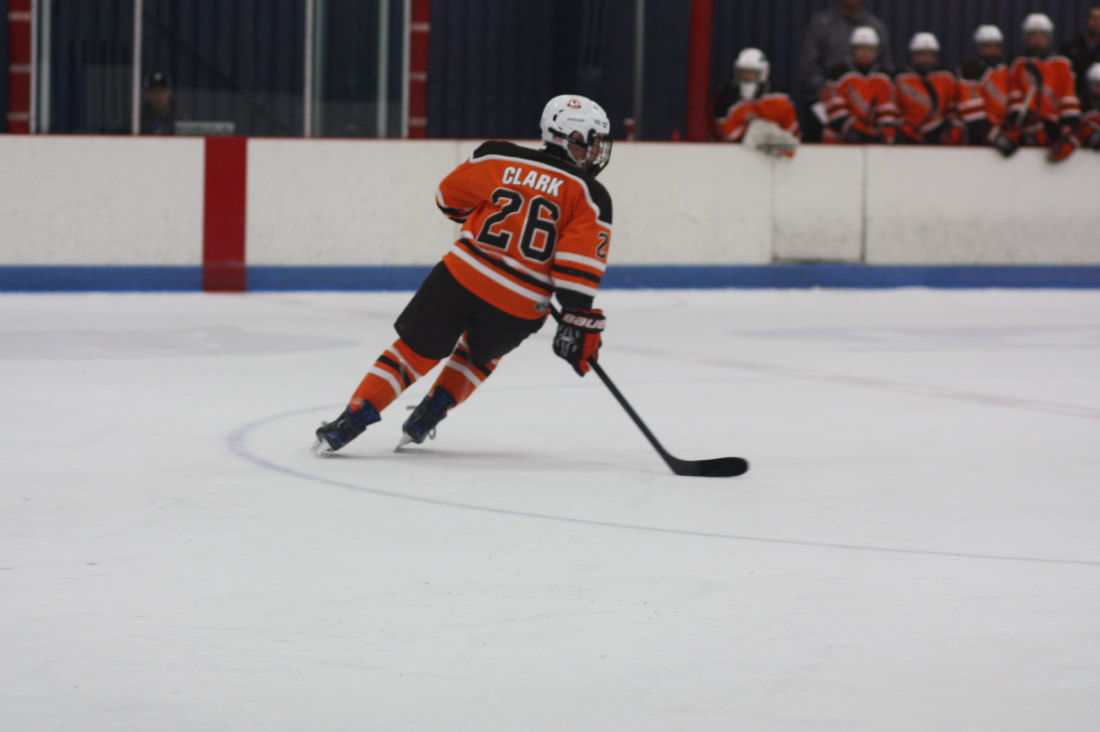
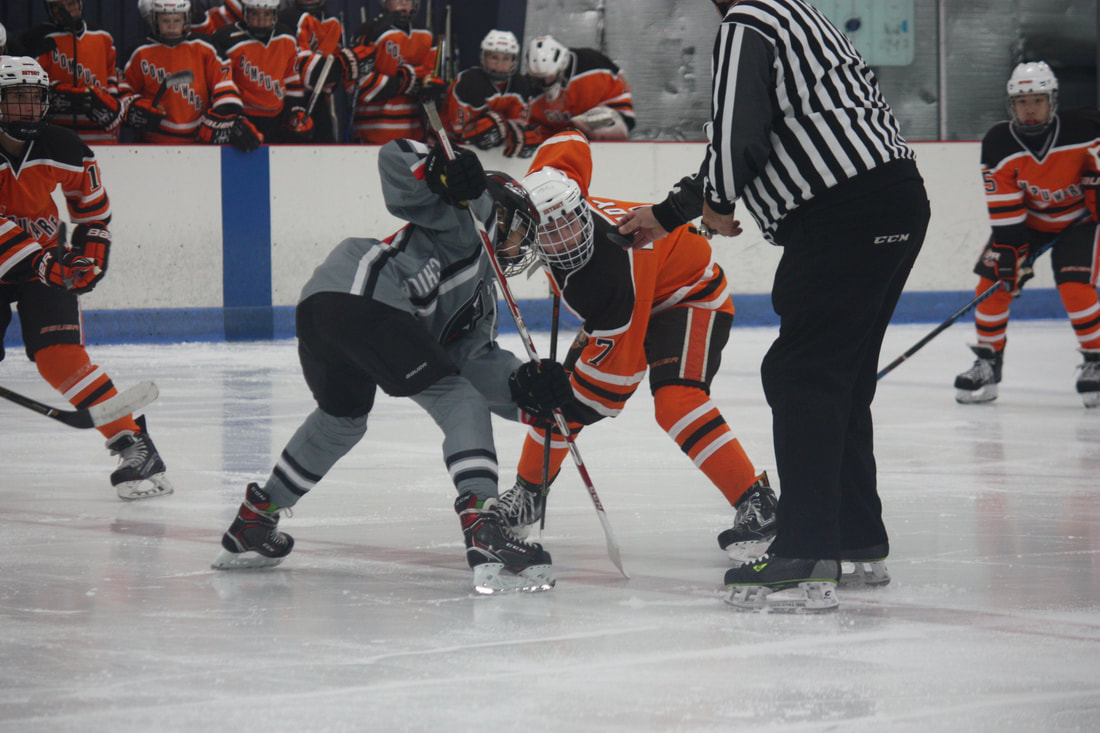
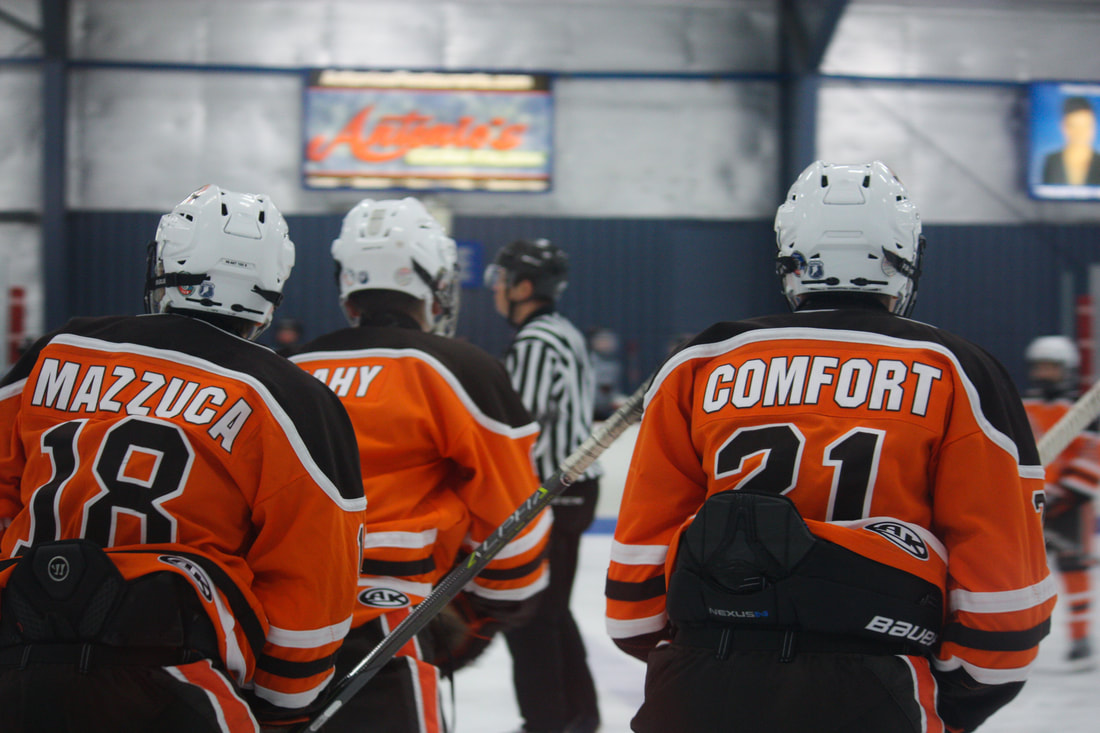
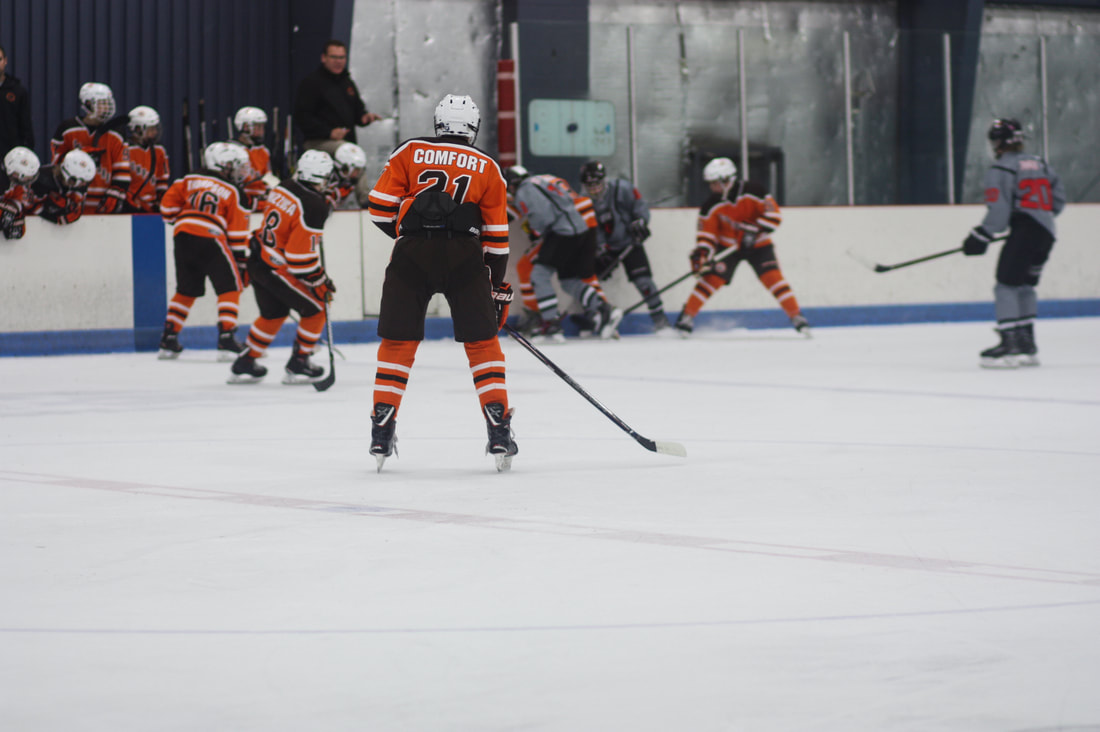
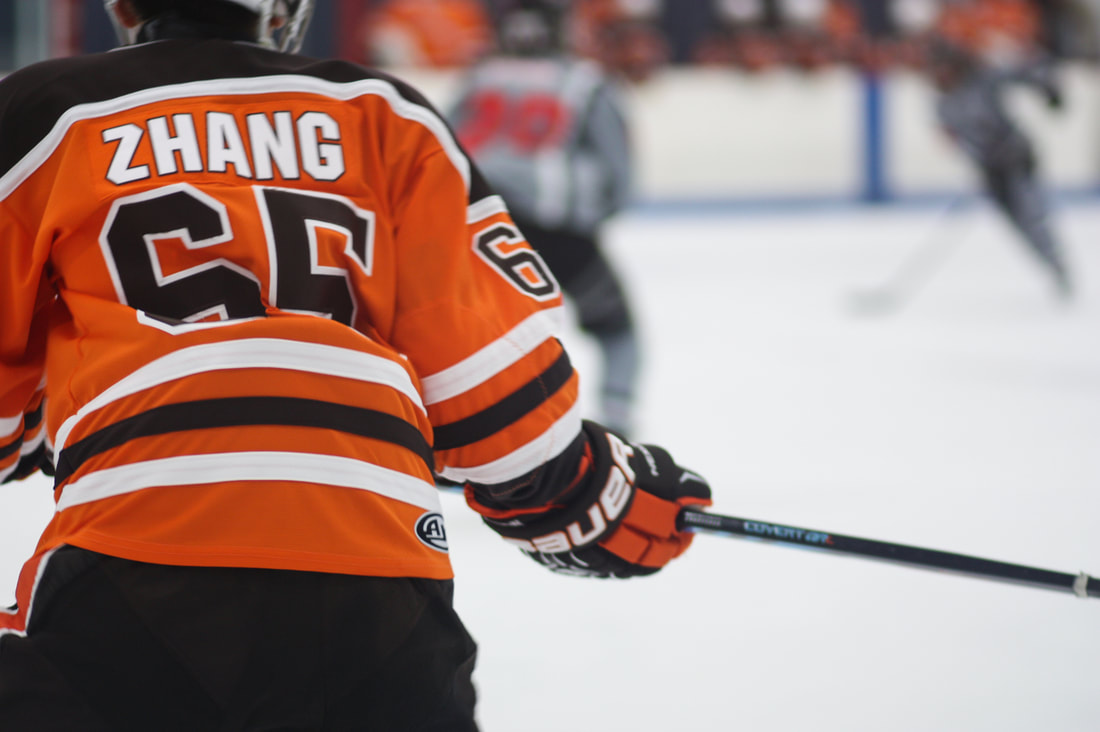
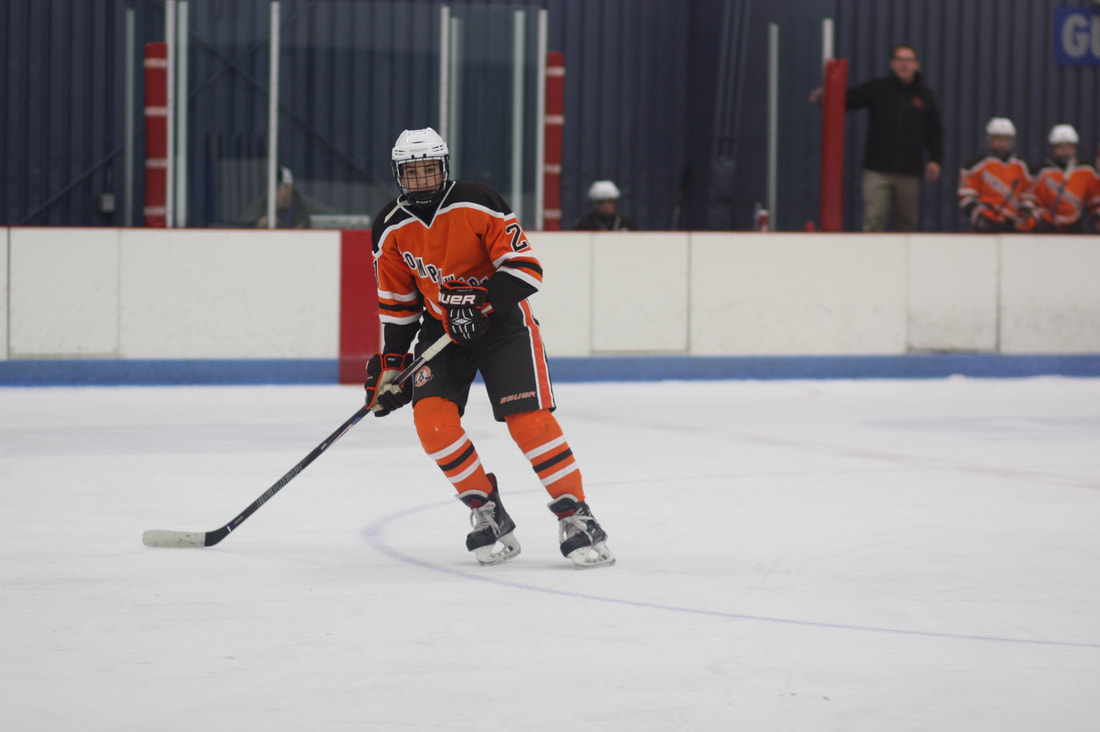
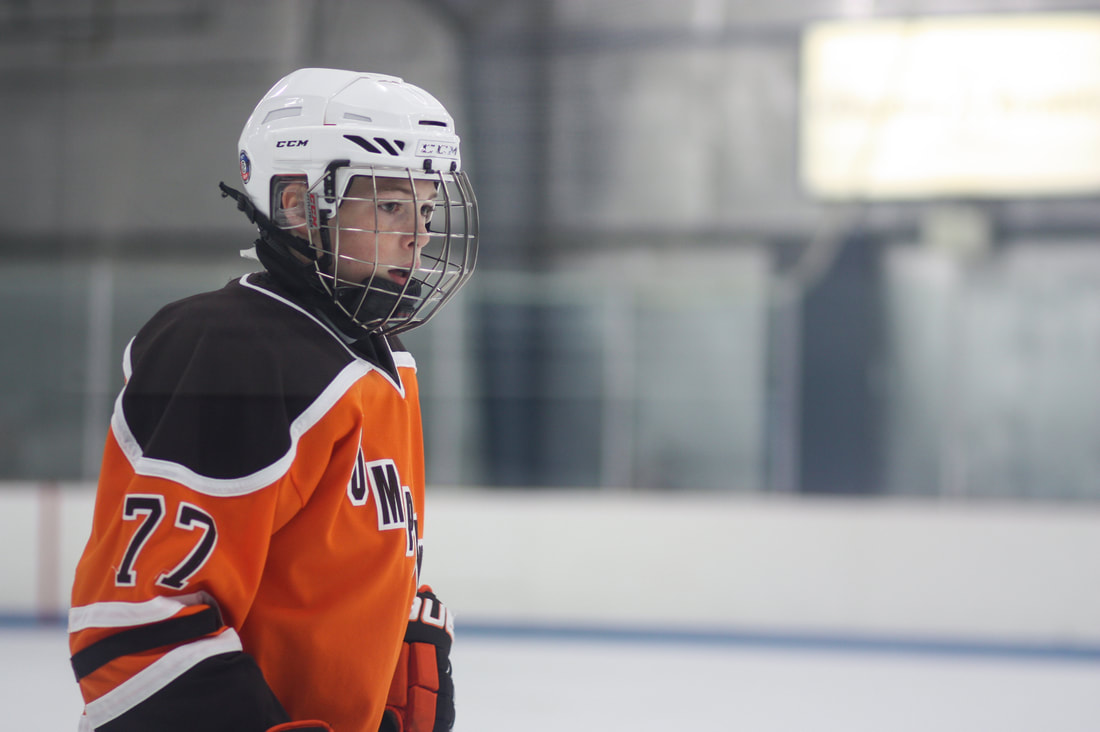
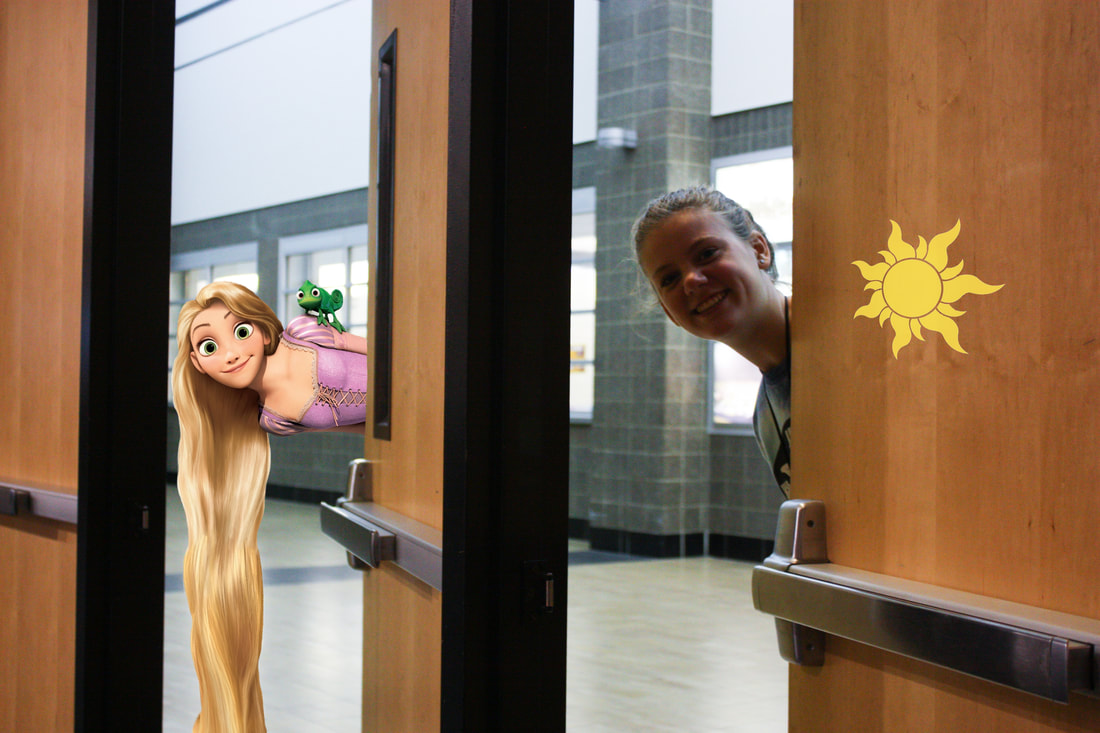
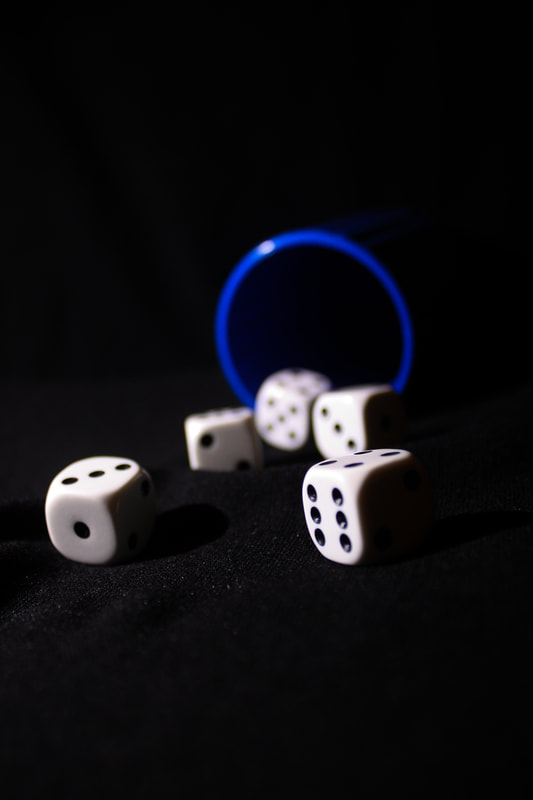
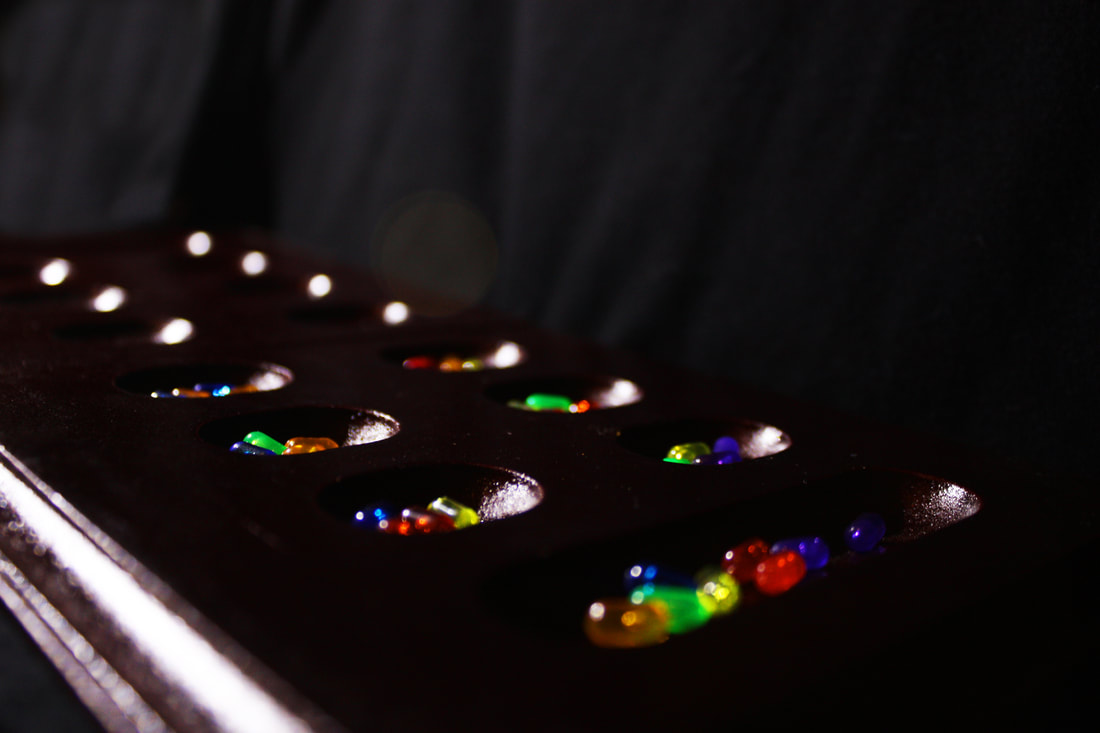
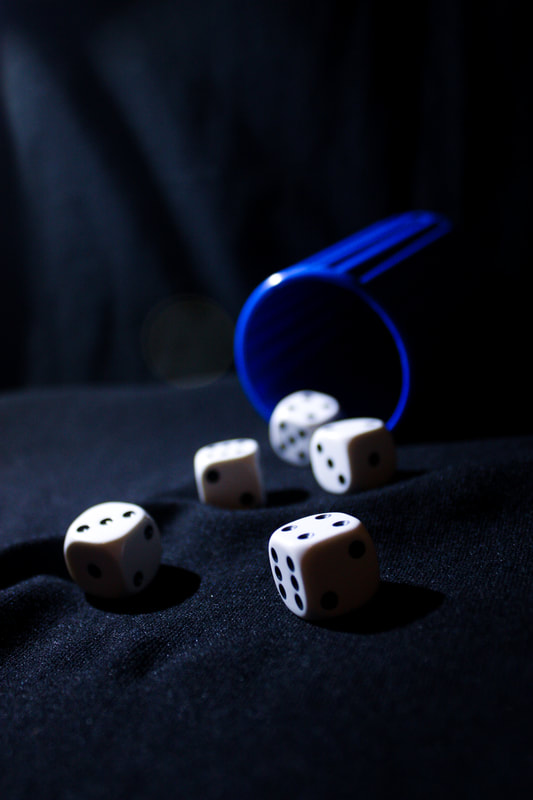
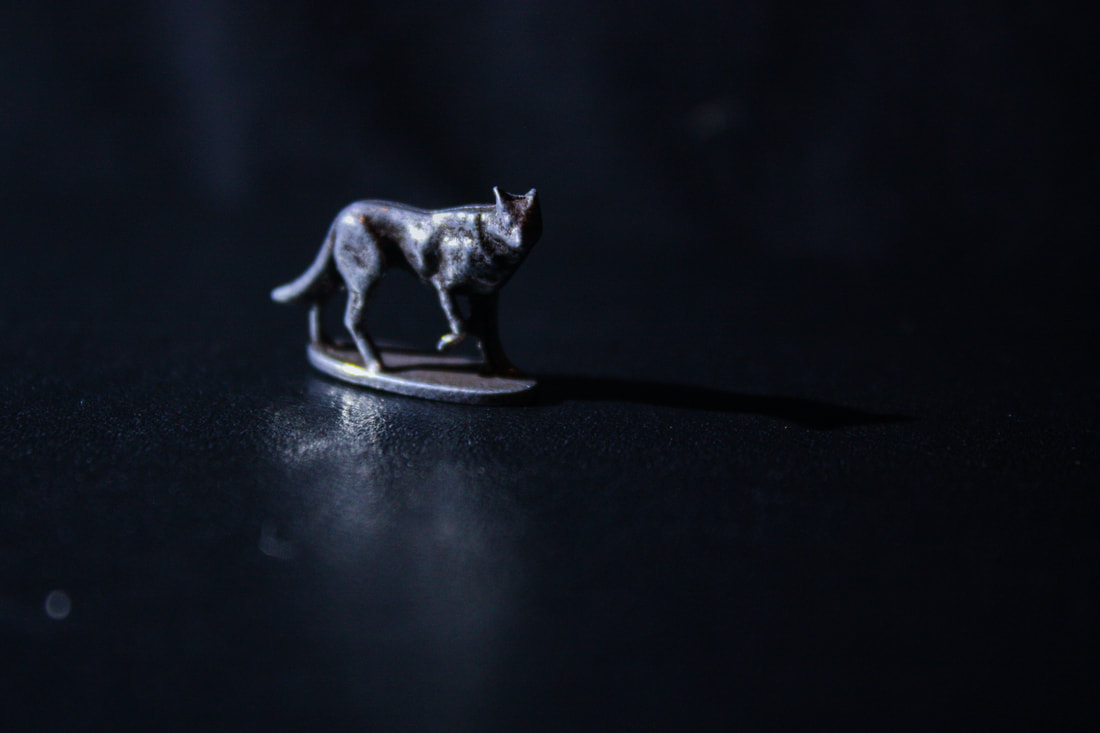
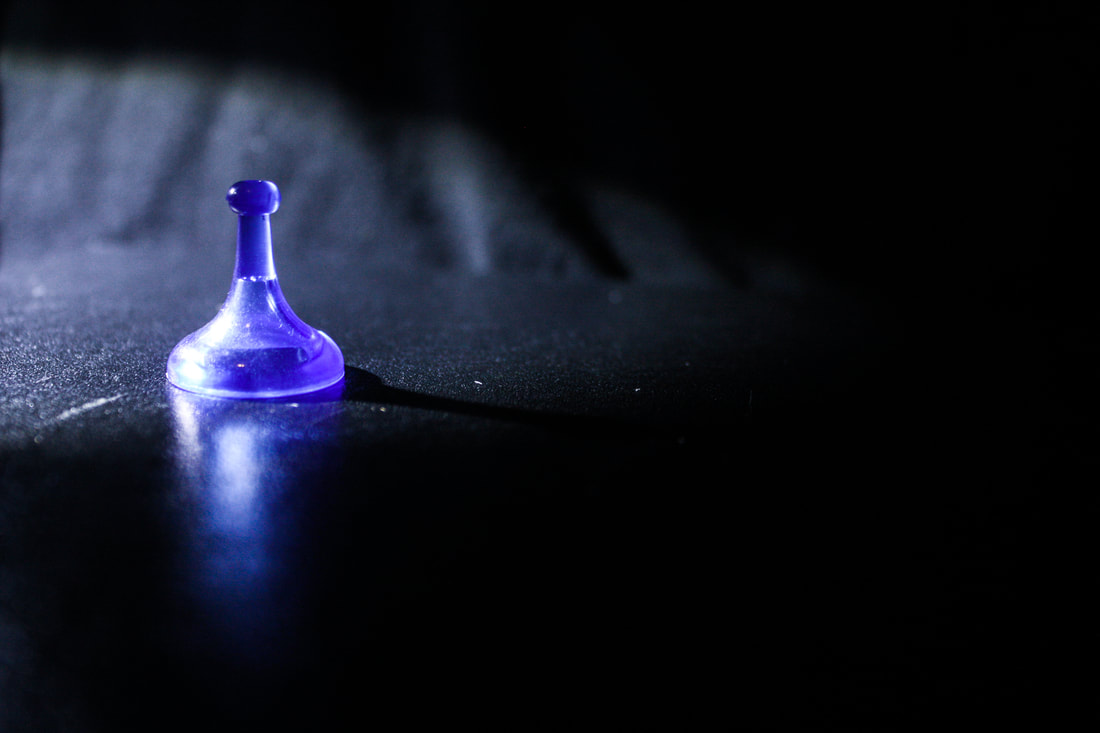
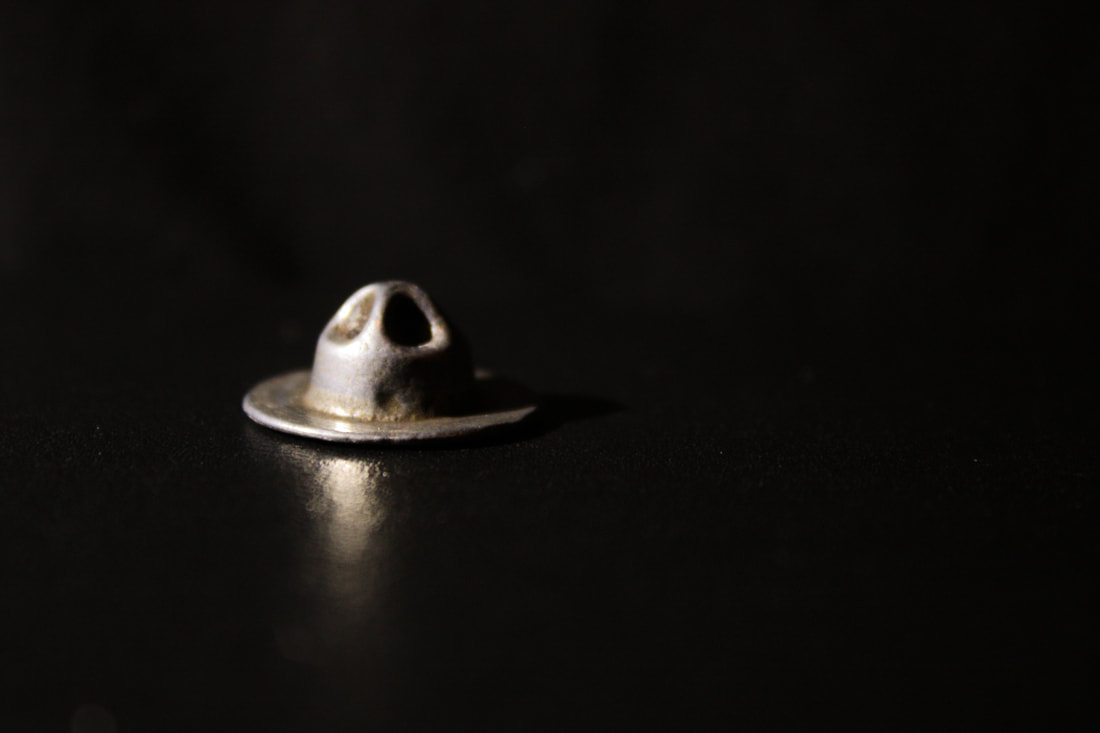
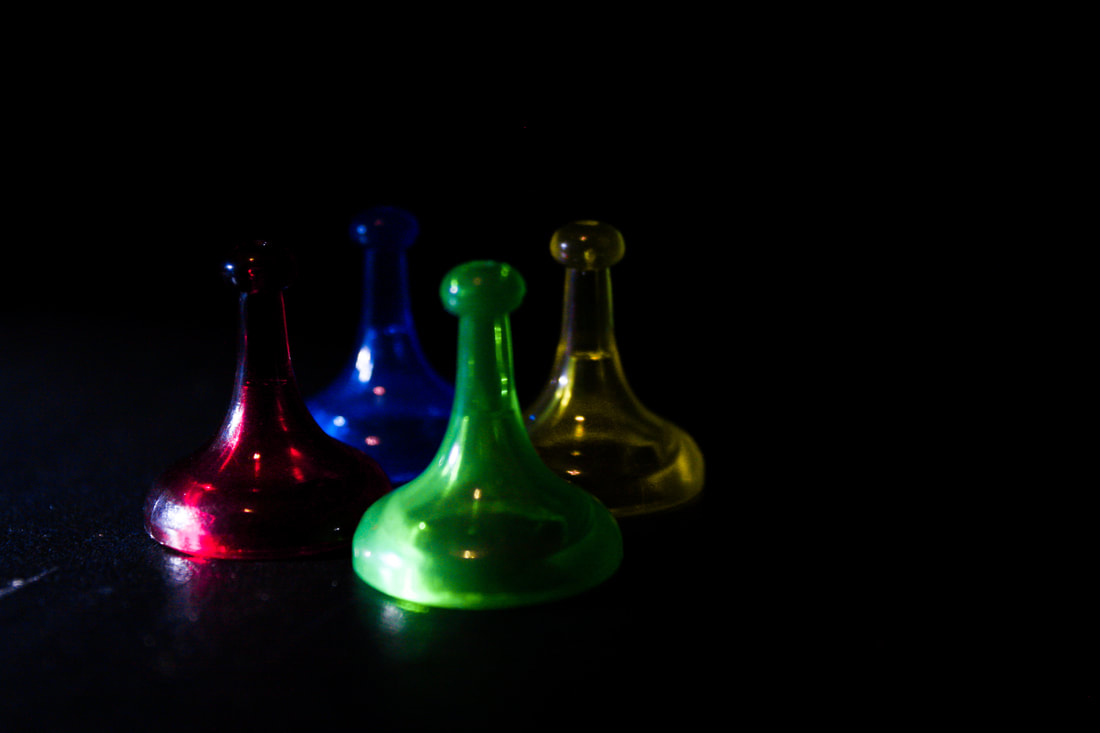
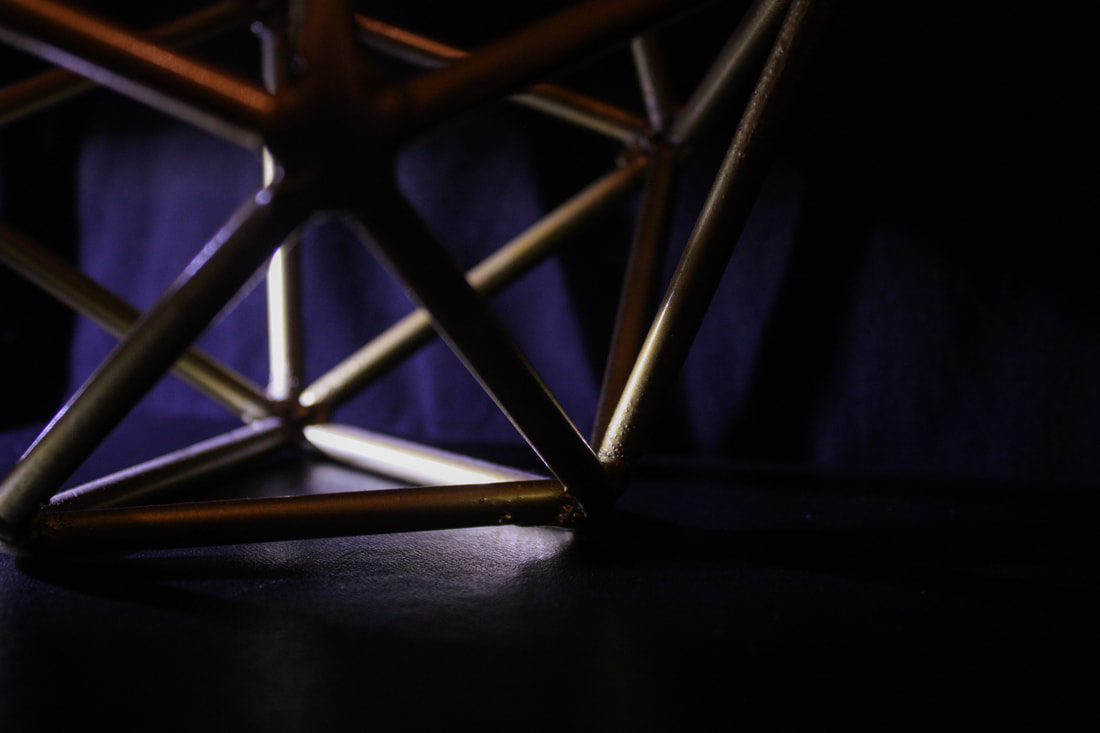
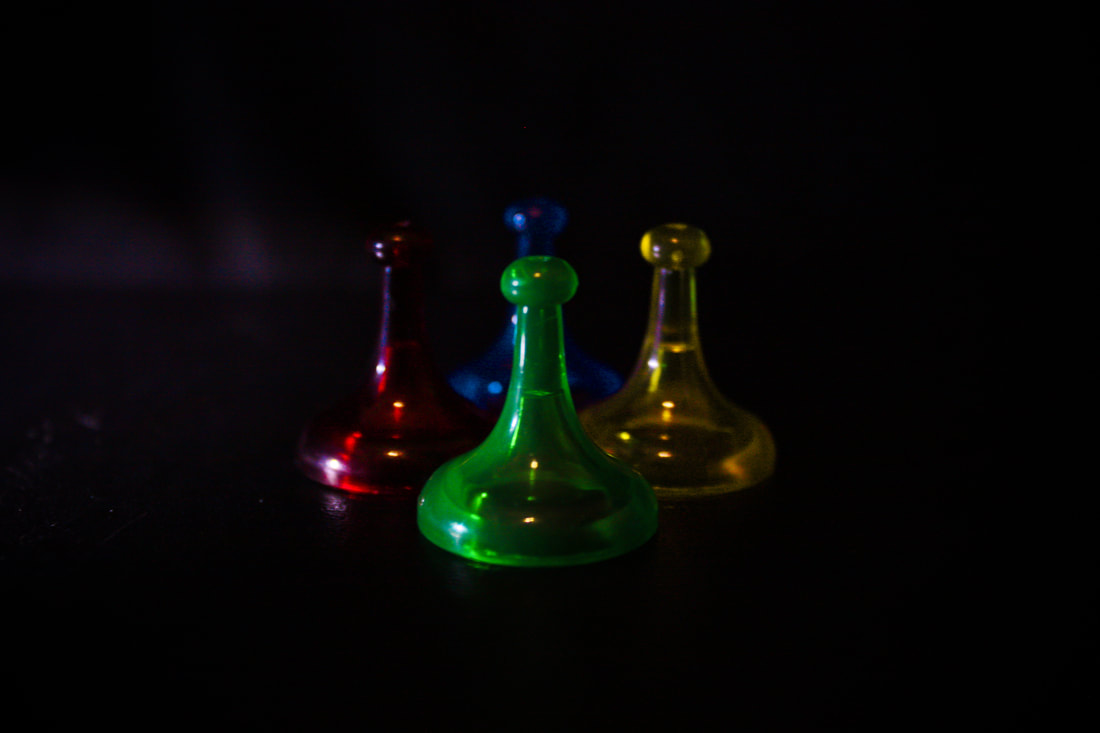
For our final weekly photo assignment, I chose black and white. I felt like this captured all the components we had been working on throughout the trimester: light, shadows, depth, and composition. I learned how to compose my photos for the most amount of shadows and interest, since the color was taken away. 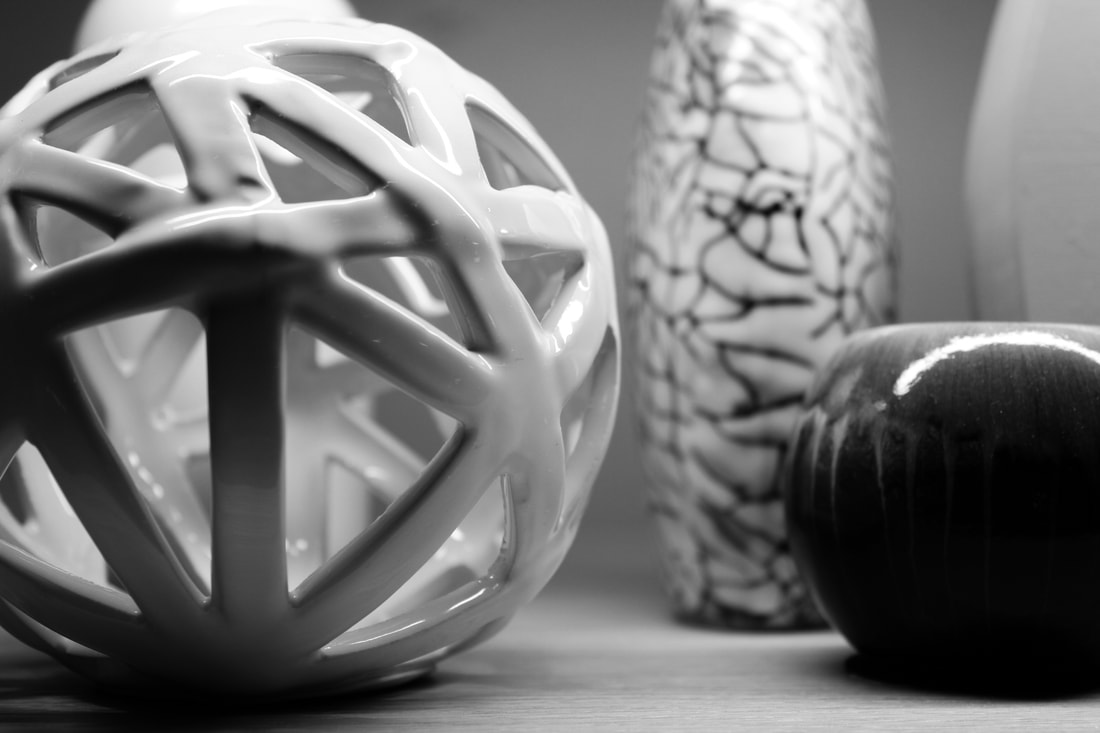 The only edits I did on this photo (and all the others) was increasing contrast and shadows and decreasing saturation all the way to zero to achieve the black and white affect. Shutter Speed: 1/50 Aperture: f/4.5 ISO 160 For our final photoshop assignment, we were asked to either create a 'multiple me' photo or find a tutorial on youtube and do an open assignment. I had time to complete both. For the multiple me assignment, we had to take multiple pictures of someone in different poses and positions then compose them all in one photo using layers. For the open assignment, I chose to do double-exposures. The bear shown below is what I made through a tutorial and the girl with the mountain is the photo I photoshopped on my own. Double-exposure is done by layering two pictures onto each other and choosing how much you want to see of both. Through both of these projects I learned how to be more familiar with layers and how they work through masking, cutting, and painting to reveal/conceal. In this weeks photo assignment, I decided to take pictures of nature for a brain break in between chemistry. I walked around my backyard and took photos of the things I found; including frogs. The challenge I found was making sure the correct components were in focus. Throughout this assignment I learned how to find a subject to exaggerate the nature theme and place my subject in an appealing spot in the photo.  The only edits I did on this photo were slight; increase in vibrancy, contrast, shadows, and exposure. Shutter Speed: 1/60 Aperture: f/5.6 ISO 400 For this photoshop assignment, we were asked to shoot photos using window lighting and studio lighting then compose them together into a portrait gallery. When we used the window light, we used a reflector to bounce the remaining light on the opposite of the face to decrease the amount of shadow. When we used the studio light, we had a main light, a reflector and a hair light. the hair light provided distance between the subject and the background. It was really fun to work with people as your subjects and actually feel like a professional photographer. Through this photoshop assignment I learned how to manipulate light to accentuate the people you are taking portraits of. 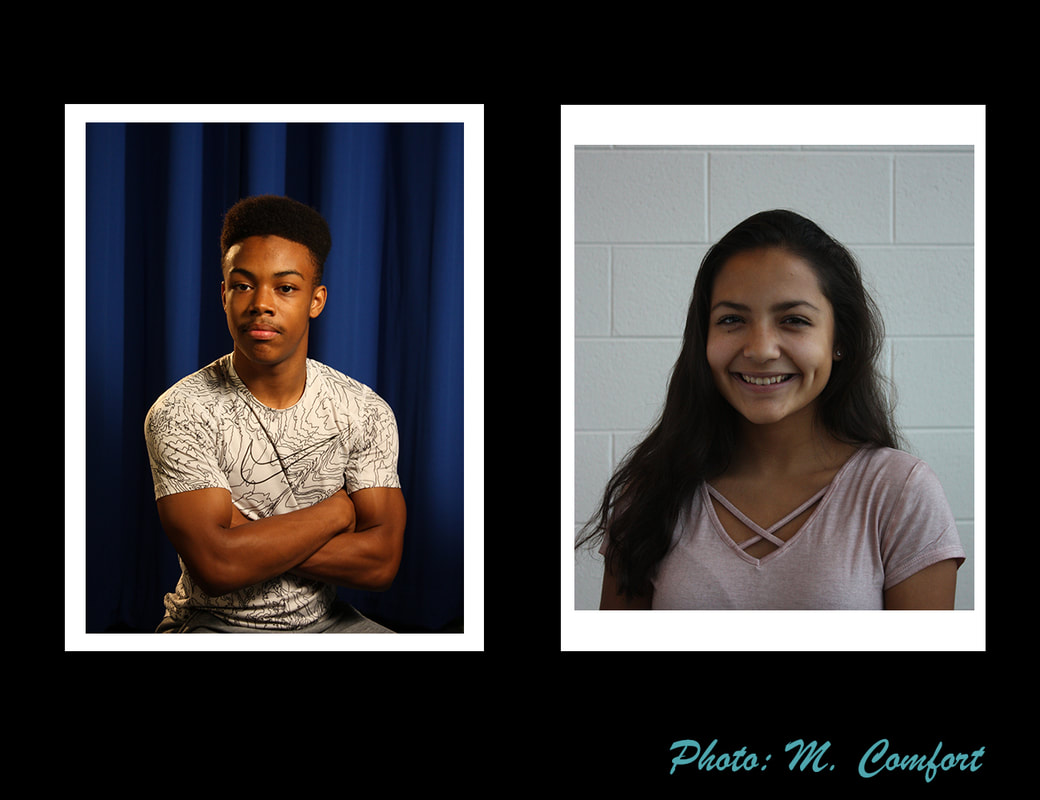 In this weeks photo assignment, I decided to do light painting. After we did the demo in class, I could not wait to try it. Working with my subjects and colors was fun but challenging: there were many steps to remember, every photo took multiple trials, and I kept forgetting to make sure the subject was in focus. Overall, I had fun messing with the different ways the colors and lights worked and learned how to position my subject to work with the way I wanted the lighting to work.  To edit this photo, I increased vibrancy, brightness, and shadows. I also used clone stamp to edit out imperfections around the picture and messed with color correction to blur any noise. Shutter speed: 20.0 Aperture: f/8.0 ISO 100 For this photoshop assignment, we were asked to create 5 different panoramic photos. A panoramic is a photo with a wide view and allows the viewer to see more than you would in a single snapshot. Through this unit I learned how to use a tripod and also how to take panoramic photos and merge them in photoshop. This is done by taking multiple pictures of a preferred scene as you rotate the camera around. A tripod makes the process much easier and the panoramics come out a lot neater. The merging of these photos is done in photoshop by using file>automate>photomerge. I thought this assignment was going to be difficult, since I didn't know of the automatic photo merging, but it ended up being pretty simple. For week number four, I chose to shoot photos at my brother's hockey game; he is number 21. Throughout the game, I attempted to capture the emotions and actions that take place during the game. I took pictures of the backs of jerseys, the face offs, celebrations after goals, and players skating. The biggest things I struggled with was balancing shutter speed and aperture to get the best clarity and having to shoo through the glass. Although I struggled slightly with the lighting and blurring, I learned how to time and set up my camera so I could get the best shots. 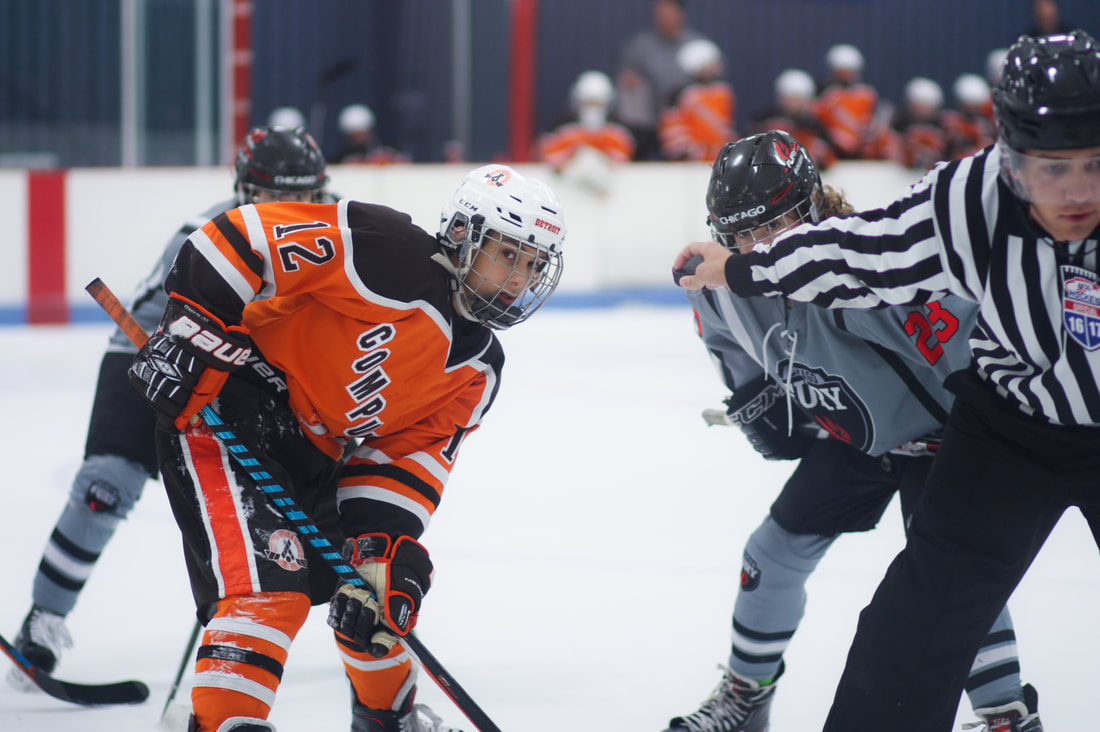 My best photo was a picture of one of my brothers teammates during a face off. I liked this photo because while the referee was getting the other players around in the right spot, I captured number 12 looking in my direction. The only editing I did in Photoshop was increasing vibrance and contrast, decreasing clarity to blend imperfections, and making the temperature cooler to make the focus pop. Shutter Speed: 1/100 Aperture: f/2.0 ISO 200 For this photo shop assignment, we were asked to take a picture in the school then transform it into something wild. I decided to add Tangled theme things into an ordinary day at school. Throughout this week, I learned so man new things on photo shop. For example, I learned how to add images into a photo when I added Rapunzel and the sun. I also learned how to scale images so they have the correct perspective and how to blend two images together and make it look like one, since I had to add extra hair to the original Rapunzel image. For this weeks photo assignment, I chose still life as my topic. I shot multiple games throughout this shoot including: Yellowstone monopoly, Sorry, Jenga, Manacala, and Yahtzee. For these games, I tried to use the pieces to create reflections on the board as you can see in my best photo. This specific piece was from a Yellowstone monopoly game that we got from there a few summers ago. I set up this shoot in my room using a desk lamp and laying on the floor. Overall, I learned how to manipulate shadows and light to really exaggerate a feature I was striving to see through this assignment. I also discovered new editing settings in photo shop and played around with those. 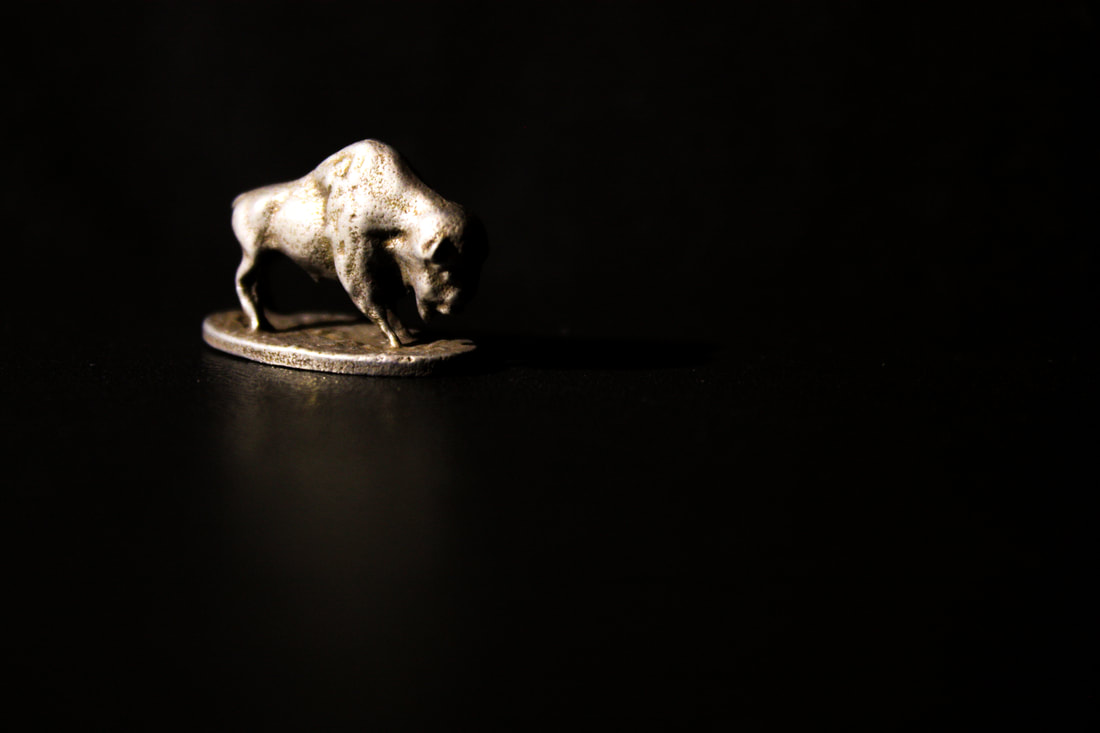 Shutter speed: 1/25 Aperture: f/5.6 ISO 800 To achieve this final photo, I increased the contrast and shadows and added a more yellow temperature to compliment the gold hues in the bison piece. |
AuthorWrite something about yourself. No need to be fancy, just an overview. Archives
November 2017
Categories |
Morgan's photography


 RSS Feed
