|
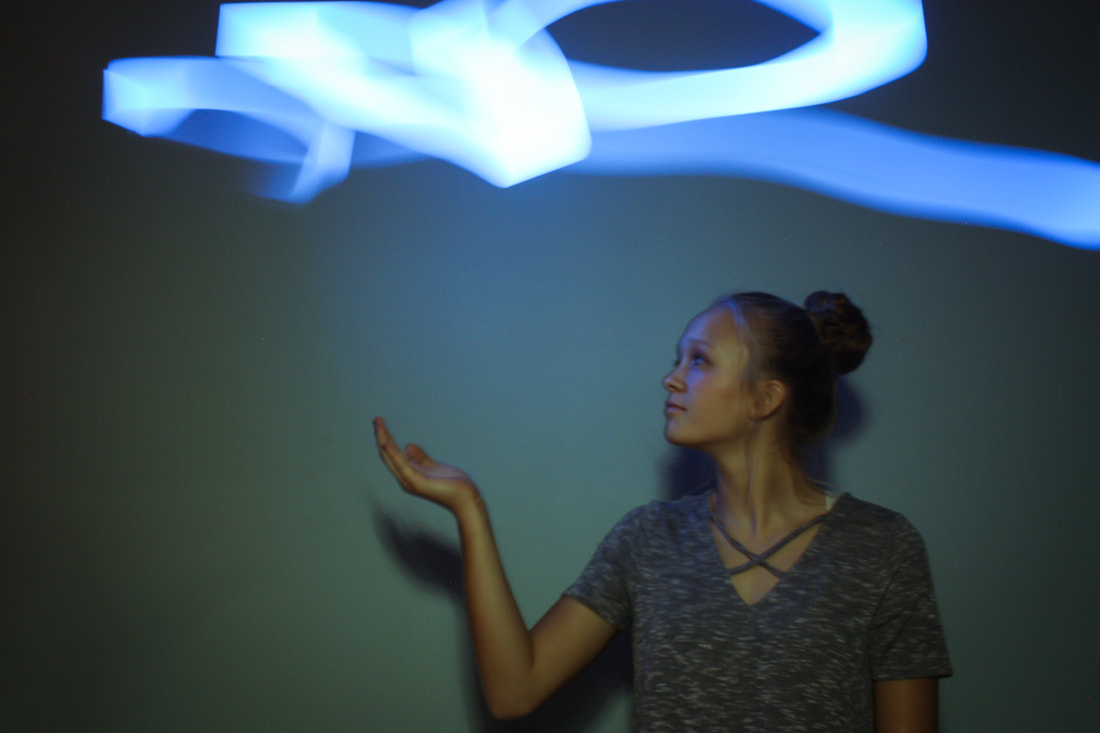
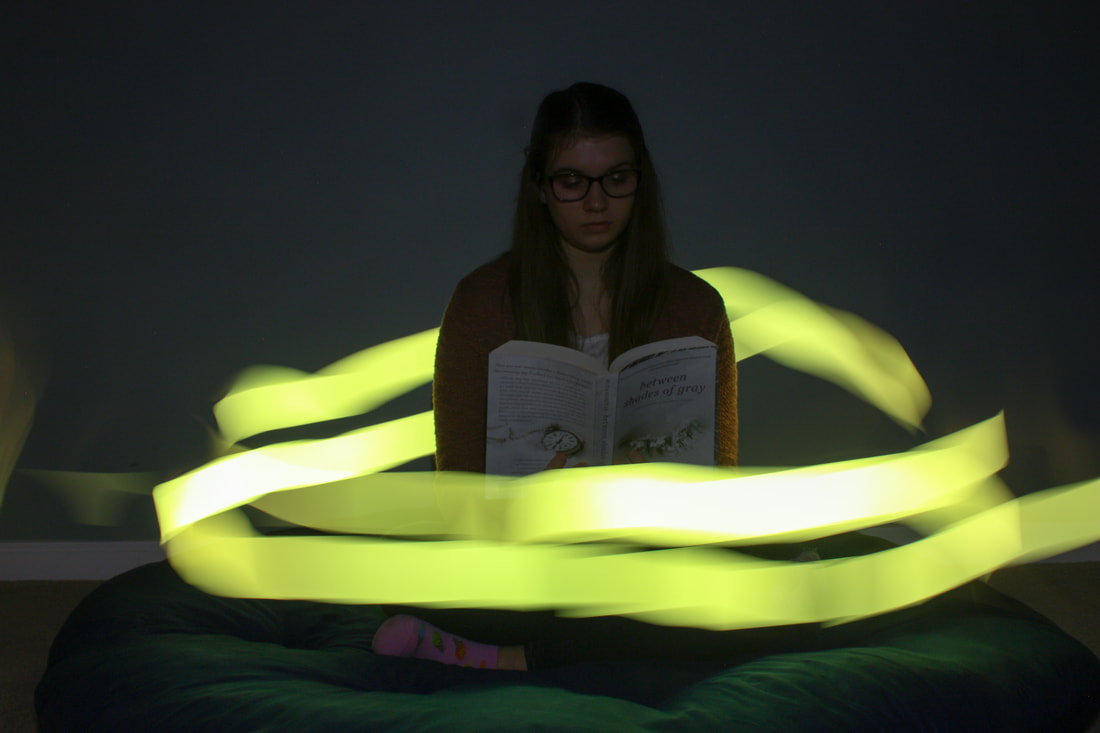
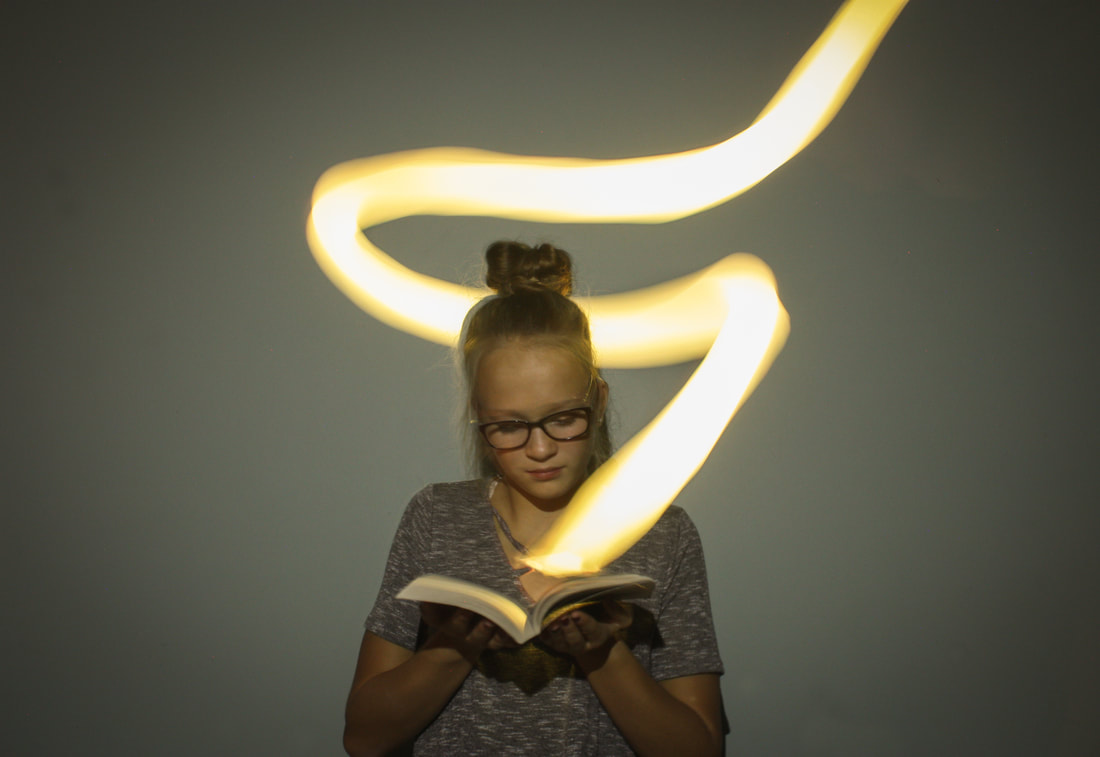
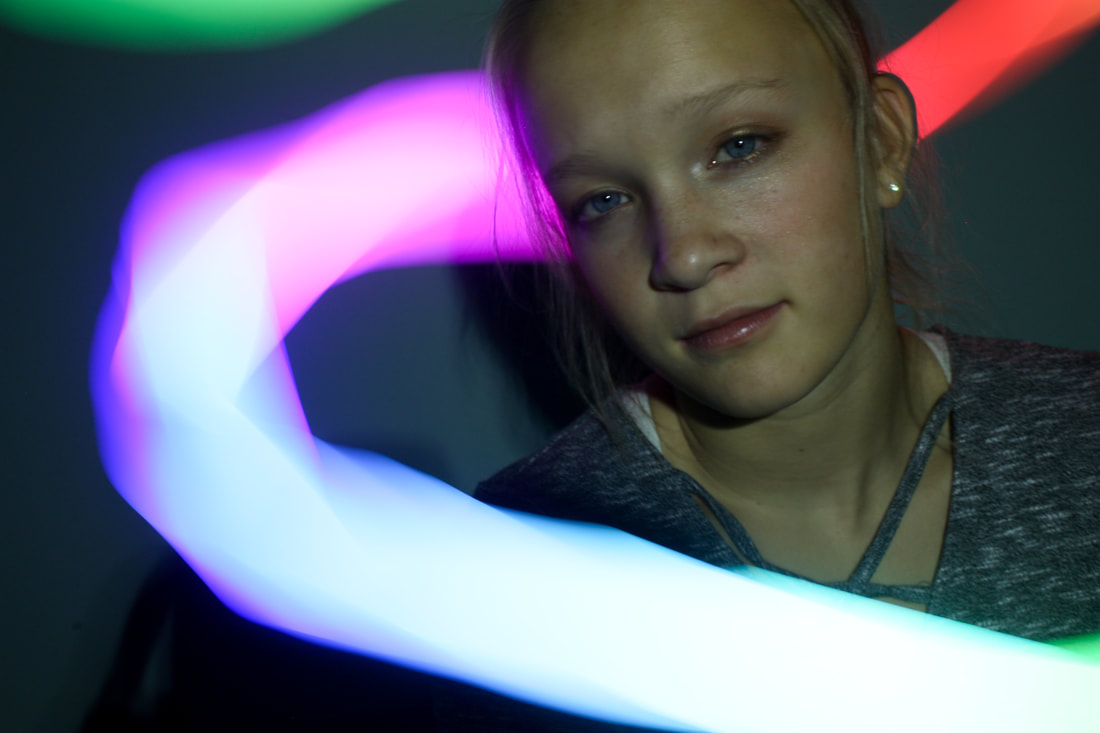
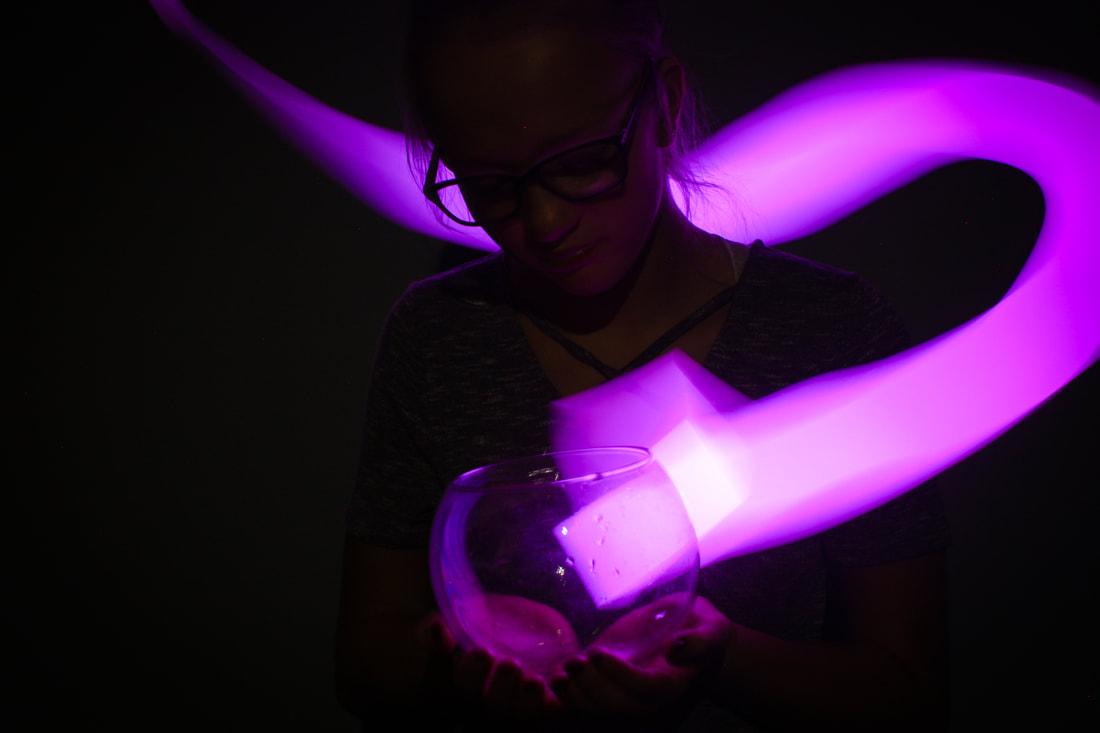
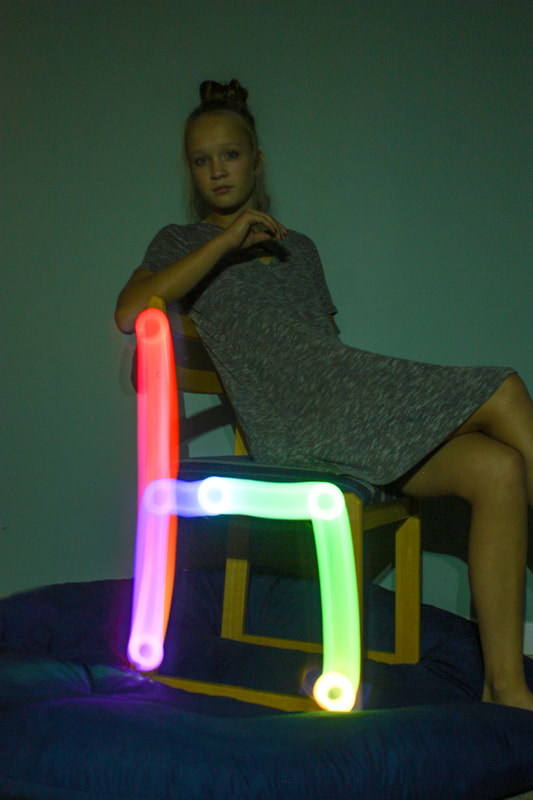
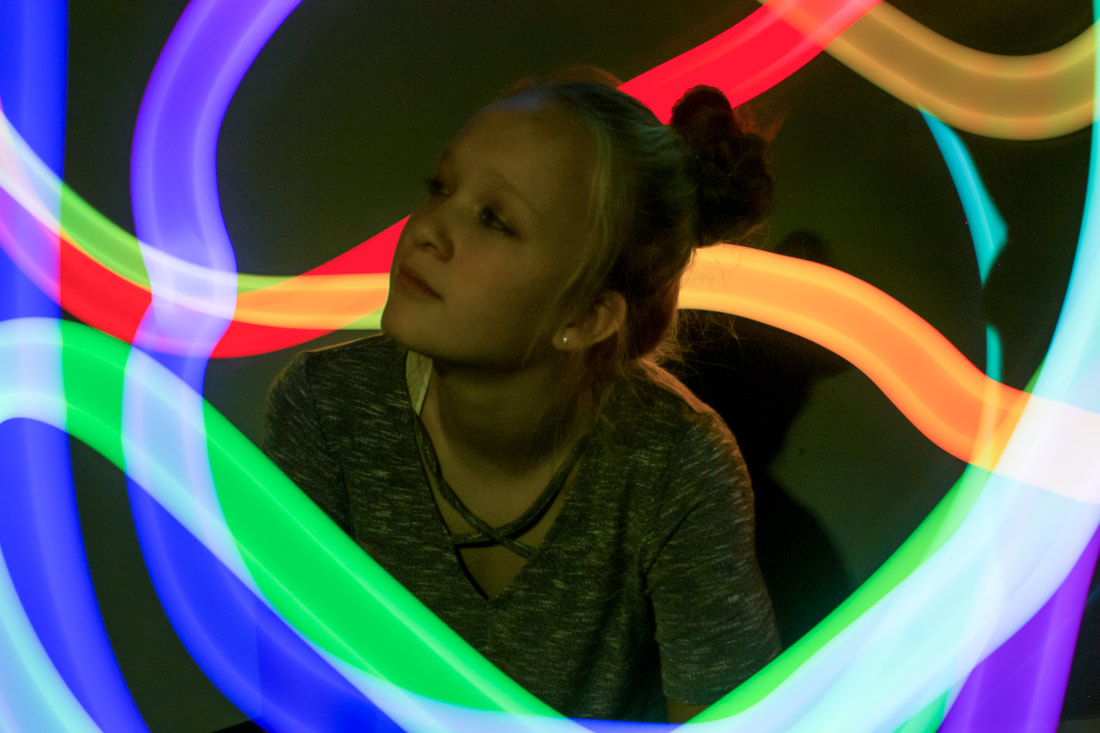
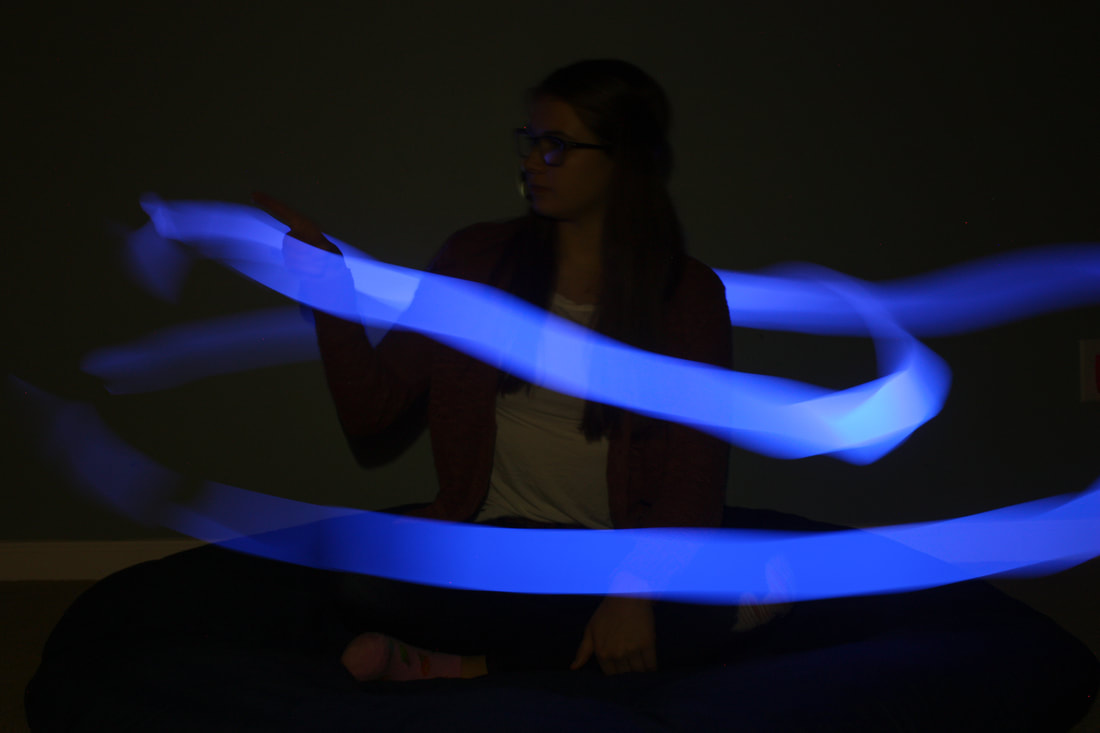
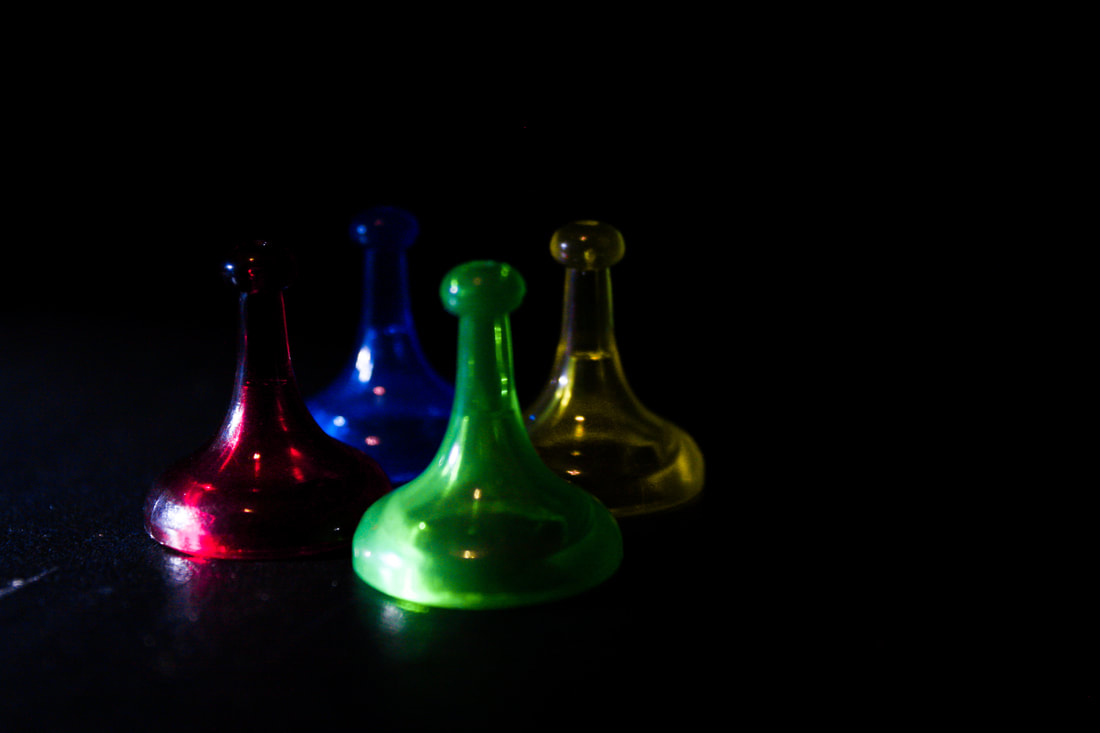
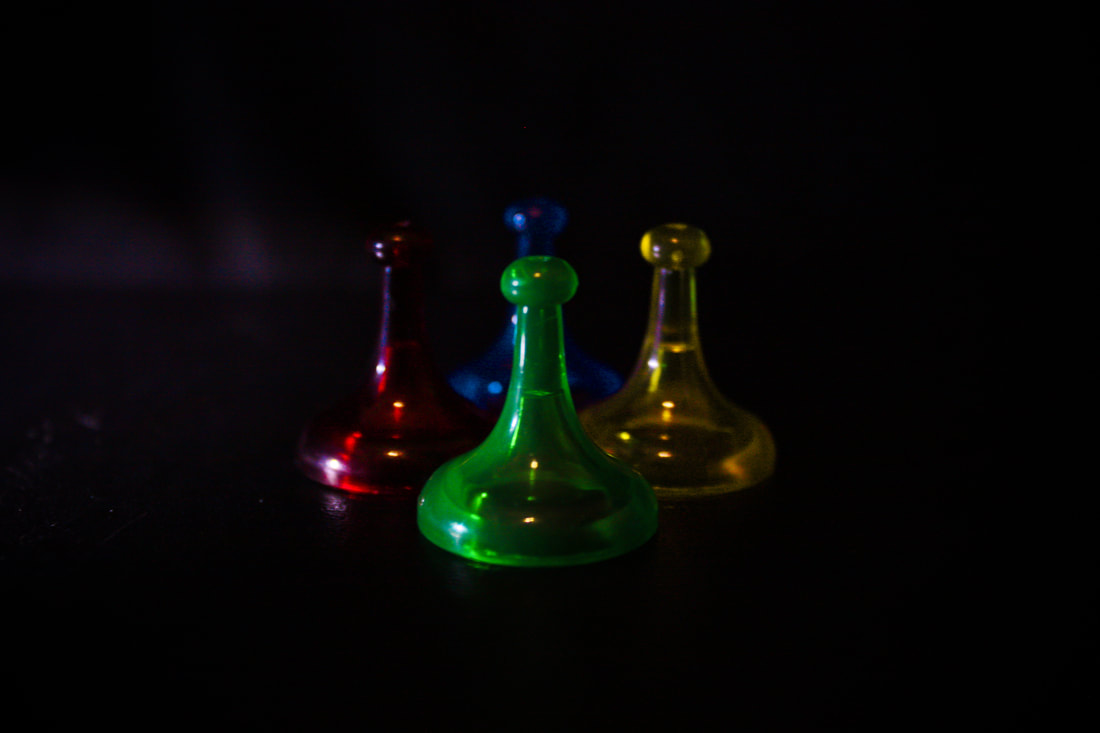
In this weeks photo assignment, I decided to do light painting. After we did the demo in class, I could not wait to try it. Working with my subjects and colors was fun but challenging: there were many steps to remember, every photo took multiple trials, and I kept forgetting to make sure the subject was in focus. Overall, I had fun messing with the different ways the colors and lights worked and learned how to position my subject to work with the way I wanted the lighting to work.  To edit this photo, I increased vibrancy, brightness, and shadows. I also used clone stamp to edit out imperfections around the picture and messed with color correction to blur any noise. Shutter speed: 20.0 Aperture: f/8.0 ISO 100
0 Comments
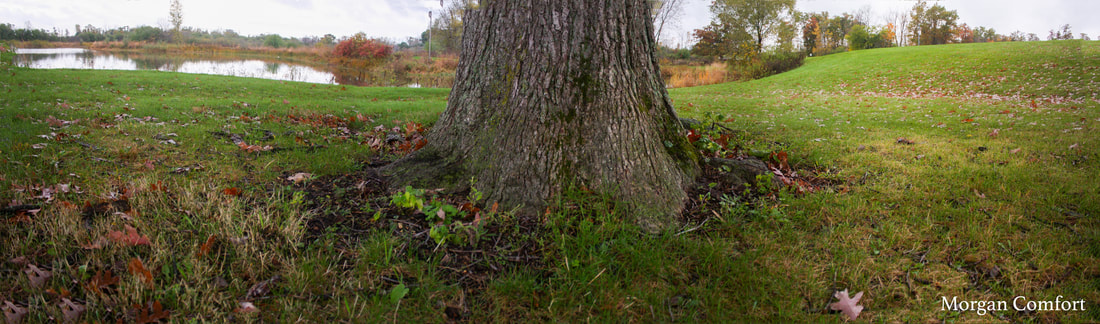
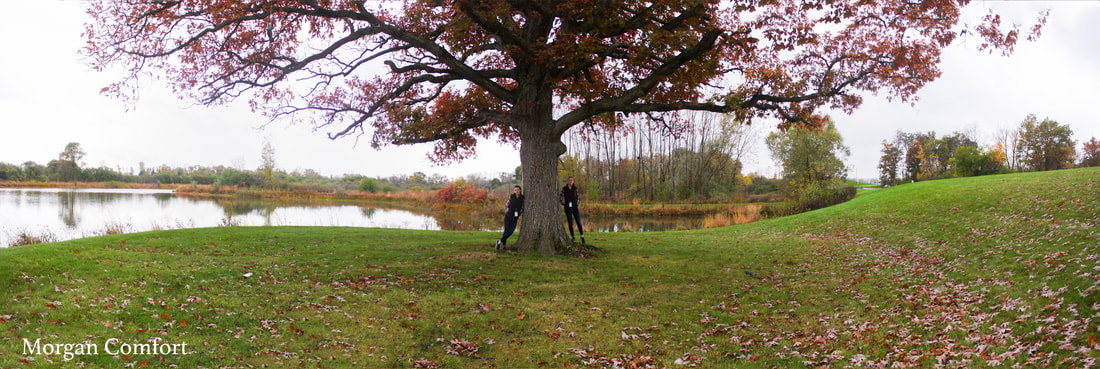
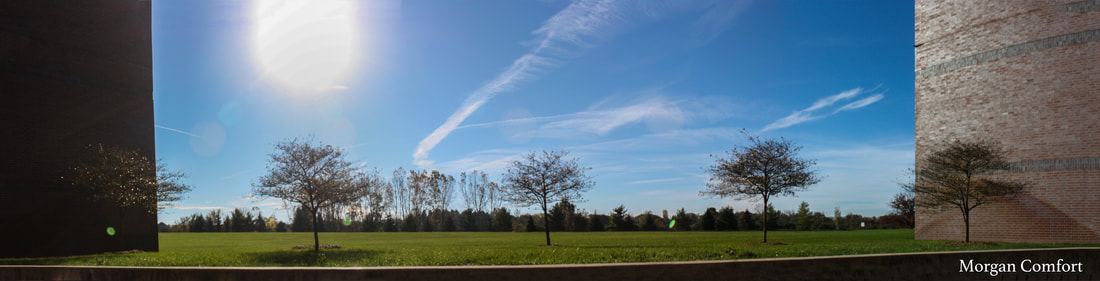
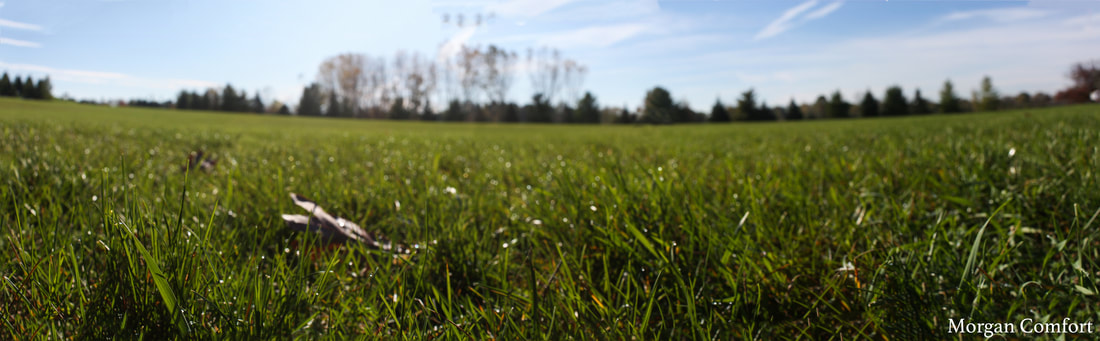
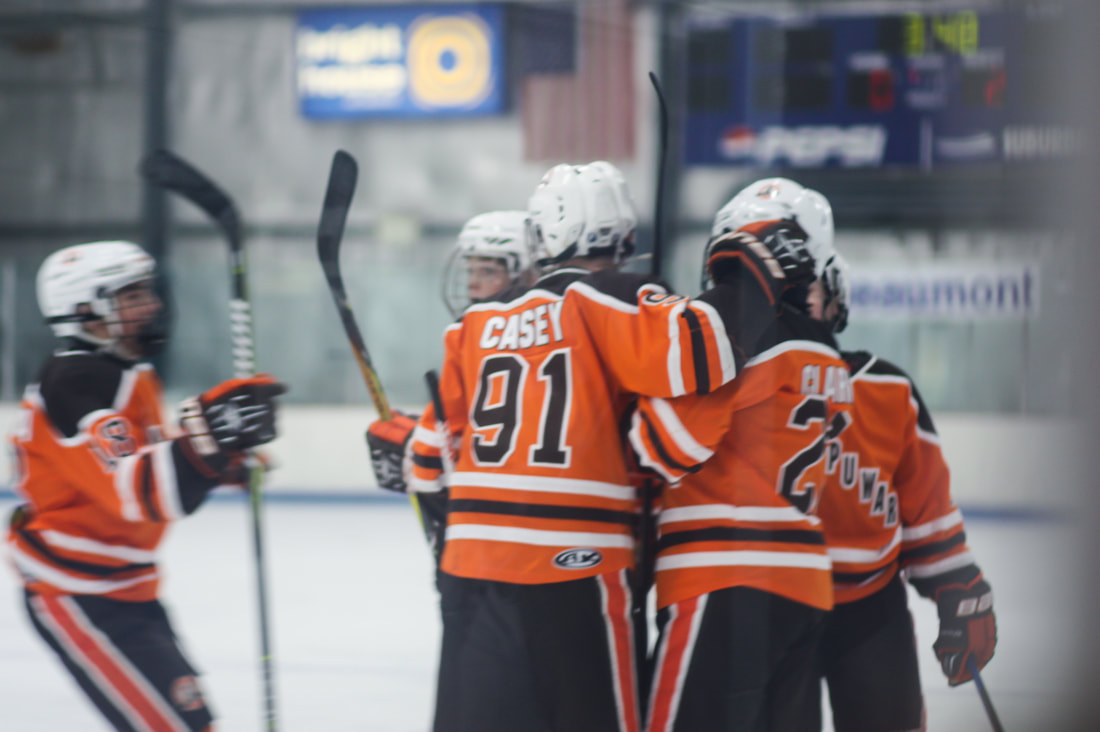
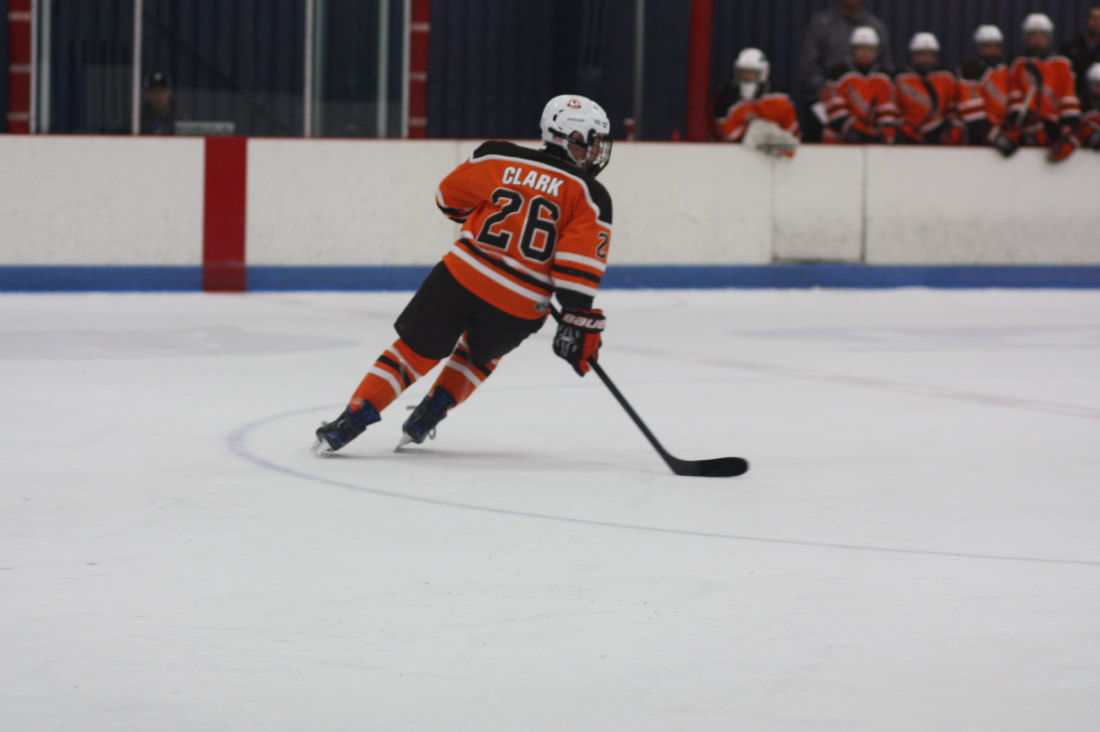
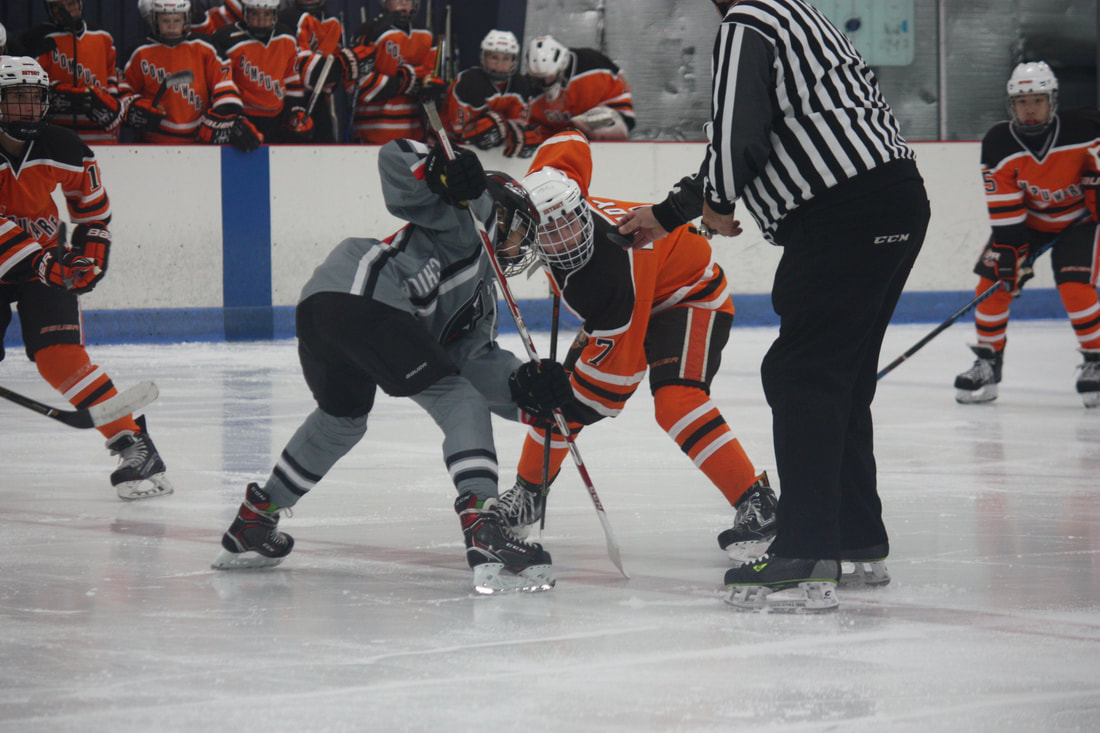
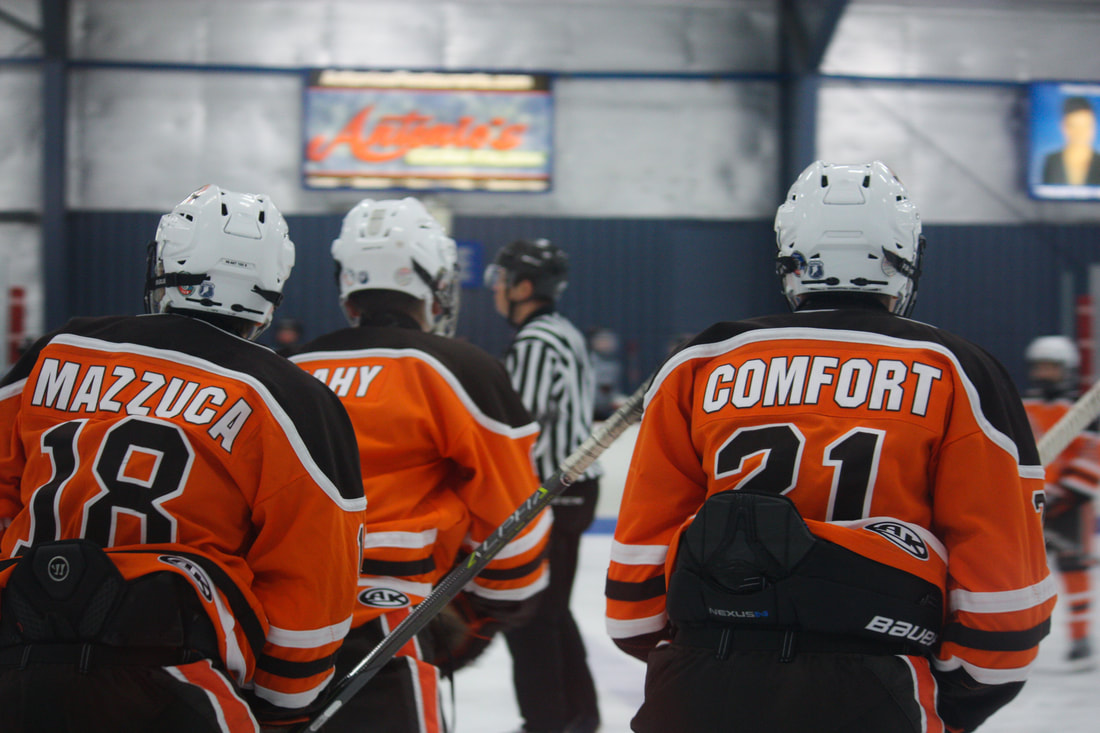
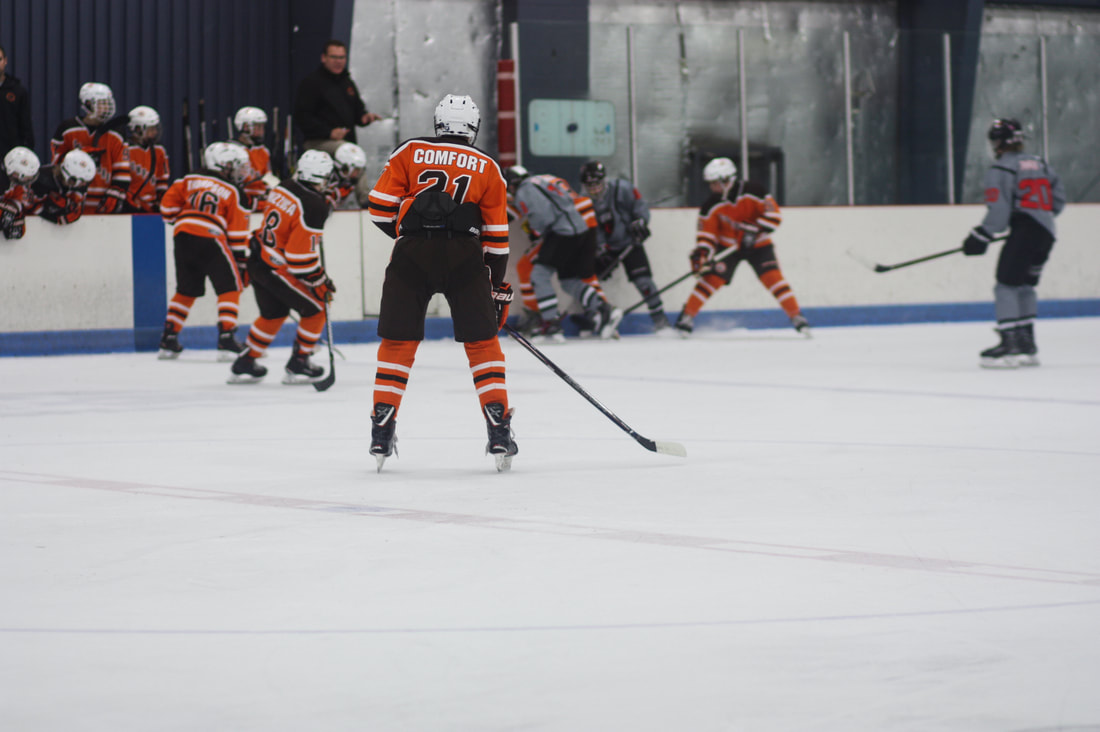
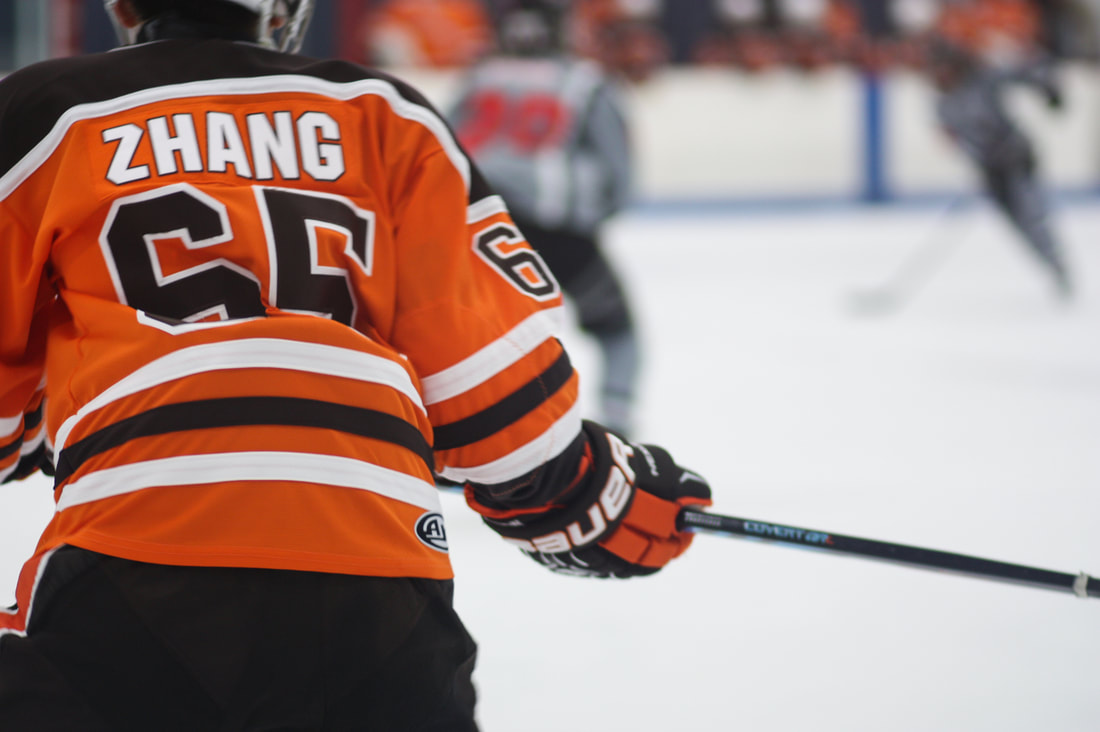
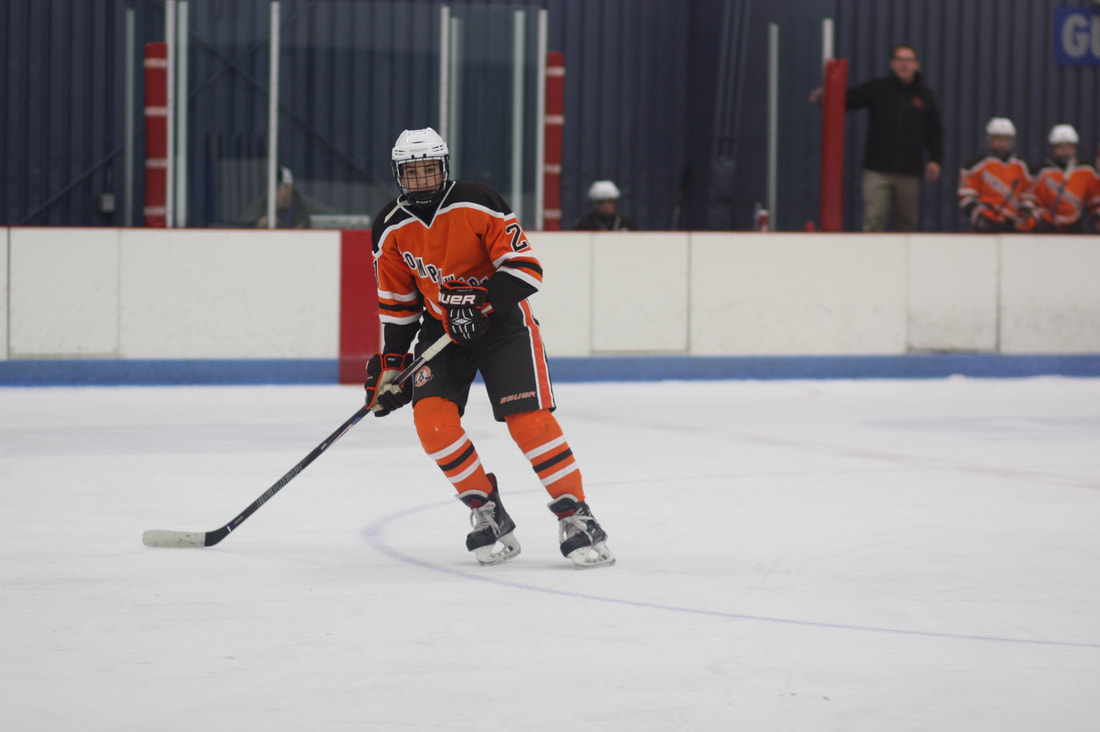
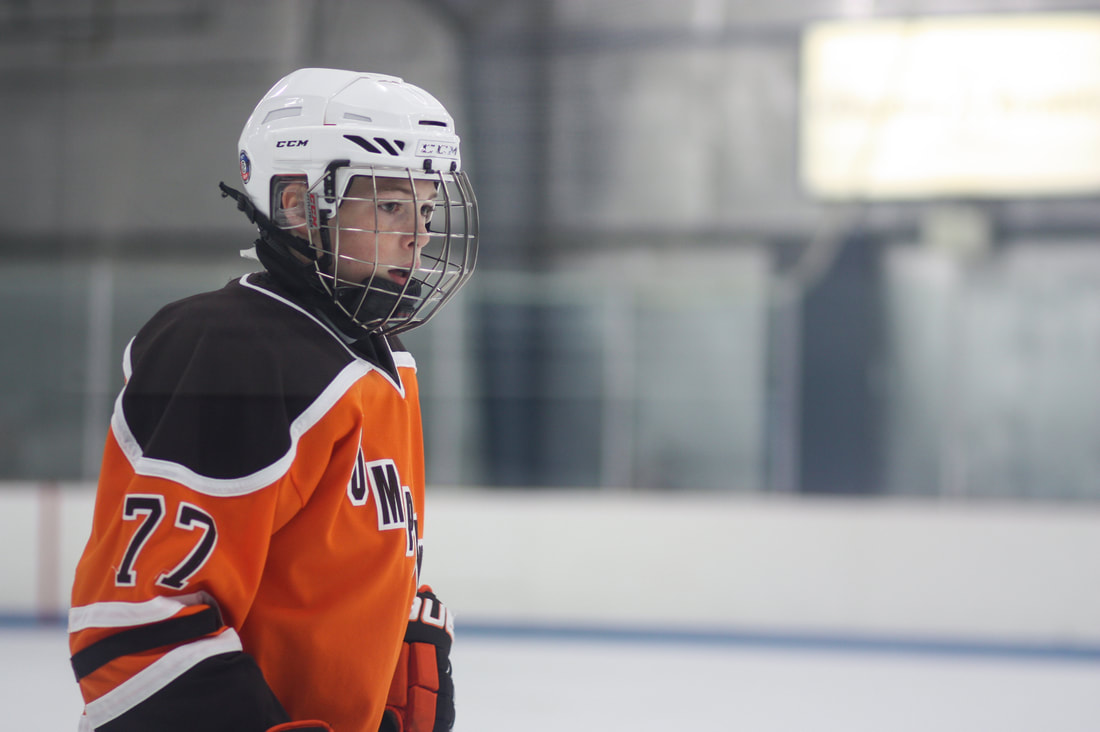
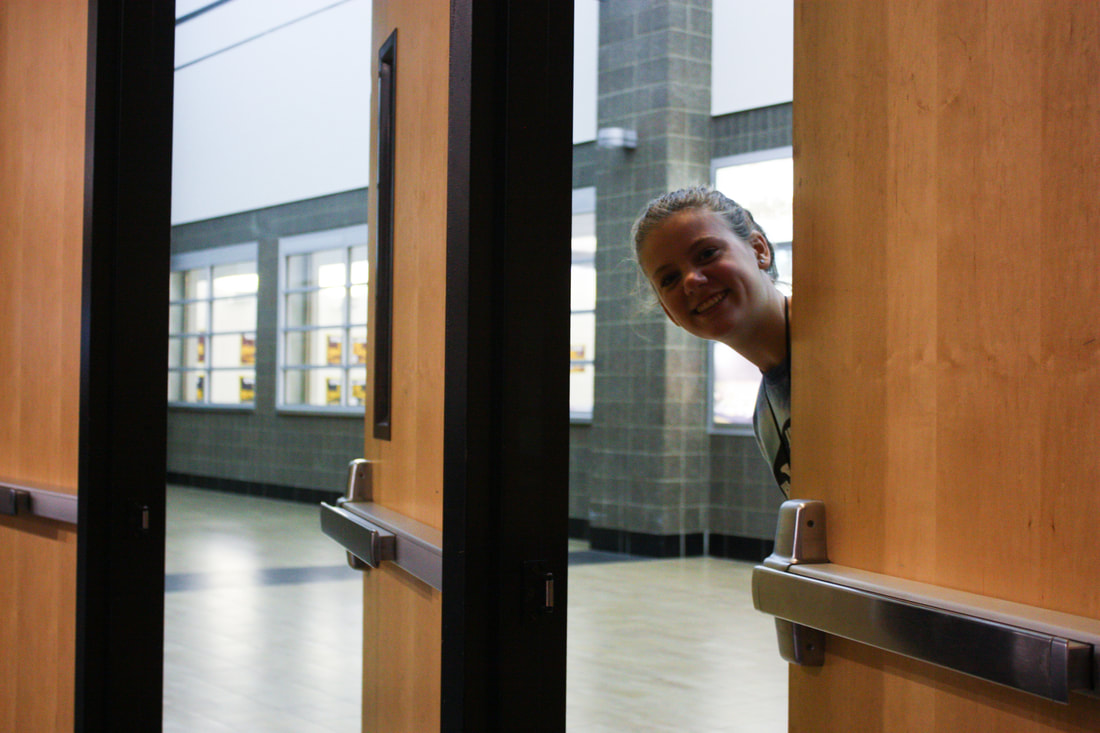
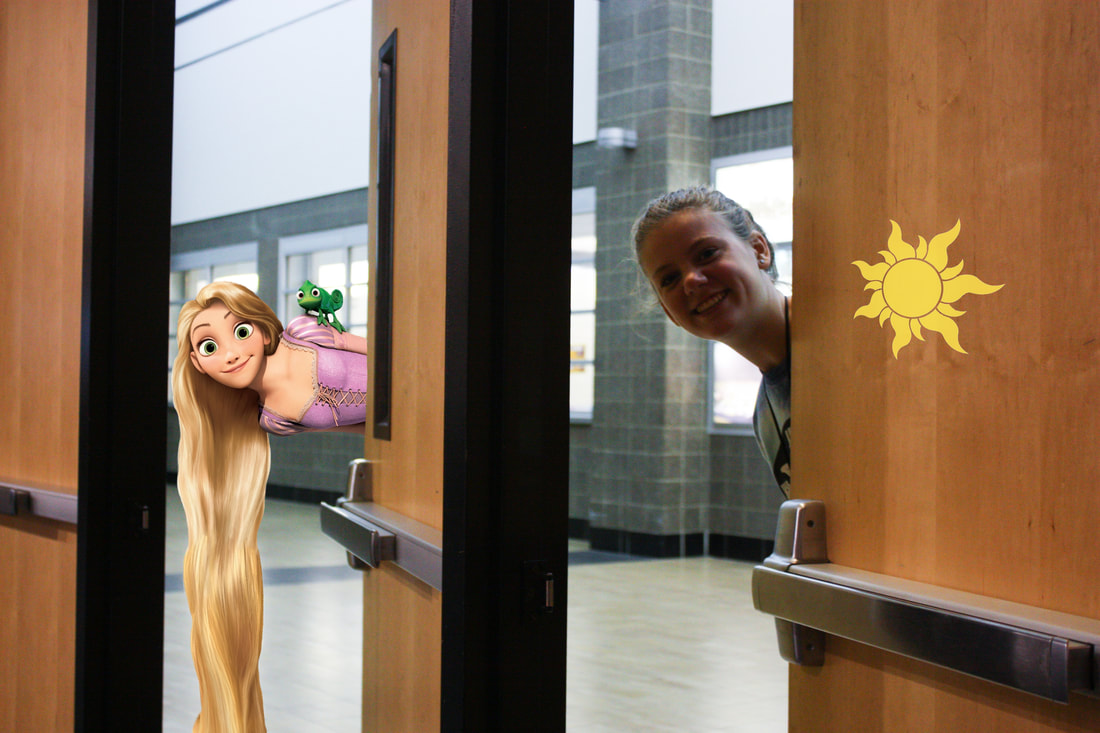
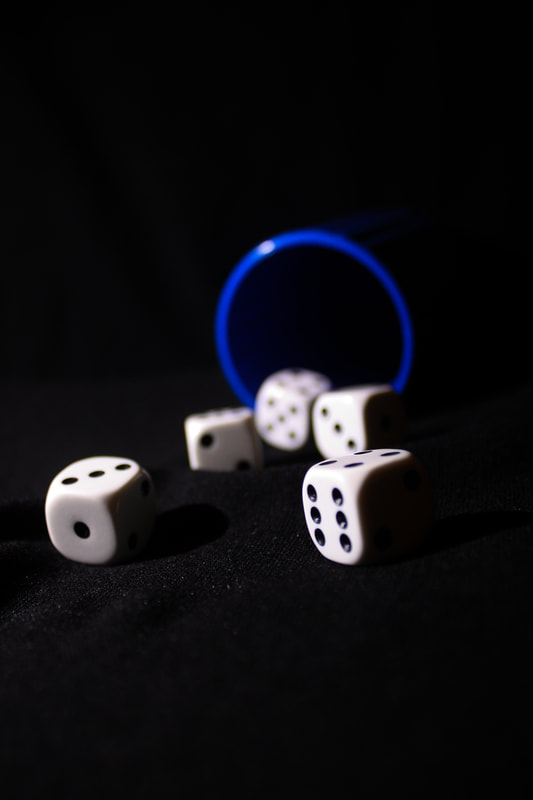
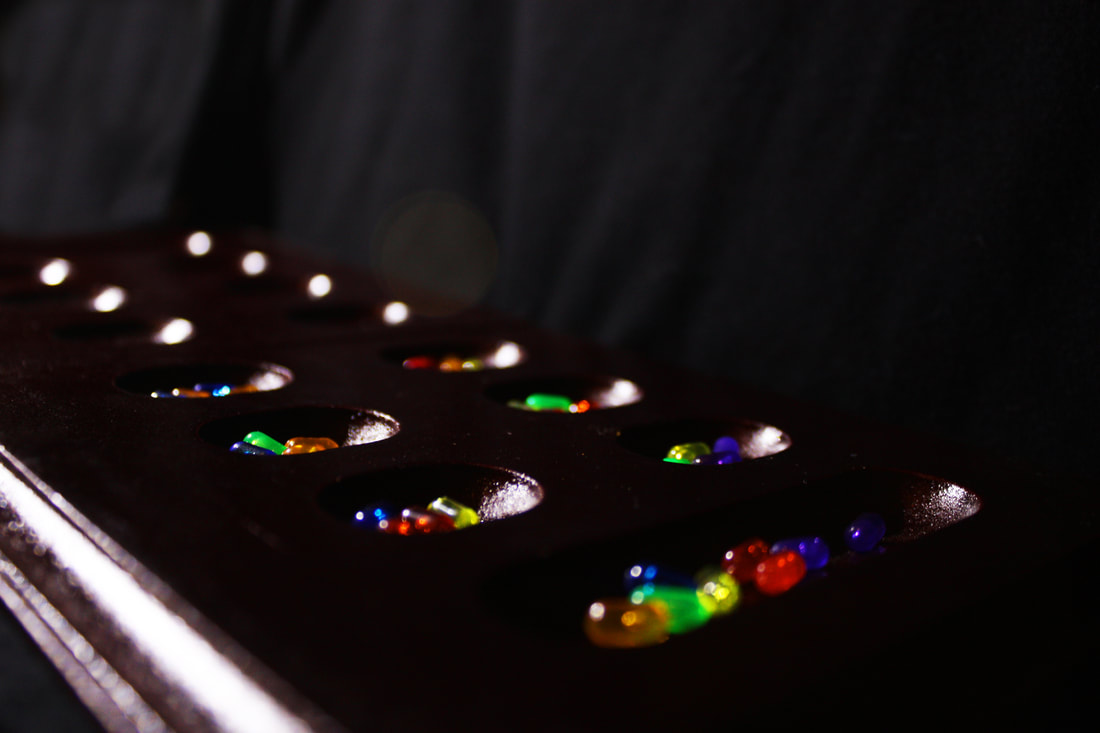
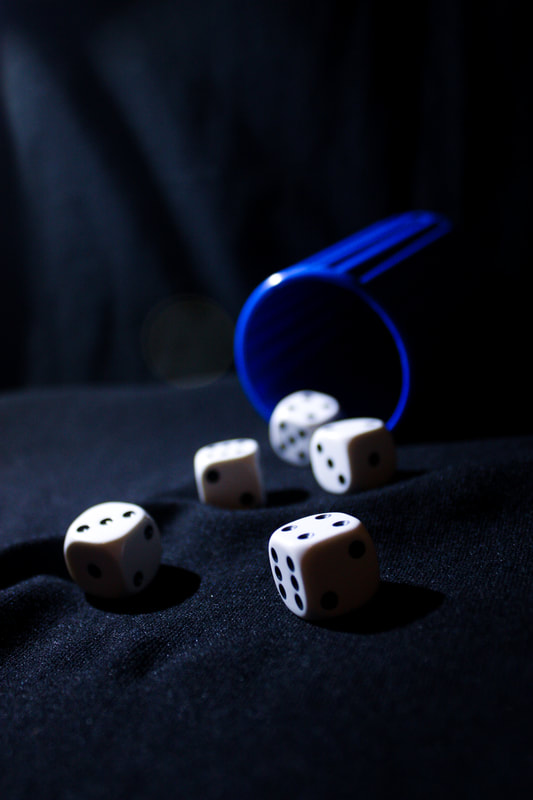
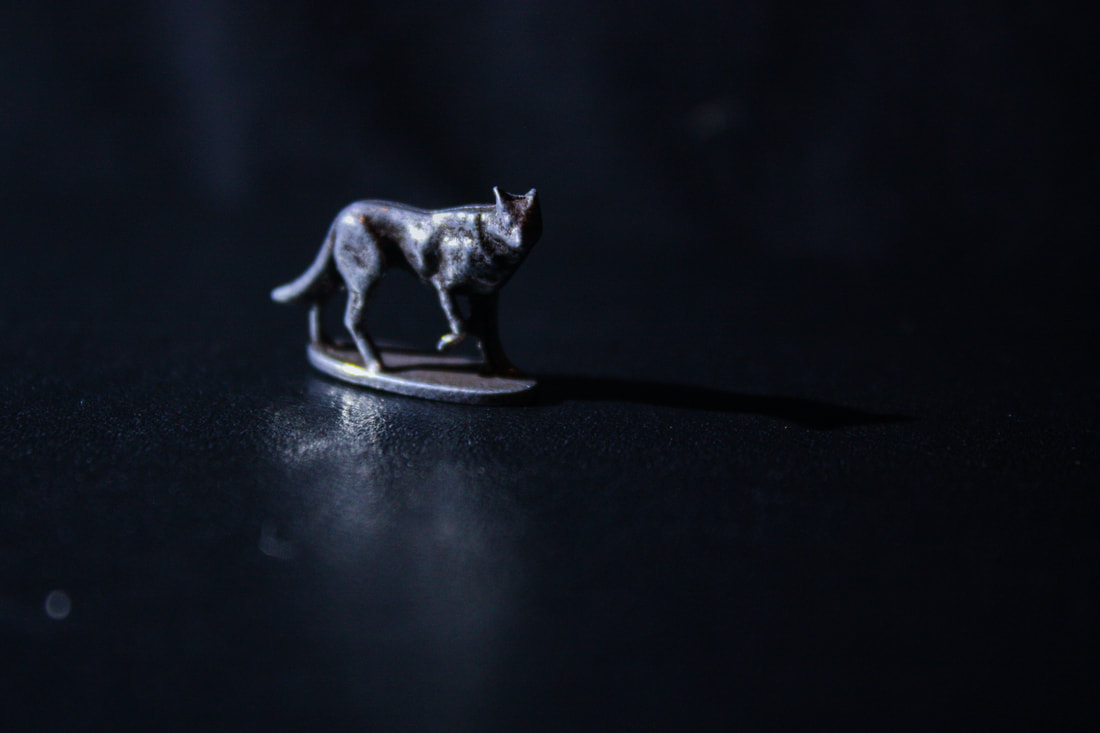
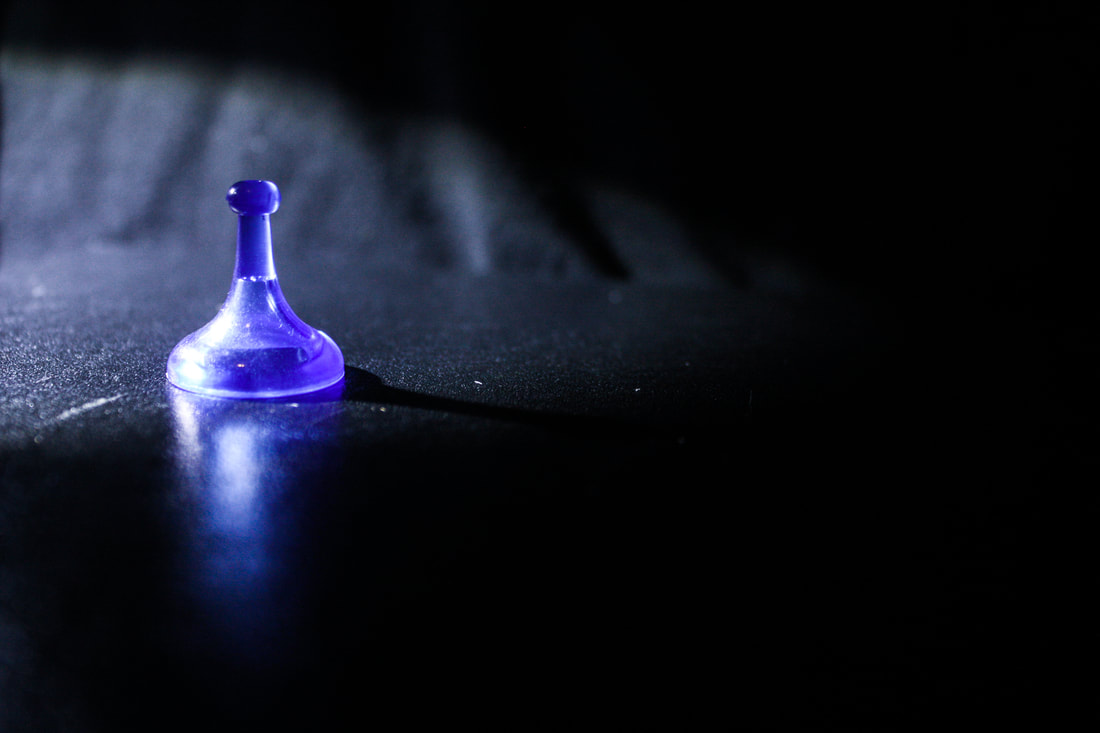
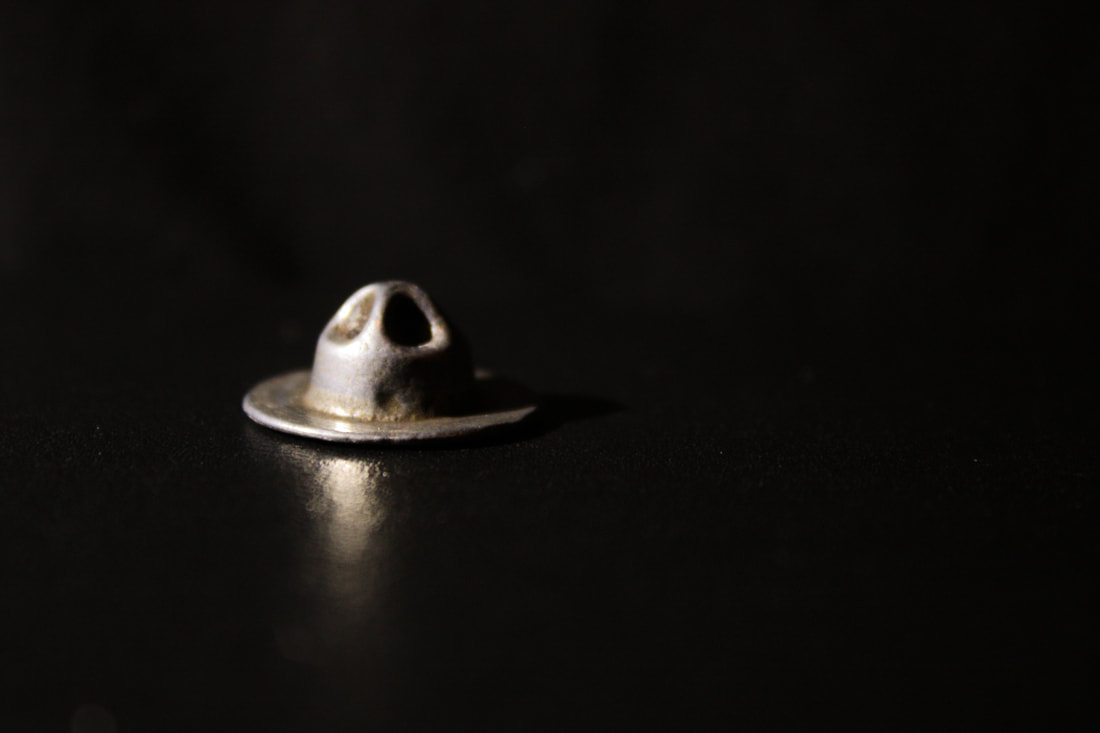
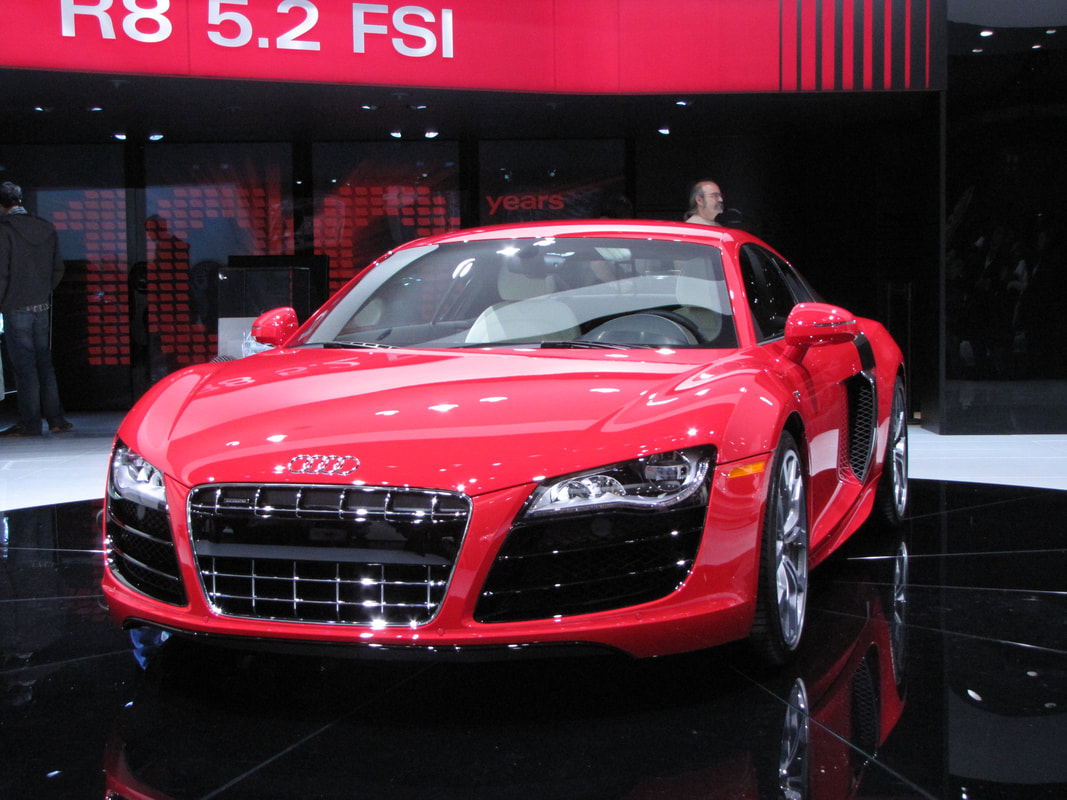
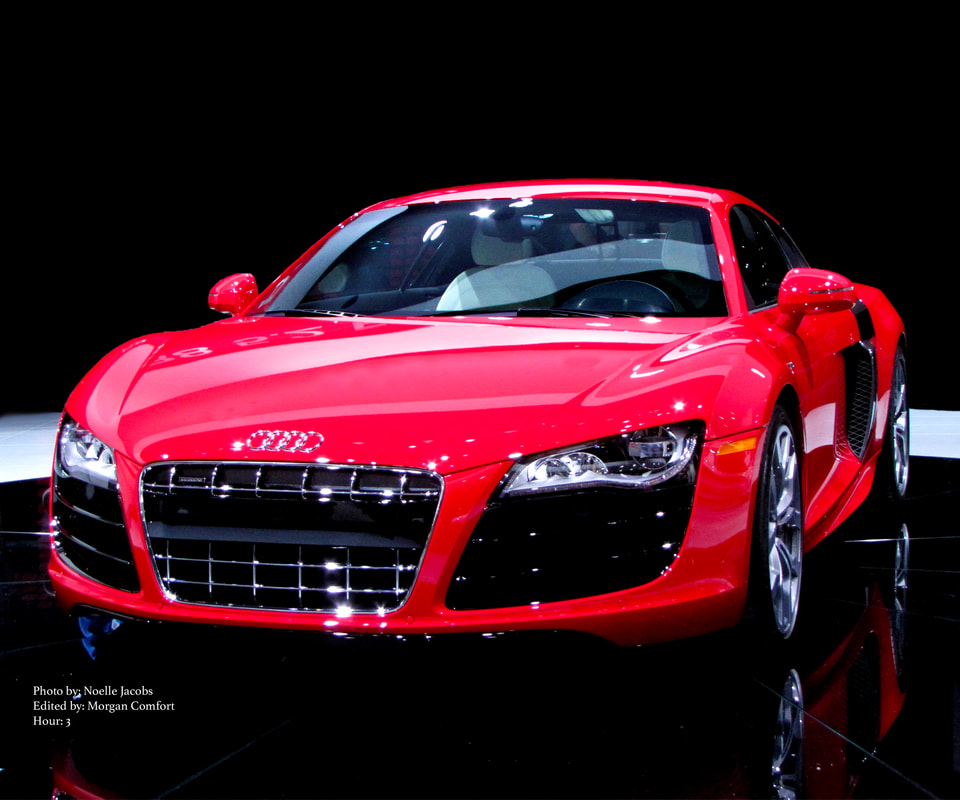
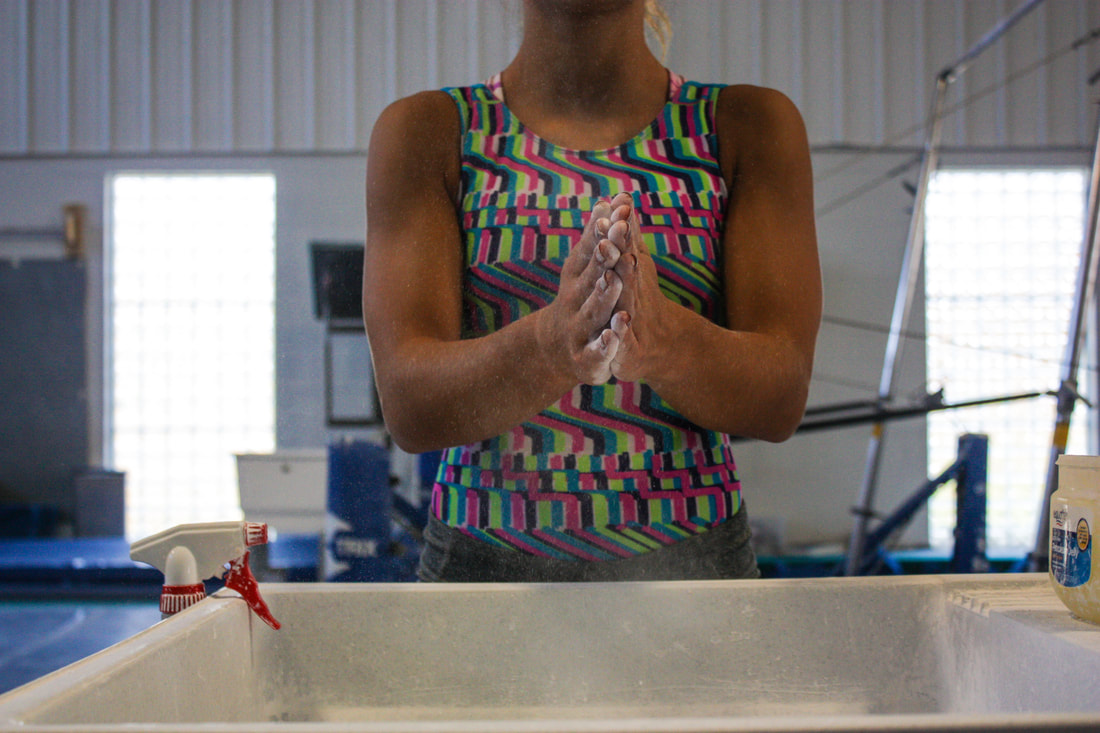
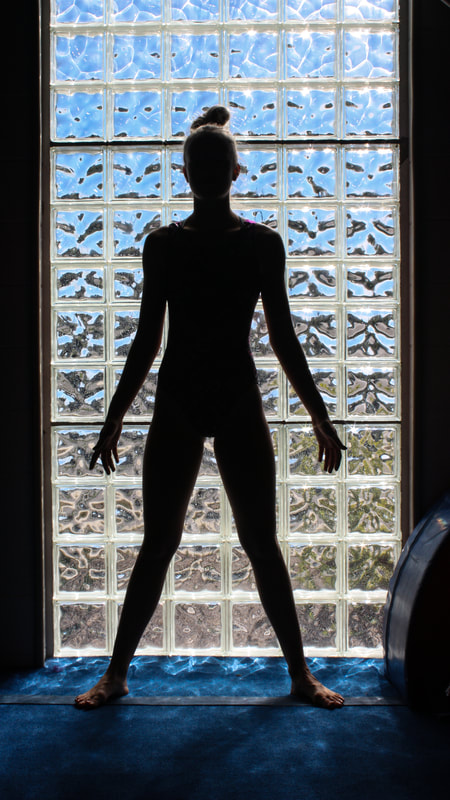
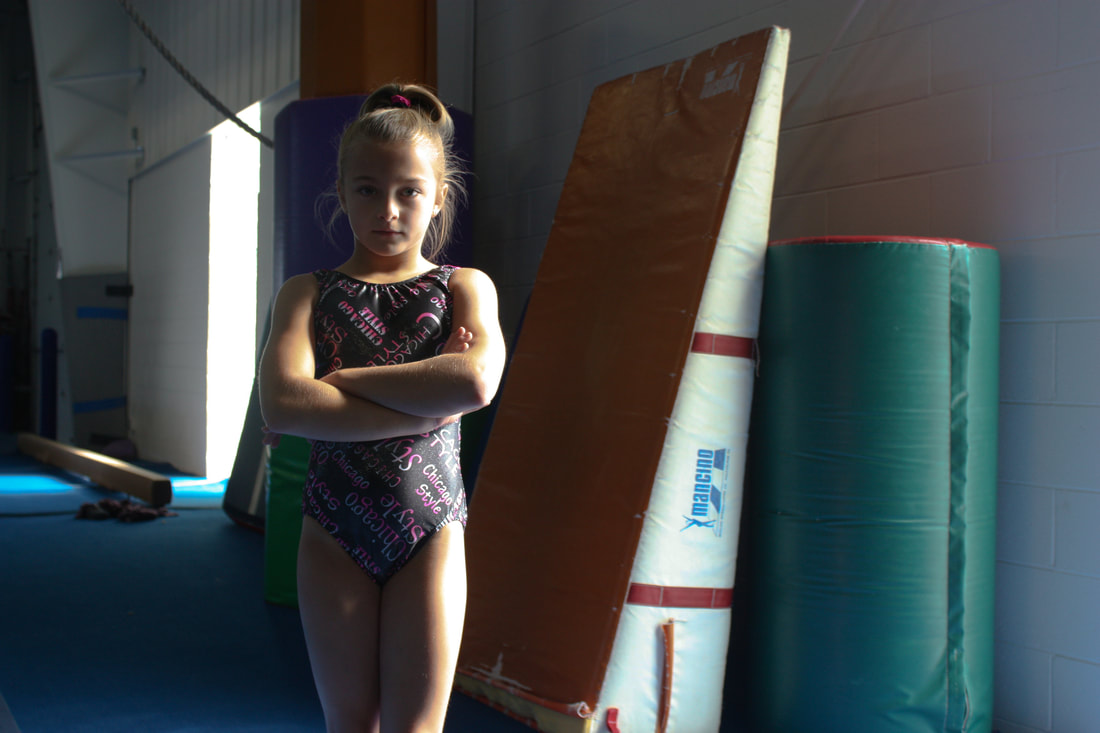
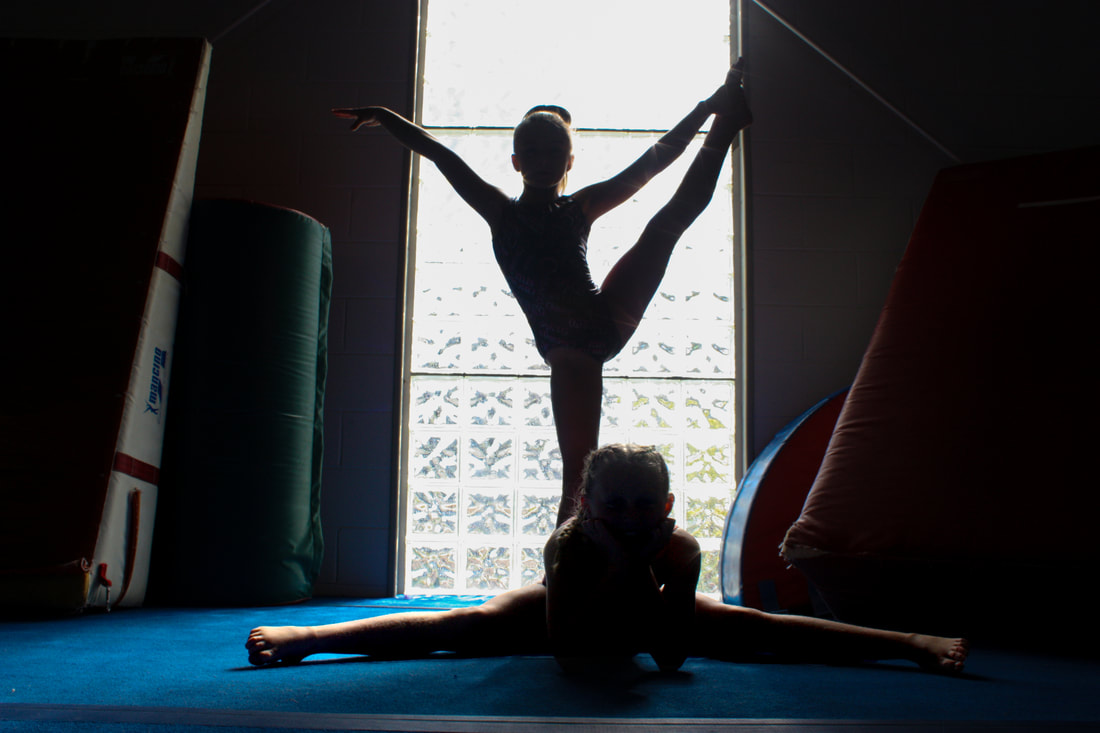
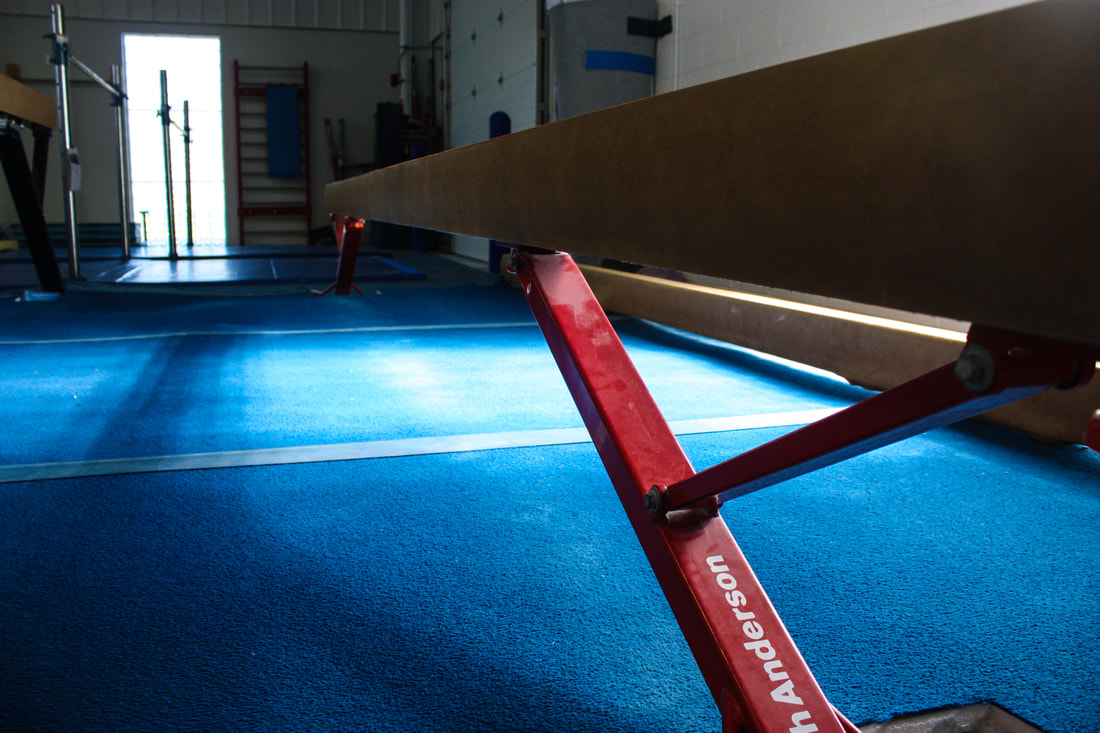
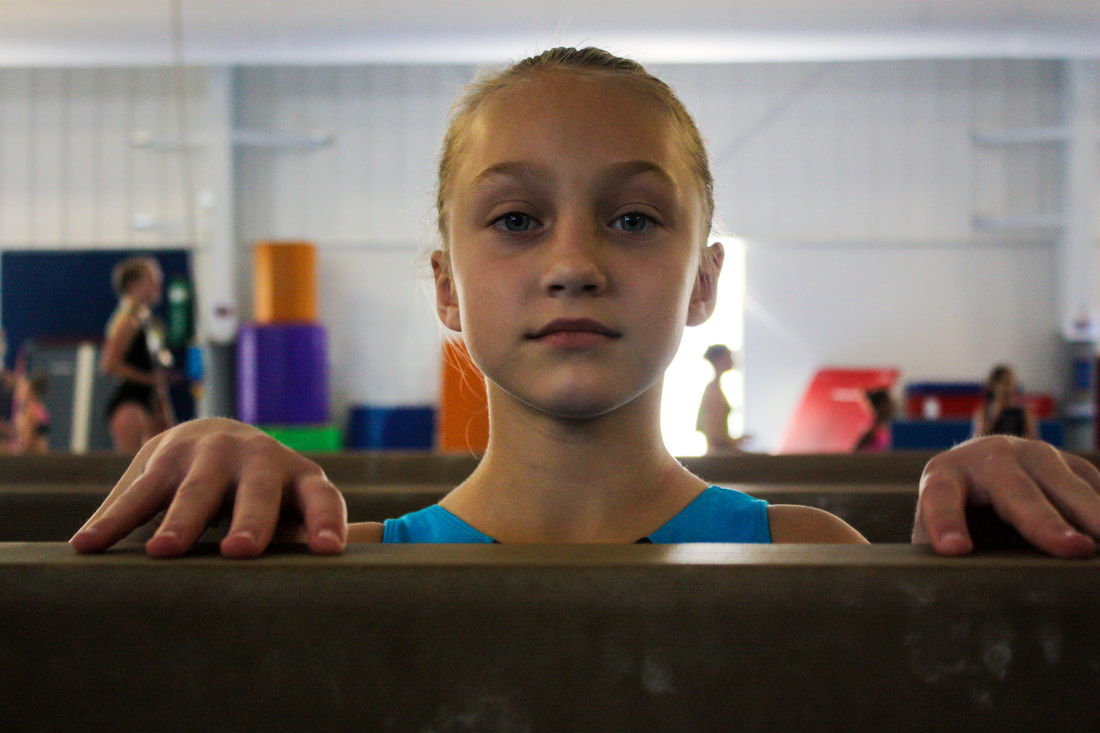
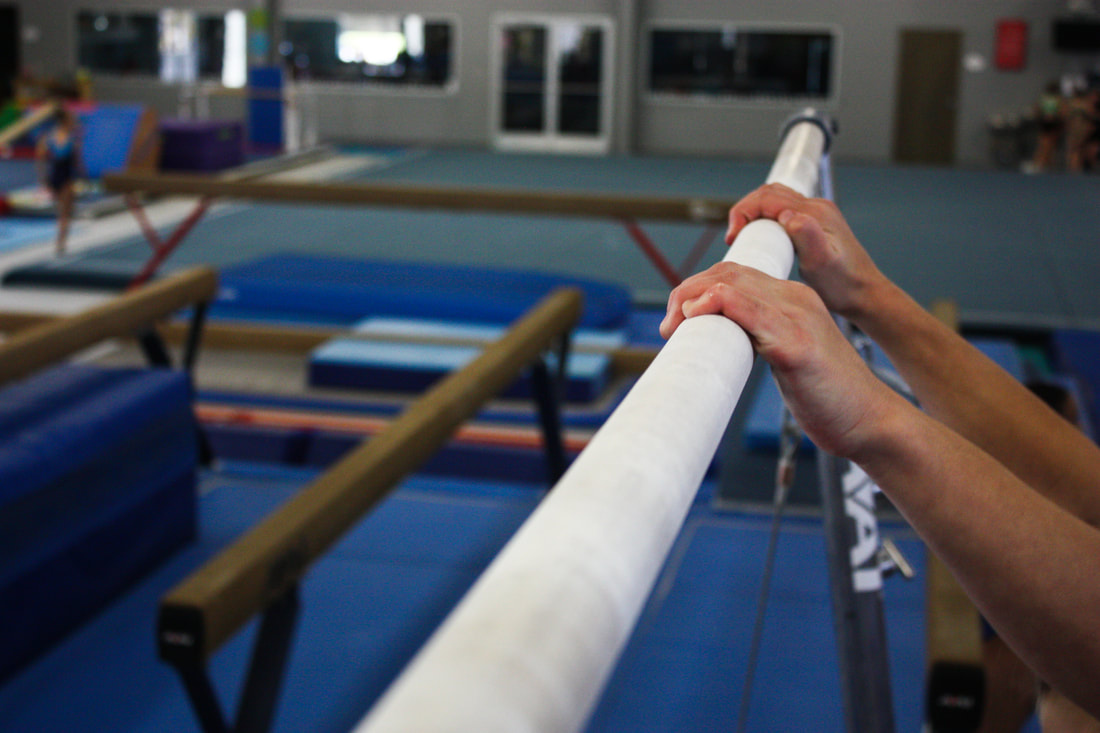
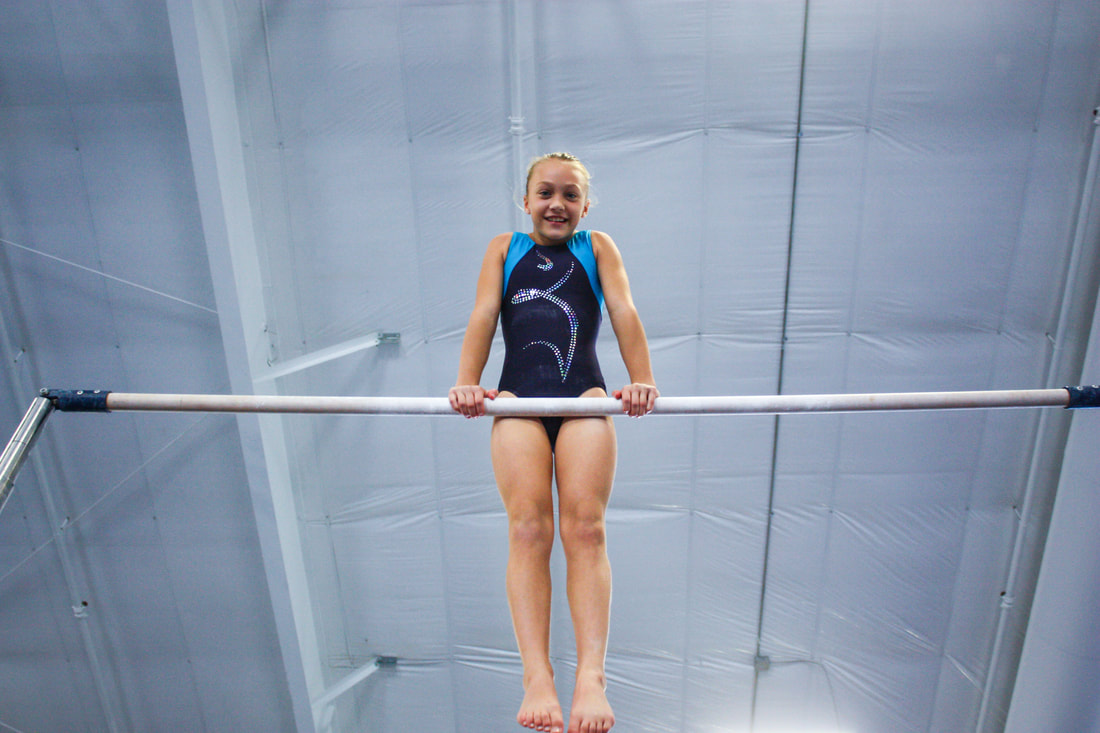
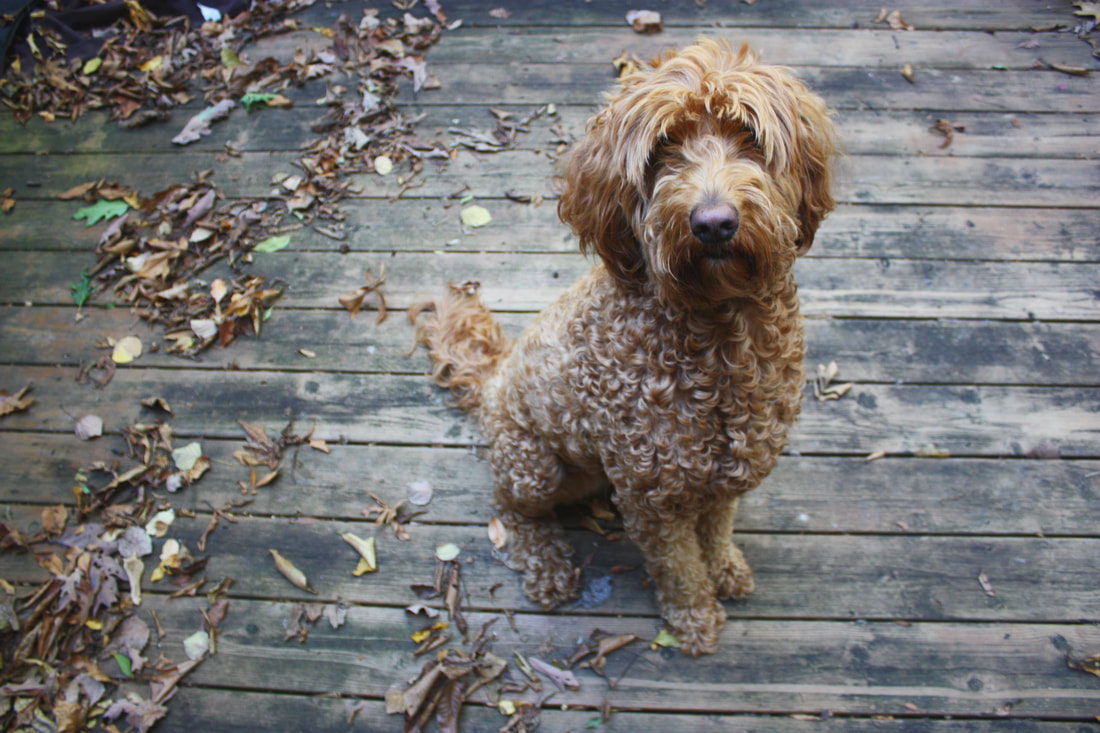
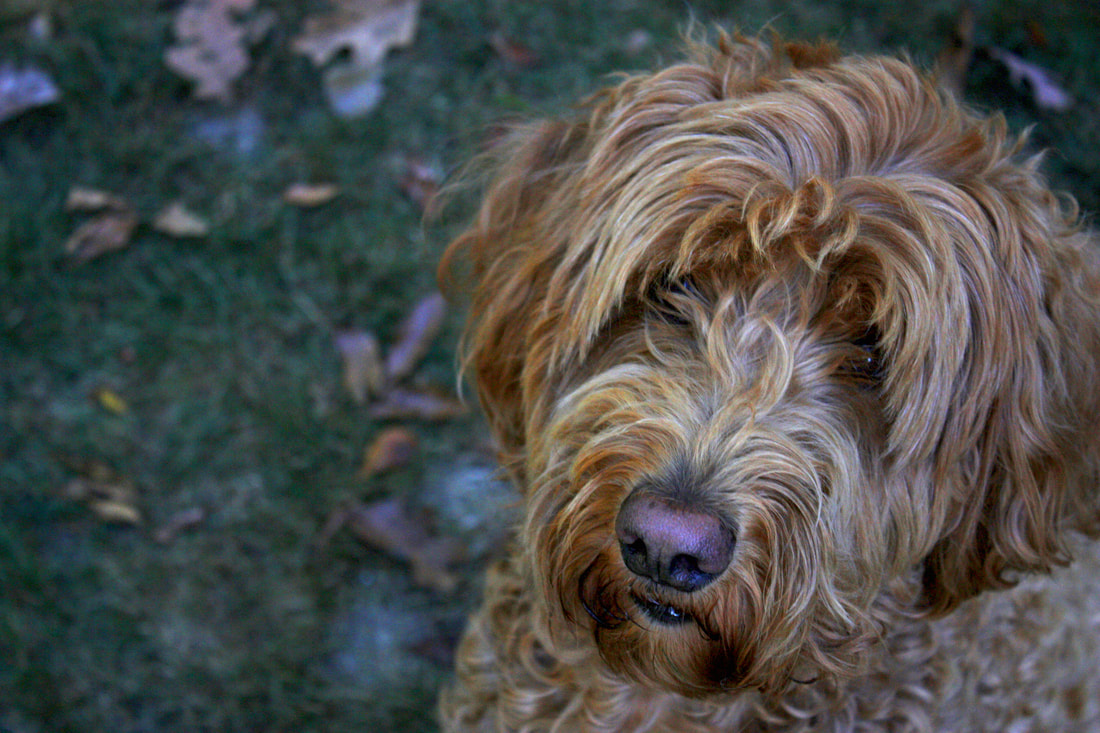
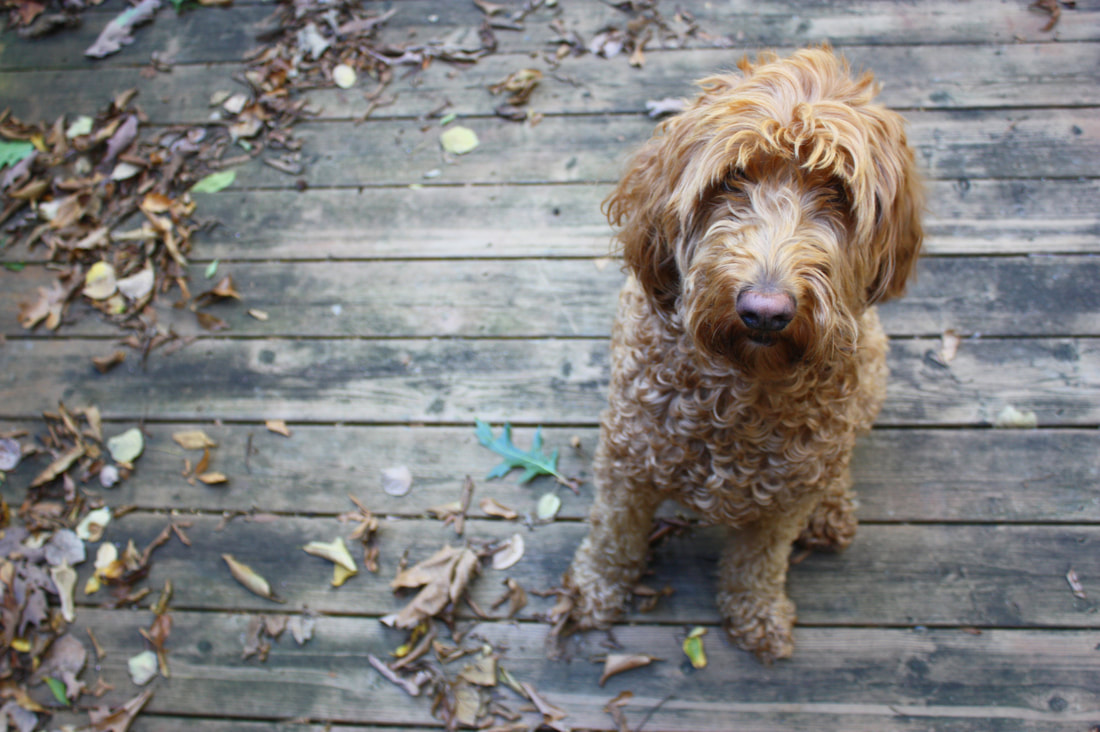
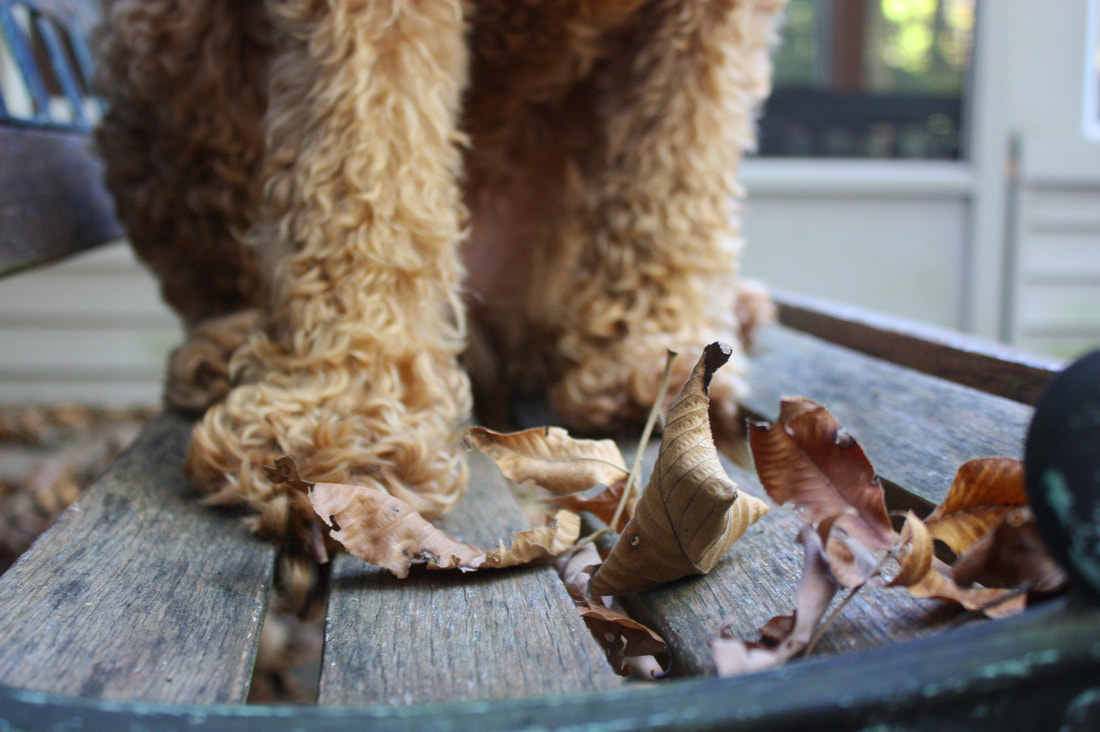
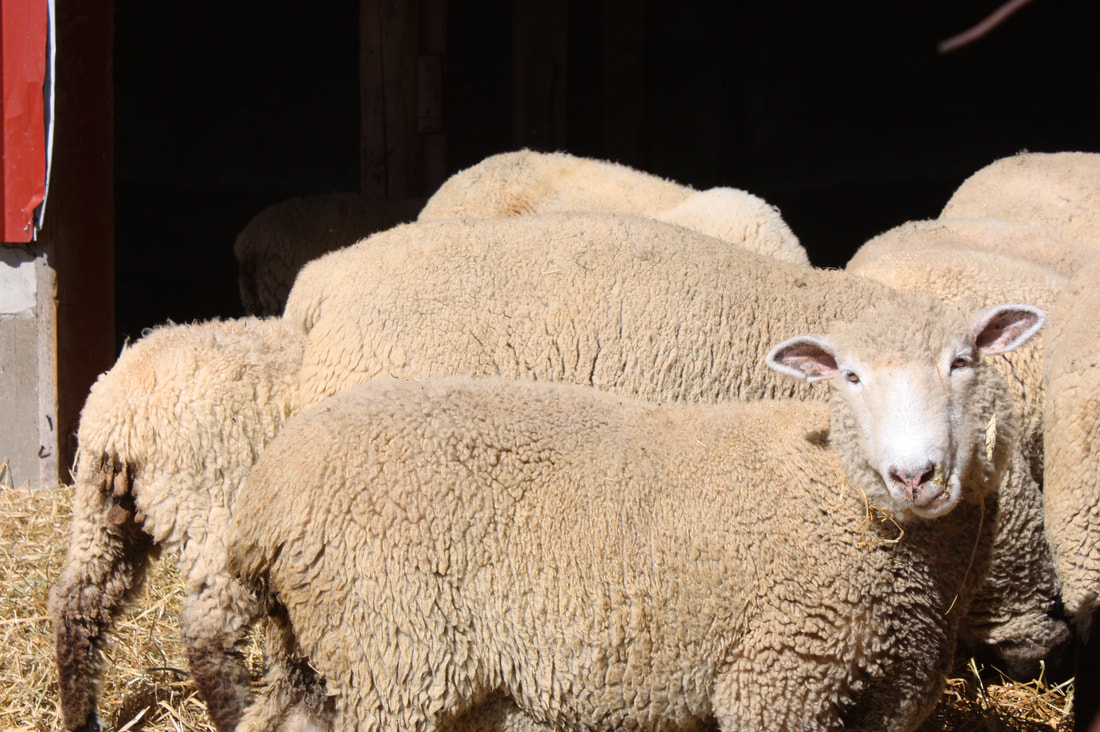
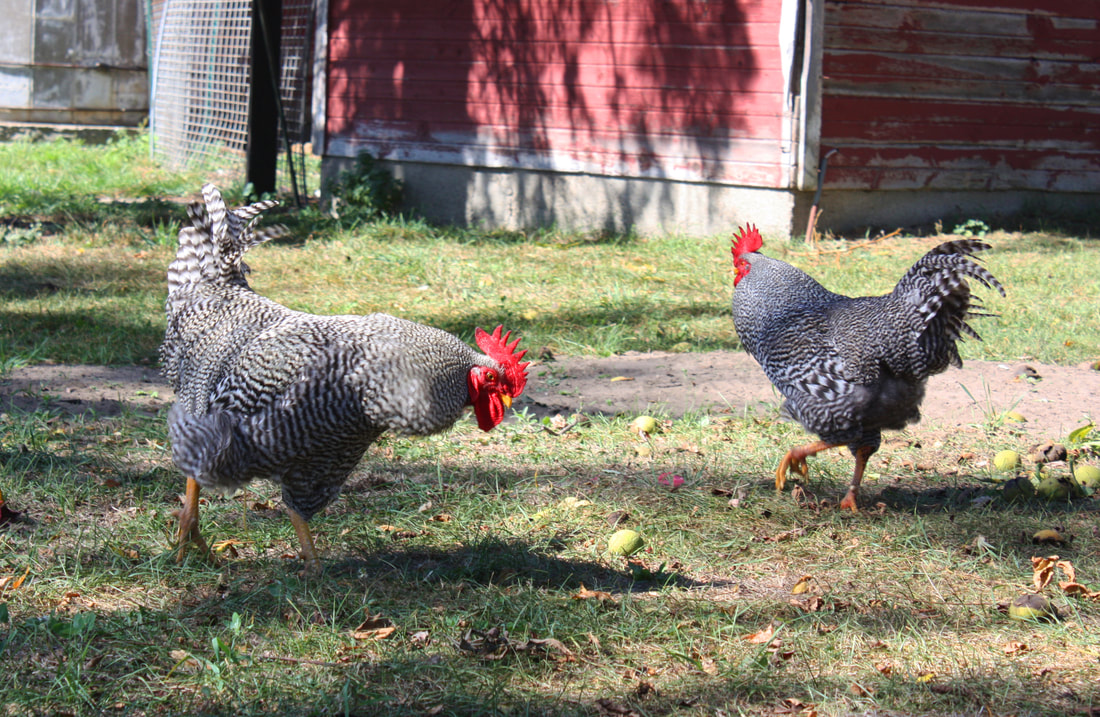
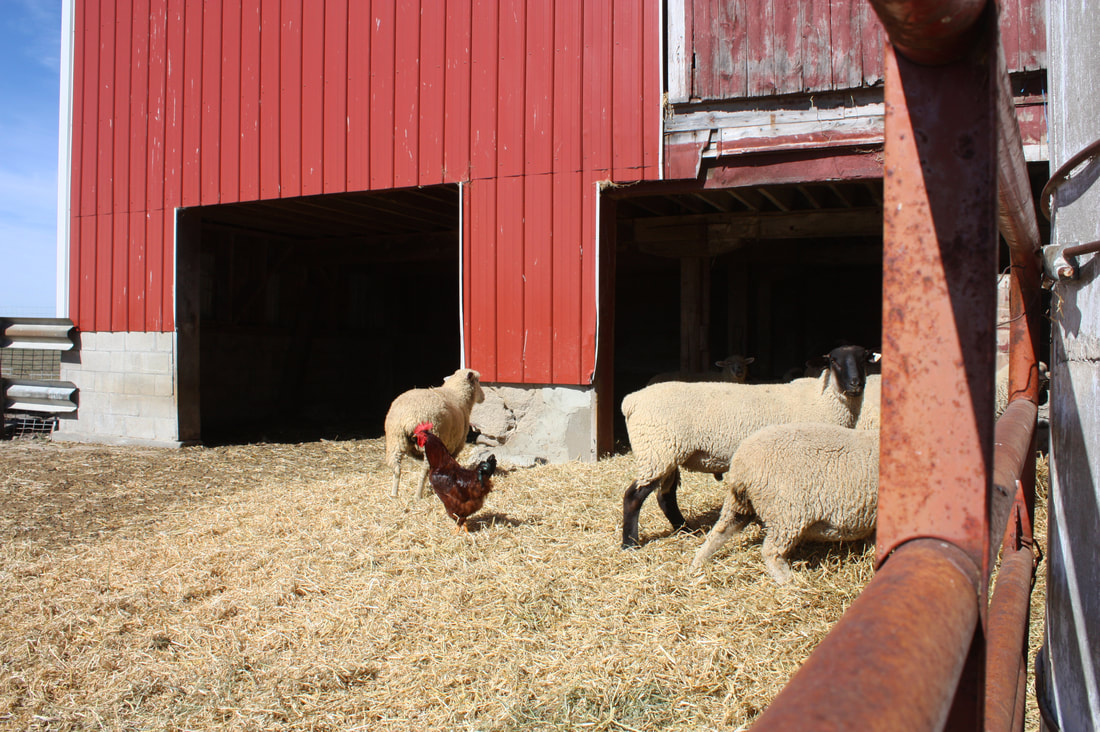
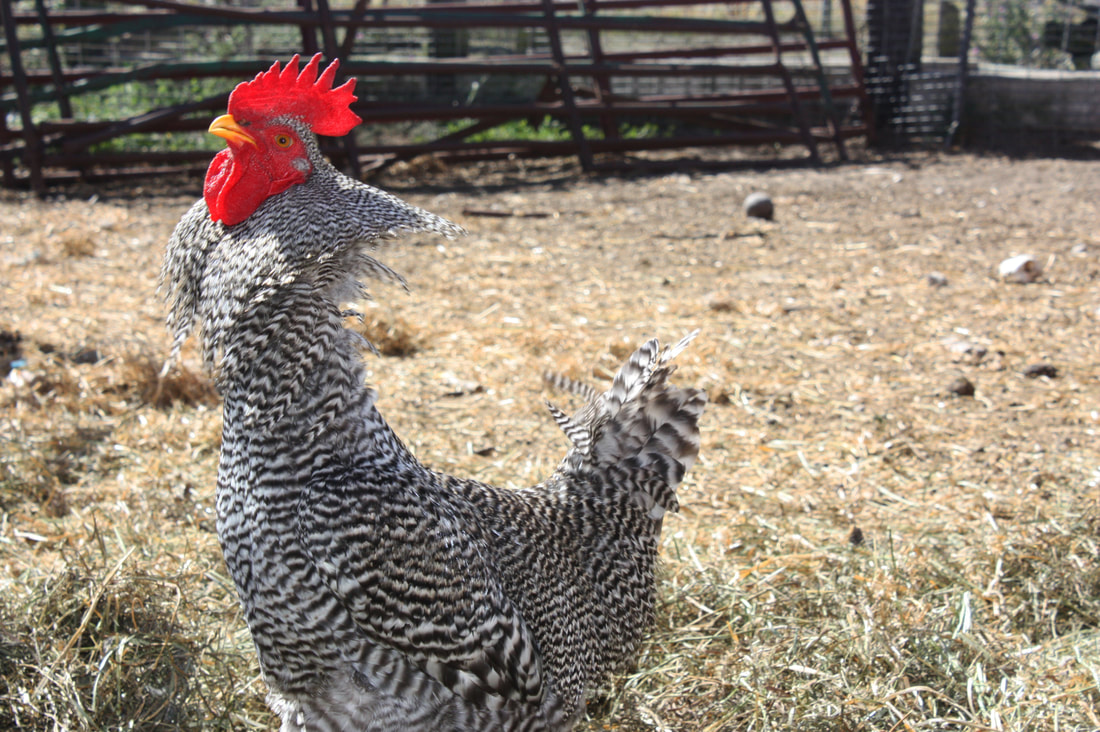
For this photoshop assignment, we were asked to create 5 different panoramic photos. A panoramic is a photo with a wide view and allows the viewer to see more than you would in a single snapshot. Through this unit I learned how to use a tripod and also how to take panoramic photos and merge them in photoshop. This is done by taking multiple pictures of a preferred scene as you rotate the camera around. A tripod makes the process much easier and the panoramics come out a lot neater. The merging of these photos is done in photoshop by using file>automate>photomerge. I thought this assignment was going to be difficult, since I didn't know of the automatic photo merging, but it ended up being pretty simple. For week number four, I chose to shoot photos at my brother's hockey game; he is number 21. Throughout the game, I attempted to capture the emotions and actions that take place during the game. I took pictures of the backs of jerseys, the face offs, celebrations after goals, and players skating. The biggest things I struggled with was balancing shutter speed and aperture to get the best clarity and having to shoo through the glass. Although I struggled slightly with the lighting and blurring, I learned how to time and set up my camera so I could get the best shots. 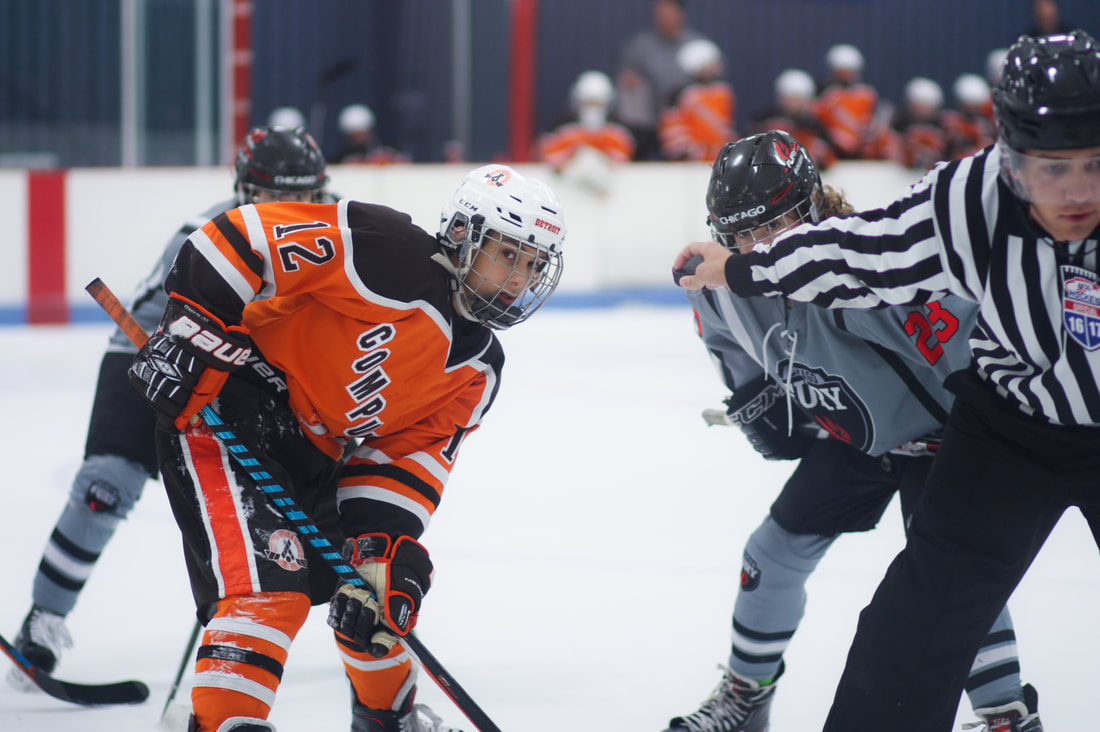 My best photo was a picture of one of my brothers teammates during a face off. I liked this photo because while the referee was getting the other players around in the right spot, I captured number 12 looking in my direction. The only editing I did in Photoshop was increasing vibrance and contrast, decreasing clarity to blend imperfections, and making the temperature cooler to make the focus pop. Shutter Speed: 1/100 Aperture: f/2.0 ISO 200 For this photo shop assignment, we were asked to take a picture in the school then transform it into something wild. I decided to add Tangled theme things into an ordinary day at school. Throughout this week, I learned so man new things on photo shop. For example, I learned how to add images into a photo when I added Rapunzel and the sun. I also learned how to scale images so they have the correct perspective and how to blend two images together and make it look like one, since I had to add extra hair to the original Rapunzel image. For this weeks photo assignment, I chose still life as my topic. I shot multiple games throughout this shoot including: Yellowstone monopoly, Sorry, Jenga, Manacala, and Yahtzee. For these games, I tried to use the pieces to create reflections on the board as you can see in my best photo. This specific piece was from a Yellowstone monopoly game that we got from there a few summers ago. I set up this shoot in my room using a desk lamp and laying on the floor. Overall, I learned how to manipulate shadows and light to really exaggerate a feature I was striving to see through this assignment. I also discovered new editing settings in photo shop and played around with those. 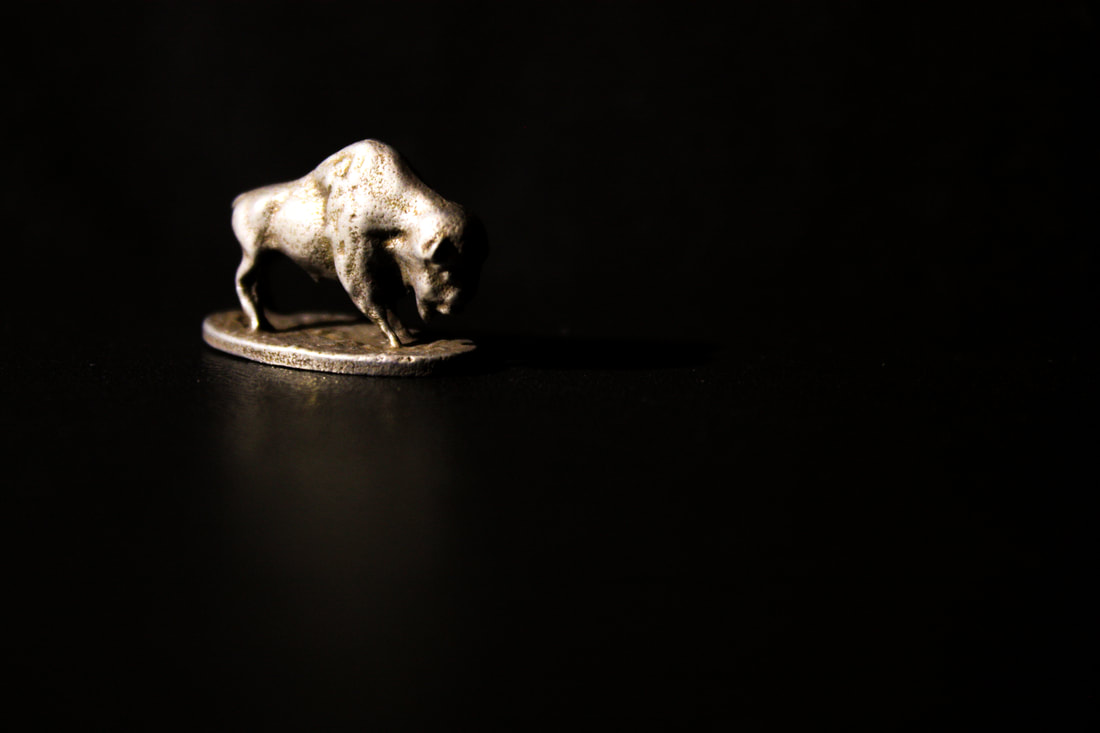 Shutter speed: 1/25 Aperture: f/5.6 ISO 800 To achieve this final photo, I increased the contrast and shadows and added a more yellow temperature to compliment the gold hues in the bison piece. In this photo retouching assignment, we were asked to take this photo of a car and edit it to make the image cleaner. I learned how to clone and remove things in a picture I didn't want. I also learned different ways to select a part of an image and edit only that part. For this weeks photo assignment, I decided to take my camera to the gym. In this series, I wanted to capture the equipment itself and the gymnasts who have dedicated their lives to making this extremely difficult sport look graceful. I learned how to use the natural lighting to emphasize the subject, in my case, a gymnast. 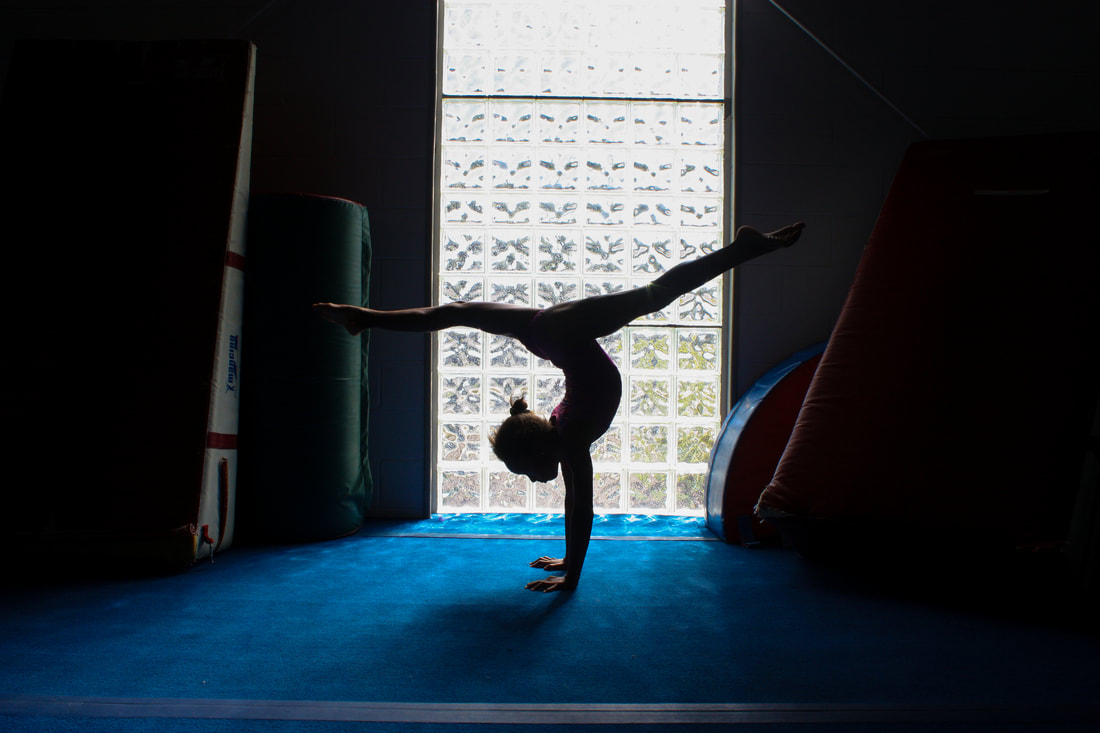 Shutter Speed: 1/125 Aperture: f/11.0 ISO 400 In Photoshop, I increased the vibrancy and contrast to get the result shown. For this photo assignment, I focused on animals as my subject. I decided to take pictures of my dog, Maggie, and some farm animals. The story on how I ended up at a local farm is a funny one; I went over to my Nana and Papa's house to get some pictures of their hummingbird visitors, however, none had been there recently so my Nana came up with the idea of driving down to a local farm and take pictures of some of their animals. Mind you, I had no idea who these people were. So we get there and the owners ended up being very nice and let my Nana and I see the animals. The roosters were pretty mean, but the sheep were extremely cute. 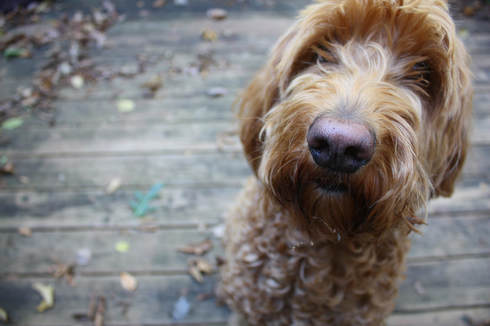 My best photo displayed above is a photo of my dog. The settings that it was taken at were- Shutter speed: 1/25 Aperture: f/3.5 ISO 200 The adjustments were increased saturation and contrast to really compliment the wood background with the animal focus. |
AuthorWrite something about yourself. No need to be fancy, just an overview. Archives
November 2017
Categories |
Morgan's photography


 RSS Feed
